Do you have a question about the Sunny Health & Fitness SF-RB4631 and is the answer not in the manual?
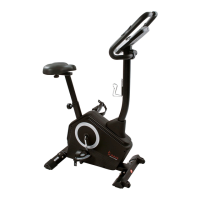
| Brand | Sunny Health & Fitness |
|---|---|
| Model | SF-RB4631 |
| Category | Exercise Bike |
| Language | English |
Consult a doctor before starting any exercise program for health assessment.
Stop exercise if experiencing pain, chest tightness, irregular heartbeat, etc.
Equipment is designed for adult use only. Keep children and pets clear.
Use on a solid, flat surface with 4 feet of free space around the unit.
Ensure all nuts and bolts are securely tightened before use.
Use as indicated; discontinue use if defective components or unusual noises occur.
Wear suitable clothing; avoid loose items that can get entangled.
Do not place fingers or objects into the moving parts of the equipment.
Maximum weight capacity is 350 pounds (160 KG).
The equipment is not suitable for therapeutic use.
Use proper lifting technique and seek assistance when lifting or moving the equipment.
Store in cool, dry conditions to prevent corrosion.
Equipment is designed for indoor and home use only; not for commercial use.
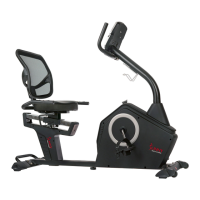
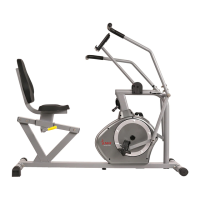
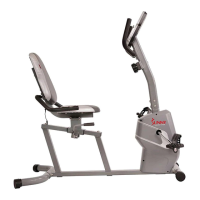
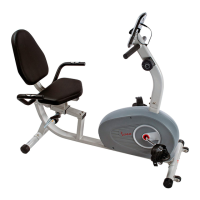
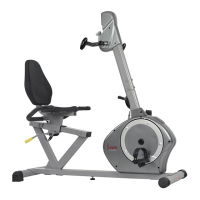
Connect Front and Rear Stabilizers to the Main Frame using specified bolts, washers, and nuts.
Attach Right Pedal to Right Crank clockwise and Left Pedal to Left Crank counter-clockwise.
Connect pulse sensor wires to computer, then attach handlebar post to main frame.
Attach rotating handles to connecting axle using knobs and U-shape boards for adjustable positioning.
Attach the slide rail to the main frame using hex pan head screws and washers.
Attach adjustment handle to axle and handlebar to seat tube, connect pulse wires.
Attach the backrest and seat to the seat tube using hex pan head screws and washers.
Adjust handle tension with knob A; adjust bike tension with switch B (1-8).
Pull adjustment handle towards you to move seat forward/backward, push to secure.
Adjust dials on rear end caps to level the bike if it feels unstable.
Lift by rear stabilizer until wheels on front stabilizer touch floor to move.
Explains SCAN, TIME, SPEED, DIST, CALORIES, TOTAL DIST, PULSE, and AUTO ON/OFF functions.
Instructions for replacing batteries, do not mix types, and proper disposal guidelines.
Lists specifications like Auto Scan, Running Time, Speed, Distance, Calories, Pulse, Battery Type, and temperatures.