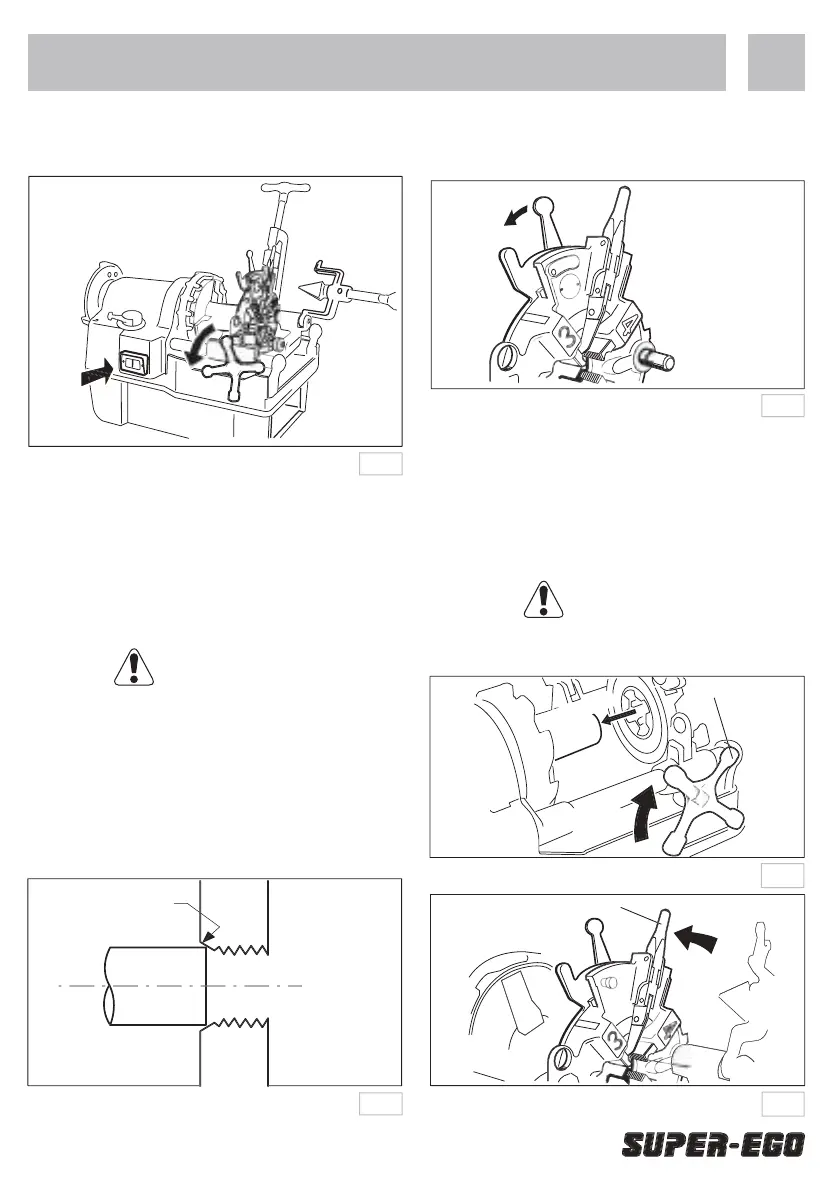
7. Once you have fi nished threading, switch the
machine off and turn the carriage handle to the
left. Retract the die head from the pipe
Precautions when threading
1. As the dies come into contact with the pipe, turn the
carriage handle with gradually increasing force until the
dies bite the pipe fi rmly. Once the dies fully engage the
pipe, they will travel smoothly by themselves, but you
can achieve optimum cutting performance by applying
slight pressure to the carriage handle to keep pace with
the movement of the dies.
If the machine suddenly stops while you are threading
a pipe, turn the machine off immediately. Any delay
could result in the motor burning out.
2. Be sure to start threading with the carriage to the
right of the red line on the front support bar. If you
start threading from left of the red line, the die head
is likely to hit the chuck and damage the machine.
3. To stop threading, push the auto-open lever to the left.
Setting the threading size
Loosen the lever nut and set the index line to the
desired thread size and tighten fi rmly.
Precautions when threading
1. As the dies come into contact with the pipe, the
handle should be turned with gradually increasing
strength until the dies are biting fi rmly. After the
dies fully engage the pipe they will travel smoothly
by themselves, but optimum cutting will be assured
if the handle is turned with slight pressure to keep
If the machine suddenly stops during threading, turn off
immediately (a delay will result in the motor burning up).
 Loading...