• 5 •
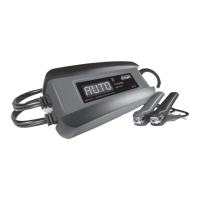
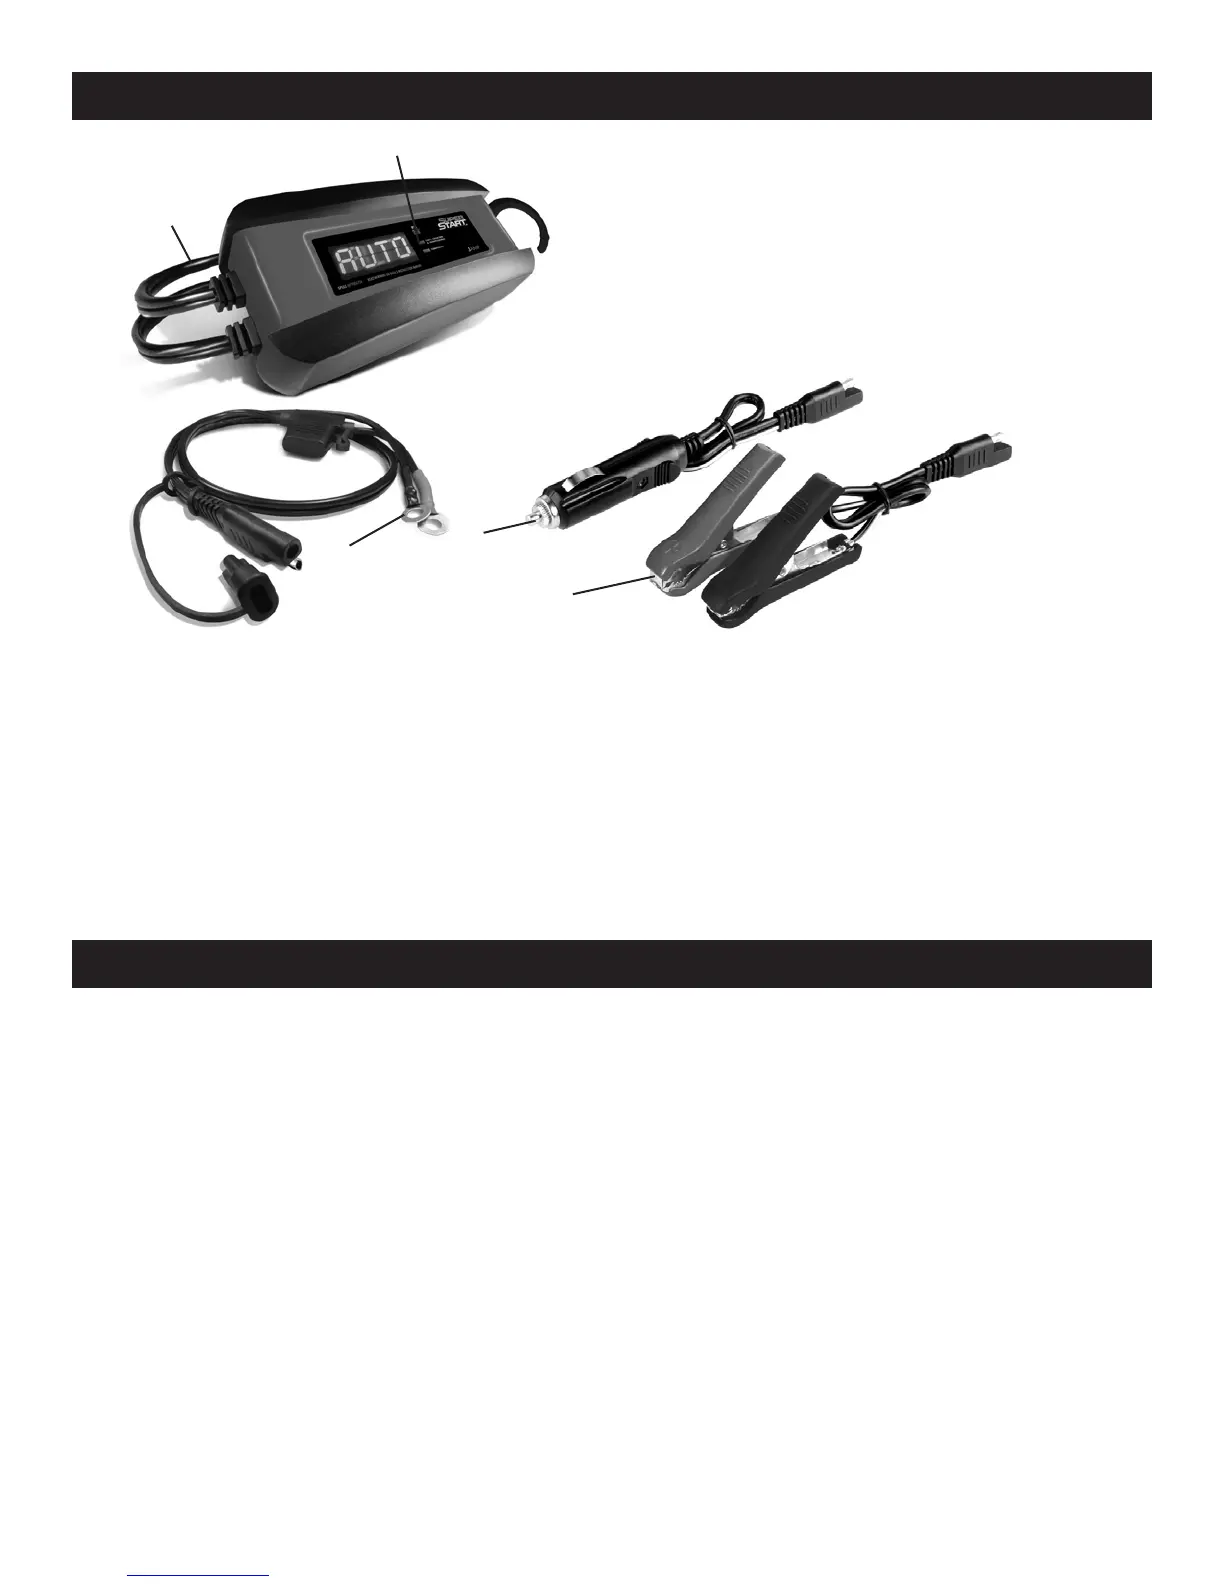
FEATURES/CONTROL PANEL
5
4
1
2
1. Battery status LEDs
2. AC power cord
3. Quick-connect cable
with fuse
4. Cord set w/12V cigarette adapter
5. Quick-connect battery clamp cable
assembly
3
DIGITAL DISPLAY
The digital display indicates the status of the battery and charger. See the
DISPLAY MESSAGES section for a complete list of messages.
LED DISPLAY
YELLOW LED (solid): The charger is charging the battery.
GREEN LED (solid): The battery is fully charged and the charger is in
maintain mode.
OPERATING INSTRUCTIONS
IMPORTANT: Do not start the vehicle with the charger connected to the AC
outlet, or it could result in damage to the charger.
CHARGING A BATTERY IN THE VEHICLE
1. Place the charger on a dry, non-ammable surface.
2. Turn off all the vehicle’s accessories.
3. Keep the hood open.
4. Clean the battery terminals.
5. Lay the AC/DC cables away from any fan blades, belts, pulleys and other
moving parts.
6. For a negative-ground vehicle (as in most vehicles), connect the
charger’s POSITIVE (RED) clamp to the POSITIVE (POS, P, +) battery
post. Next, connect the charger’s NEGATIVE (BLACK) clamp to the
vehicle chassis or engine block, away from the battery.