6 | 7
A
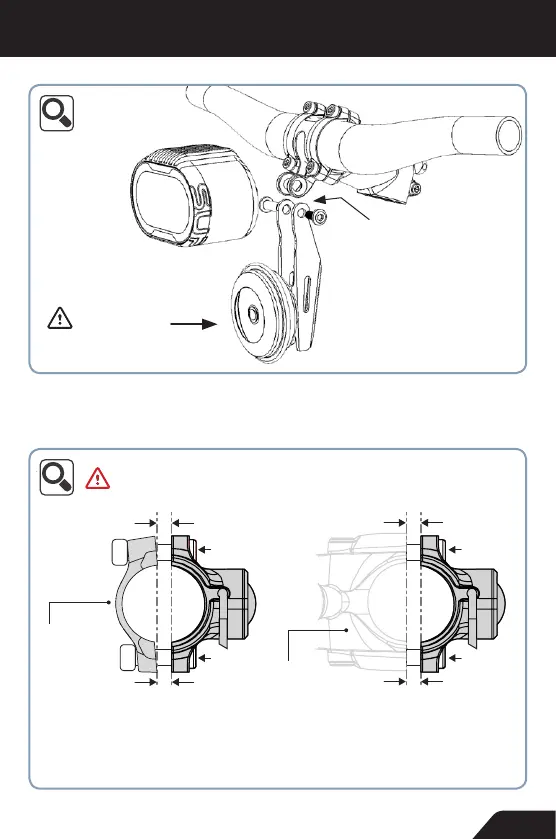
M99 HUPE | HORN – INSTALLATION
Muss nach vorne
gerichtet sein! |
Must face forward!
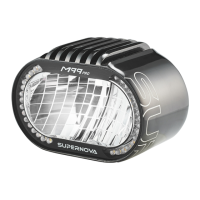
B
Bitte die Klemmschelle oben und unten mit gleichmäßigem Spalt
installieren. | Please install clamp with even gap on both screws.
* Um 2 Nm auch ohne Spezialwerkzeug nicht zu überschreiten sollte der Bremsgriff so montiert wer-
den, dass er sich noch mit Kraft verdrehen lässt. Das ist auch bei einem Sturz von Vorteil. Halten Sie
die Lücke an beiden Schrauben gleich groß, anders als bei Magura Schellen. |
To ensure that the maximum torque of 2 Nm (18 in-lbs) is not exceeded, please tighten the screws
only as much, so that the brake levers can still be moved with some force. This also helps in a crash.
Remember to keep the gap on both screws even, unlike with normal Magura clamps.
max. 2 Nm*
max. 2 Nm*
Autonome
Klemmschelle |
Autonomous
clamp Magura MT
Bremse | Brake
BOSCH
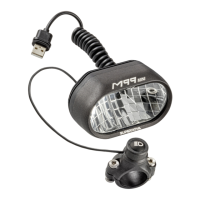
Installation Hupen | Horn installation
Installation Hupentaster | Horn switch installation
Halter passend an M99 mit M99
CRC (P-M99-CRC-BLK), Universal
Handlebar Mount (R-UHM31.8-BLK/
R-UHM35-BLK) oder Promax DA230
Vorbau (P-DA230STM-BLK-60 /
P-DA230STM-BLK-90) | Mount fits
with M99 mit M99 CRC (P-M99-CRC-
BLK), Universal Handlebar Mount
(R-UHM31.8-BLK/ R-UHM35-BLK)
oder Promax DA230 Vorbau (P-DA-
230STM-BLK-60/P-DA230STM-
BLK-90)
max. 2 Nm*
max. 2 Nm*