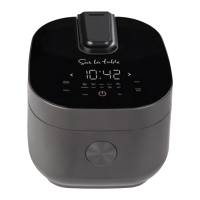
USING THE DELAY TIMER
1. Using the provided measuring cup, add the desired amount of rice or grain to a drainer. Rinse
with water to remove excess starch and drain.
2. Pour rice or grain into the inner pot.
3. Refer to the “Rice/Grain & Water Measurement Tables” and fill with water accordingly.
4. Close the lid securely.
5. Plug the power cord into an available 120V AC wall outlet.
6. Press the
button to turn on the cooker.
7. Press the “<” or “>” button until White Rice, Brown Rice, Oatmeal, Quinoa, Multigrain,
Soup, Slow Cook, or Stew is selected, depending on the type of grain being cooked.
8. Select Delay to set the amount of delay time.
9. Press the Hour and Min buttons to increase the time accordingly. It may be set to have rice
ready in 1 to 15 hours for White Rice, Oatmeal or Quinoa and 2 to 15 hours for Brown Rice,
Multigrain or Soup and 4 to 15 hours for Slow Cook.
10. Press “Start” to begin the timer The digital display will count down from the time selected.
11. Once the allotted delay time has elapsed, the unit will beep and the respective cooking
indicator light will illuminate. The display will show a chasing pattern to signify the beginning
of the cooking cycle.
12. The cooker will count down the final 12 minutes of cook time.
13. Once the cycle has completed, the cooker will beep and automatically switch to Warm.
When finished serving, turn the rice cooker off by pressing Warm/ Cancel followed by the
button and unplug the power cord.
15
 Loading...