9
The Home Screen shows the 15-bit Art-Net port address (a number between 0 and 32767) for each output port
configured to output Art-Net, the sACN universe if the port is configured to output sACN or “Off” for a currently
disabled port. The addressing information is arranged in a table with two rows with four columns. The information of
the top row (bottom row) refers to the output ports 1-4 (5-8). Each cell of the table also displays the text “ART-NET”
(“sACN”) if the port is conifgured to output data received over Art-Net (sACN).
For detailed information on the addressing of Art-Net ports, see section Representations of Art-Net Port Addresses
in the Appendix.
Network Settings
Since Art-Net I, II and 3 only support a maximum of four ports per node and require each node to have a unique IP
address, XND-8 is modelled as two conceptual Art-Net nodes with two separate virtual network interfaces.
Physically, there is only one network interface. Therefore, it is important to ensure that the settings of both network
interfaces are kept compatible. This means that the settings of the two interfaces should be treated like the settings
of any other two participants in the same network.
The network settings can be found under Home > Menu > Network > Interface 1 and Home >
Menu > Network > Interface 2.
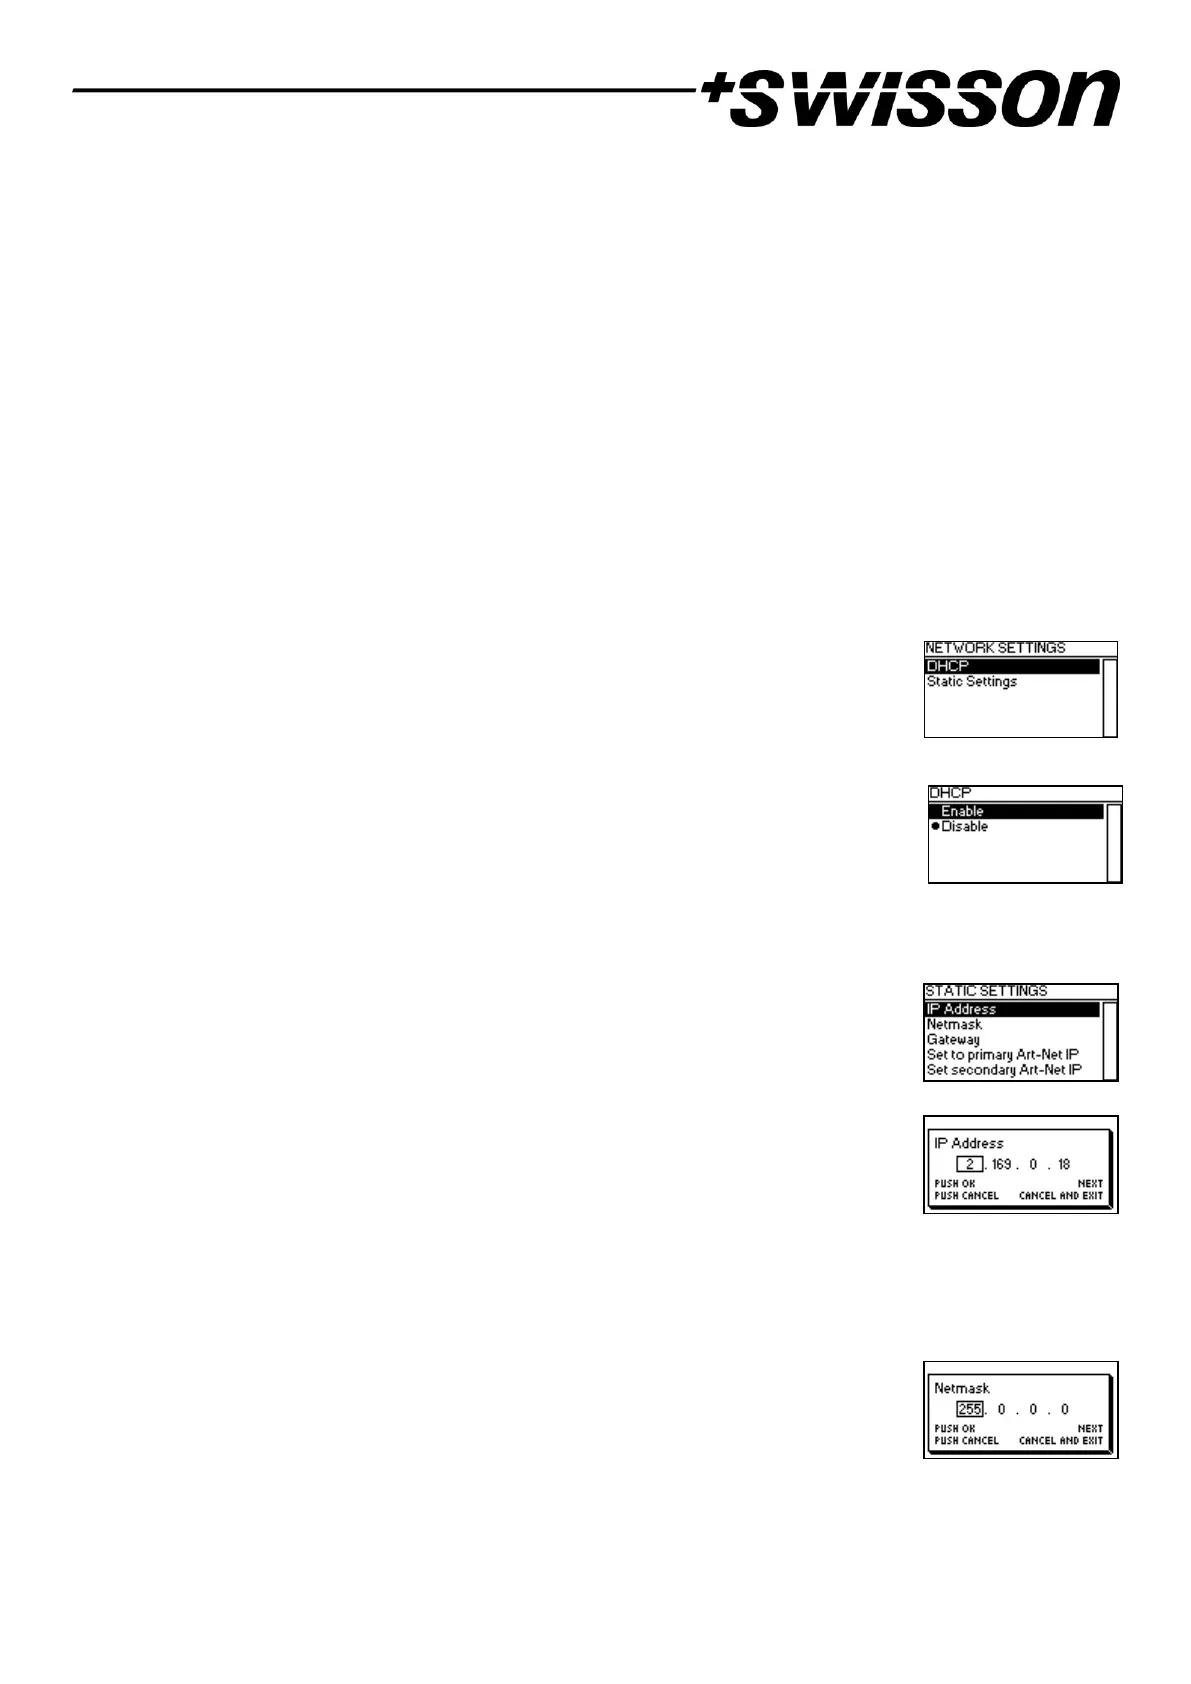
DHCP
Navigate to Home > Menu > Network > Interface N > DHCP in order to enable or disable DHCP (Dynamic Host
Configuration Protocol). Choose Enable, if you want to have your network configured by a
DHCP server. This would typically be the case, if you connect the XND-8 to a home or office
network.
A bullet point is shown next to the currently active setting. Use the encoder wheel to choose
the desired setting and confirm by pressing [OK] in order to change the setting.
Static Settings
All settings under Home > Menu > Network > Interface N > Static Settings apply only if DHCP
is disabled and are ignored otherwise. From this menu, you can choose the IP address, the
netmask and the gateway address to be used when DHCP is disabled.
IP Address
Use this menu item to configure the device’s IP address. When the IP address configuration
dialog is opened, it will look just like the dialog depicted to the right. A box encircling the first
number indicates that the first number is selected. While the first number (byte) of the IP
address is selected, use the encoder wheel in order to choose the desired value for the first
byte of the address, then push [OK] to confirm your selection. The next number will become selected allowing you to
configure the second number. Simply repeat the same steps for the remaining numbers. After confirming the value
of the last byte, the dialog will be closed, and the new settings will be applied.
Netmask
In order to configure the netmask, use the same procedure as for configuring the IP address.
The netmask is used internally to compute the network address from the IP address. XND-8
does this by computing the bitwise AND of each byte with the corresponding byte of the IP
address. The bitwise AND of the first byte of the IP address and the first byte of the netmask is the first byte of the
network address and so on.
 Loading...