Operating Instructions
www.snopakebrands.com
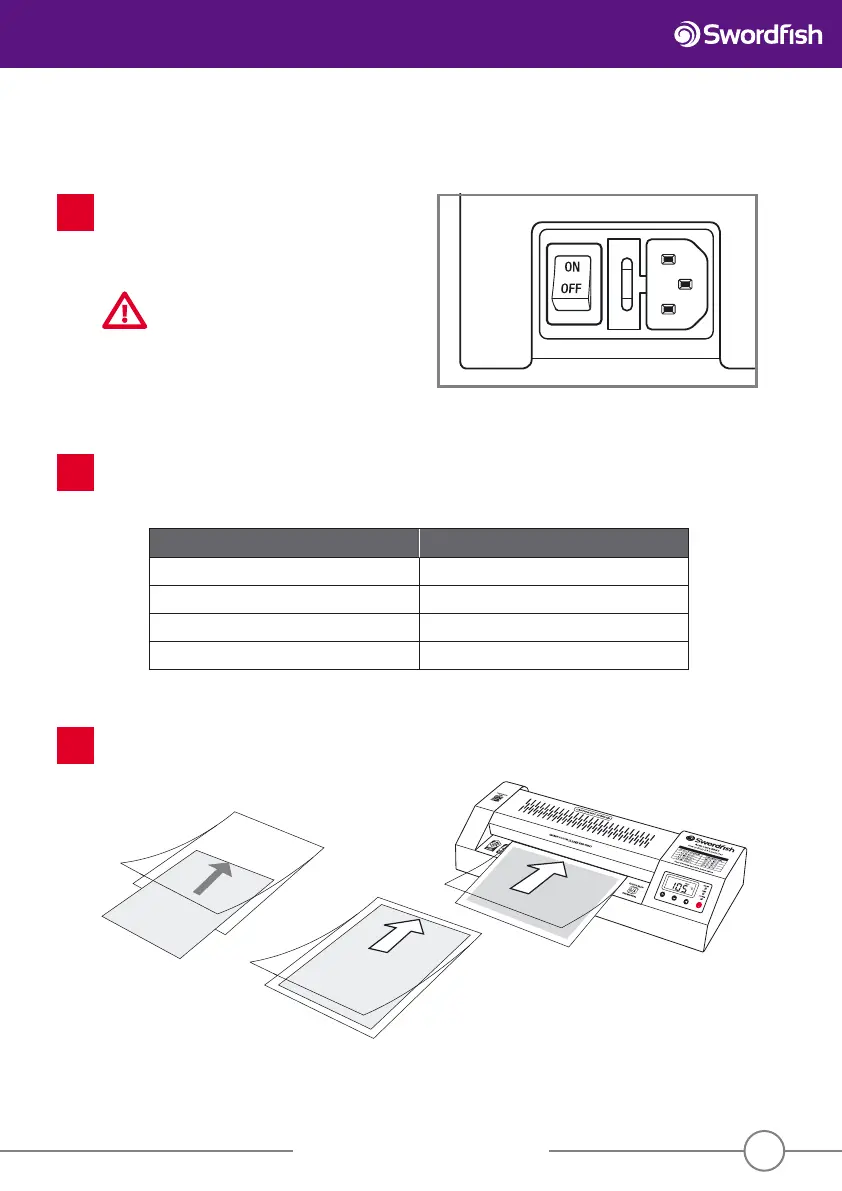
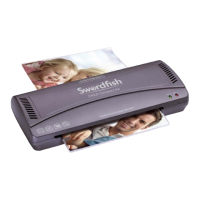
Prepare the item to be laminated. Insert the item to be laminated into a pouch of the correct size and push
it right into the sealed end of the pouch. The pouch could jam if the sealed end is not lled. Always insert
the pouch into the laminator sealed end rst.
3
7
Set the desired temperature by pressing the “increase temperature” or “decrease temperature” buttons. When the
chosen temperature is selected, “SET” will brie y appear at the top of the control panel screen. The word “READY”
will ash. When the desired temperature has been reached, “READY” will cease ashing and the green ready light
will illuminate.
2
Film thickness - microns (μ) Temperature
2 x 75μ (150μ total) 100°C - 110°C
2 x 125μ (250μ total) 110°C - 120°C
2 x 175μ (350μ total) 130°C - 140°C
2 x 250μ (500μ total) 150°C - 160°C
Operation
Connect the laminator to the 13Amp socket and turn
the isolating switch on the rear of the machine to the
“on” position. Press the red “Hot/Cold/O ” button on
the front of the machine and the laminator will start
to run.
CAUTION
Do not leave the laminator unattended
during lamination.
1