A step-by-step guide to the
Soft-Core Endodontic
Obturator
Before using the Soft-Core Endodontic Obturator,
assure that you have achieved the following:
A. A properly cleaned and shaped canal – the key to
any successful root canal filling. Utilize any technique
which provides a smooth tapered form, and provides
you with a coronal opening wide enough to give
room for the instruments.
B. A completely dry root canal.
C. An established working length. The plastic core is
flexible enough to negotiate curved canals. It is highly
advised that rotary files with a higher conicity are
utilized to create a sufficient taper for the obturator
core. When using files with a conicity of .02, it is
advised to combine them with a procedure using
Gates Glidden Drills or other les which can be used
to create a sufficient opening in the coronal part of
the canal.
The use of size verifiers is always recommended.
STEP 1: Determine the working length and choose
the proper obturator size
The working length is measured all the way to the apex. We
recommend measuring the working length from the edge of the
cusp. The working length can advantageously be measured by use
of both x-ray, file and electronic apex locator. Soft-Core Size Verifiers
are radiopaque and can be used for working length verification.
Generally, the appropriate size Soft-Core Endodontic Obturator will
be the same size as the last file used at the apex of the canal.
Tip: For very narrow and/or highly calcified canals, it may be
useful to select one size smaller than the last file used at apex.
If you do not use rotary files with a taper of 4 % or more, you
should always verify the size of the cleaned root canal with a
size verifier before inserting the obturator.
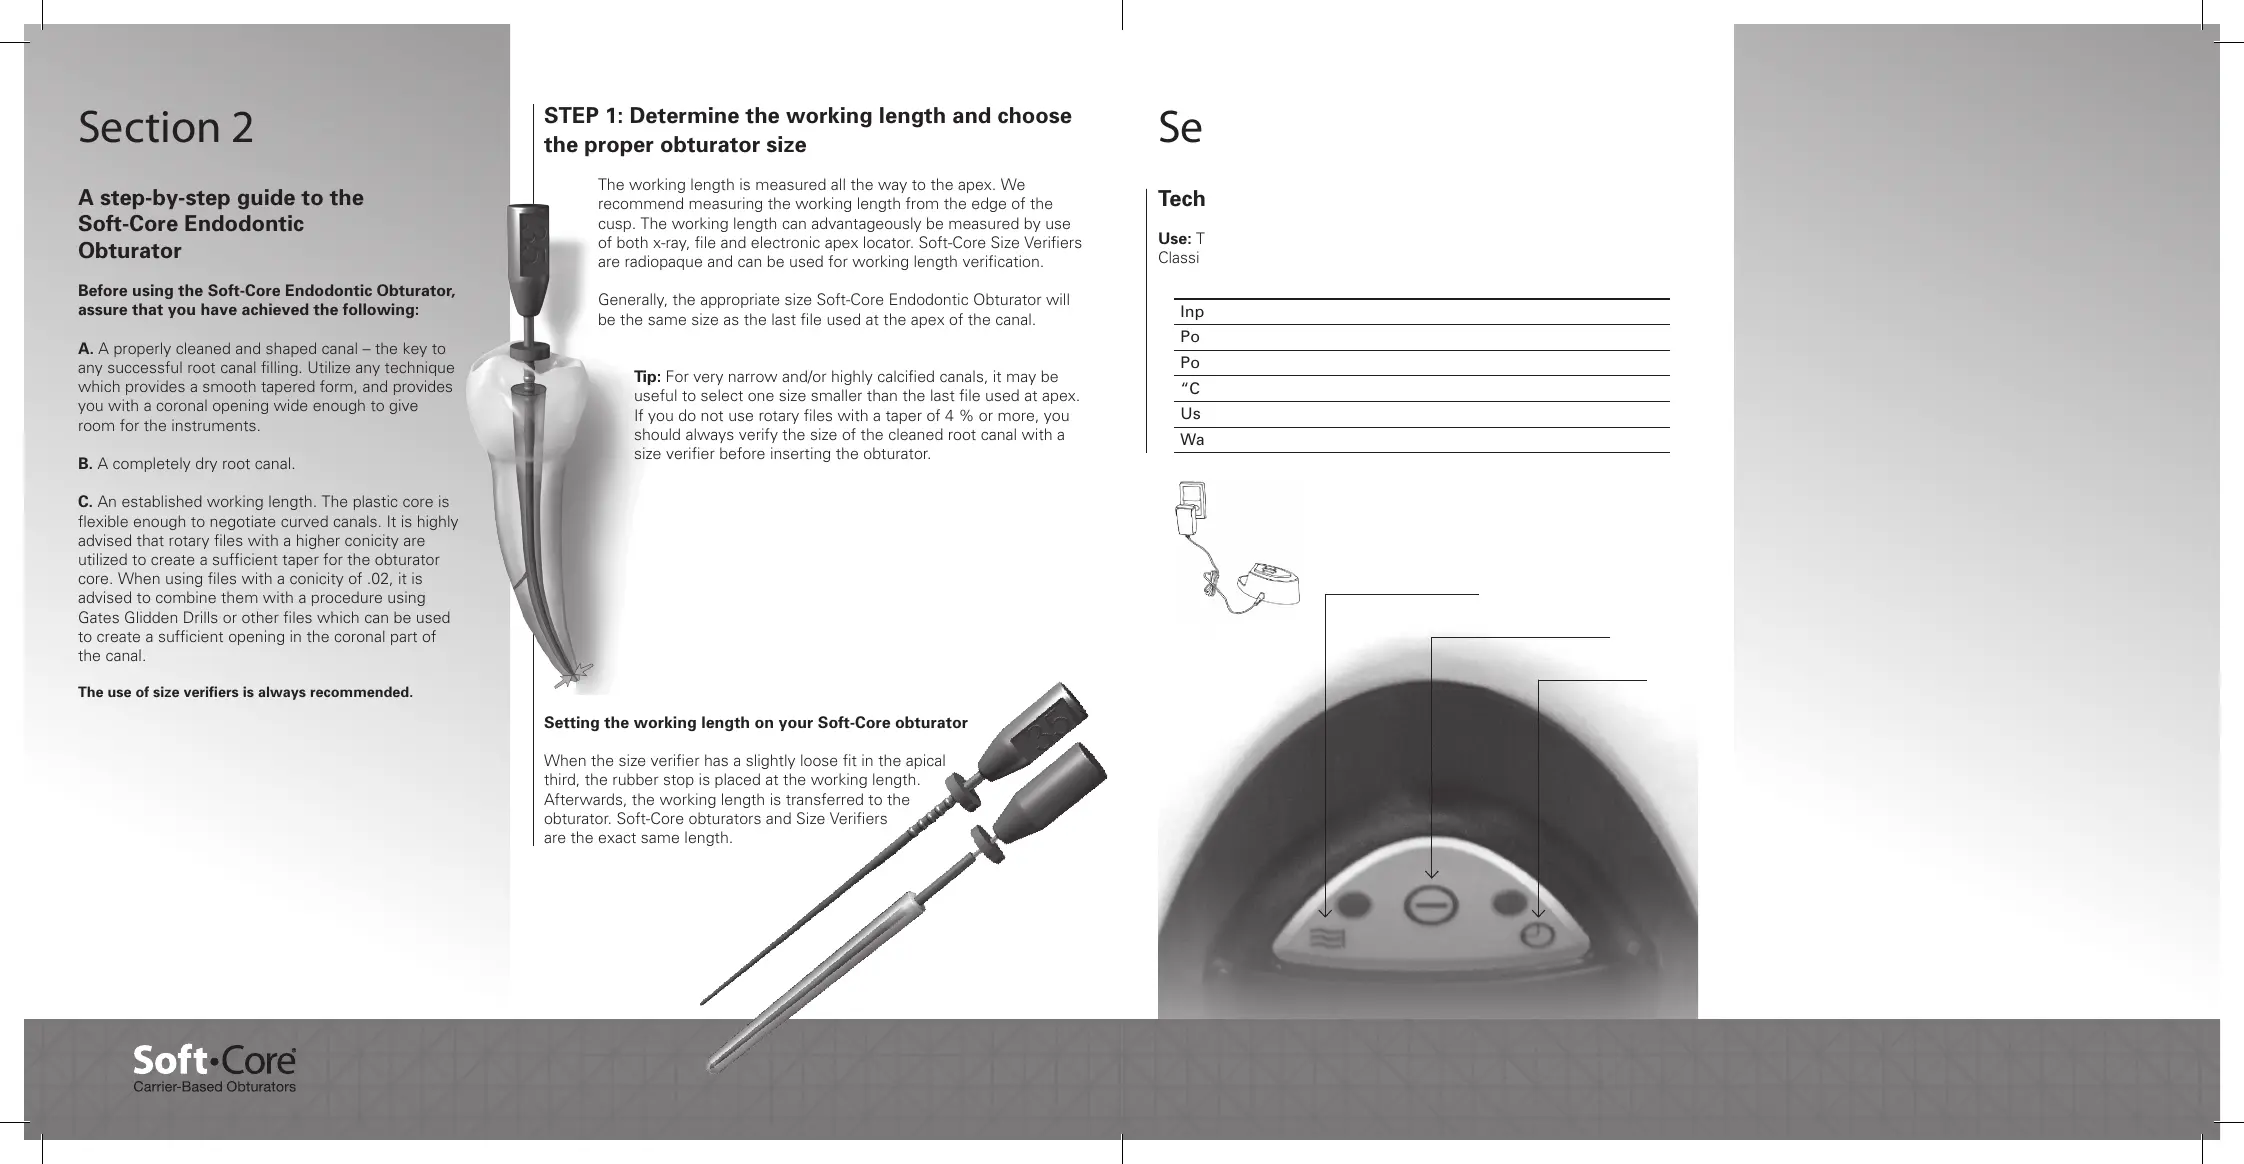
Setting the working length on your Soft-Core obturator
When the size verifier has a slightly loose fit in the apical
third, the rubber stop is placed at the working length.
Afterwards, the working length is transferred to the
obturator. Soft-Core obturators and Size Verifiers
are the exact same length.
Section 2
Product Precautions
Read this entire manual before use
• This product should only be used in accordance with
directions in this manual. Use of this product for any
other purpose, will void the warranty and may cause
serious harm to people or property.
• Do not allow any persons to use this equipment
with-out trained supervision.
• Do not reach inside the oven chamber while unit is
plugged in or until after unit has cooled.
• Remove any obturator or gutta percha that is in contact
with heater chamber walls or heating elements.
• Disinfect heater and sterilize obturator rest after each
procedure.
• Do not immerse unit in water or spray any liquid into
heating chamber.
• Do not allow obturators to warm in oven for more than
30 minutes.
• Do not leave plugged in unit unattended.
• Do not attempt to service unit. Heaters should only be
service by an authorized Soft-Core distributor.
Pre-heating the Heater
1. Connect the power supply to the oven’s DC inlet and
an electrical outlet.
2. When the unit is plugged in the oven temperature
status will be red and timer light will be green.
3. Once the heater is pre-heated, it will chime and the
temperature status light will turn green. Pre-heating
time should be no more than 15 minutes.
NOTE: When the oven is used for the first time, it may
have a slight scent during the first use. This will not affect
heater performance.
Stand-By Feature
To place the heater in stand-by mode: hold down the
timer/stand-by button for 3 seconds. The heater will then
go on stand-by and the heating elements will turn off. To
re-activate the heater: if the heater is in stand-by, hold
down the timer/stand-by button for 3 seconds and the
heating cycle will begin.
Technical Specifications
Use: The Soft-Core Heater is intended to be used in heating Soft-Core
Classic obturators. The heater should not be used for any other purpose.
Input Power
100-240V AC, 50/60 hz
Power Supply
9V DC, 1.7A
Power Consumption (120V)
43.2 w
“CL” Temperature
110 (degree) C
Use with
All Soft-Core Obturators
Warranty
1 year
Temperature Status
Timer/Stand-by Button
Timer Status
Section 1
 Loading...