7 Chapter 2: Hardware Setup
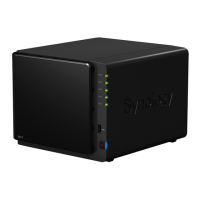
3 Load the hard disk in the hard drive tray.
For 3.5” Hard Disk: Place the hard disk in the hard drive tray, and then tighten the screws to secure the
hard disk.
For 2.5” Hard Disk: Place the hard disk in the blue area (shown below) of the hard drive tray, turn the tray
upside down, and then tighten the screws to secure the hard disk.
4 Make sure the side marked with "UP" is facing up, and insert the hard drive tray into the empty hard drive bay.
You should hear a click when the tray is locked in place.
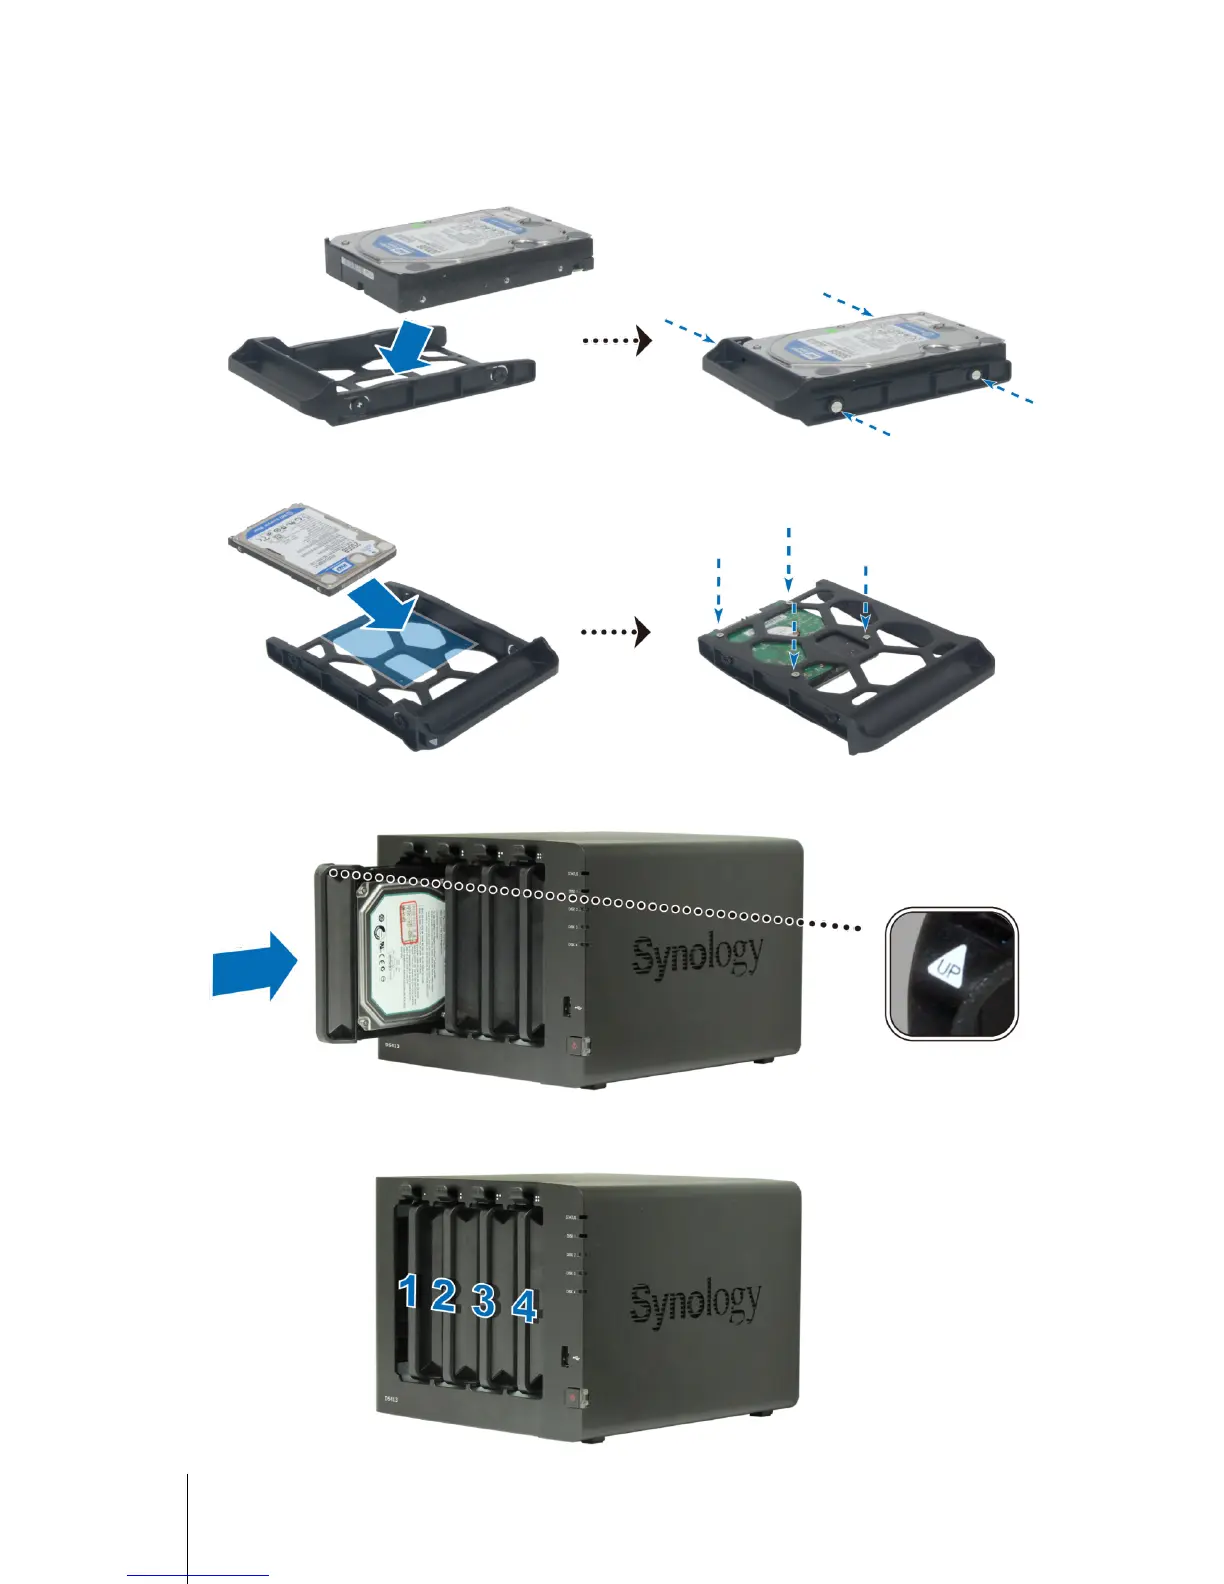
5 Repeat the above steps to assemble the other hard disks you have prepared.
6 The disks’ positions are numbered as shown below.