TAC Xenta 511 and 911 Handbook 2 TAC Xenta 511
12 (32), 0-004-7870-0 (EN) TAC AB, 16 May 2003
4 Change root password (immediately or later, using passwd).
5 “Do you want to restart the IP interface?”
• yes will make the changes effective immediately
• no will make the changes effective after the next 511 restart.
6 Exit by typing lo (log out) and pressing Enter.
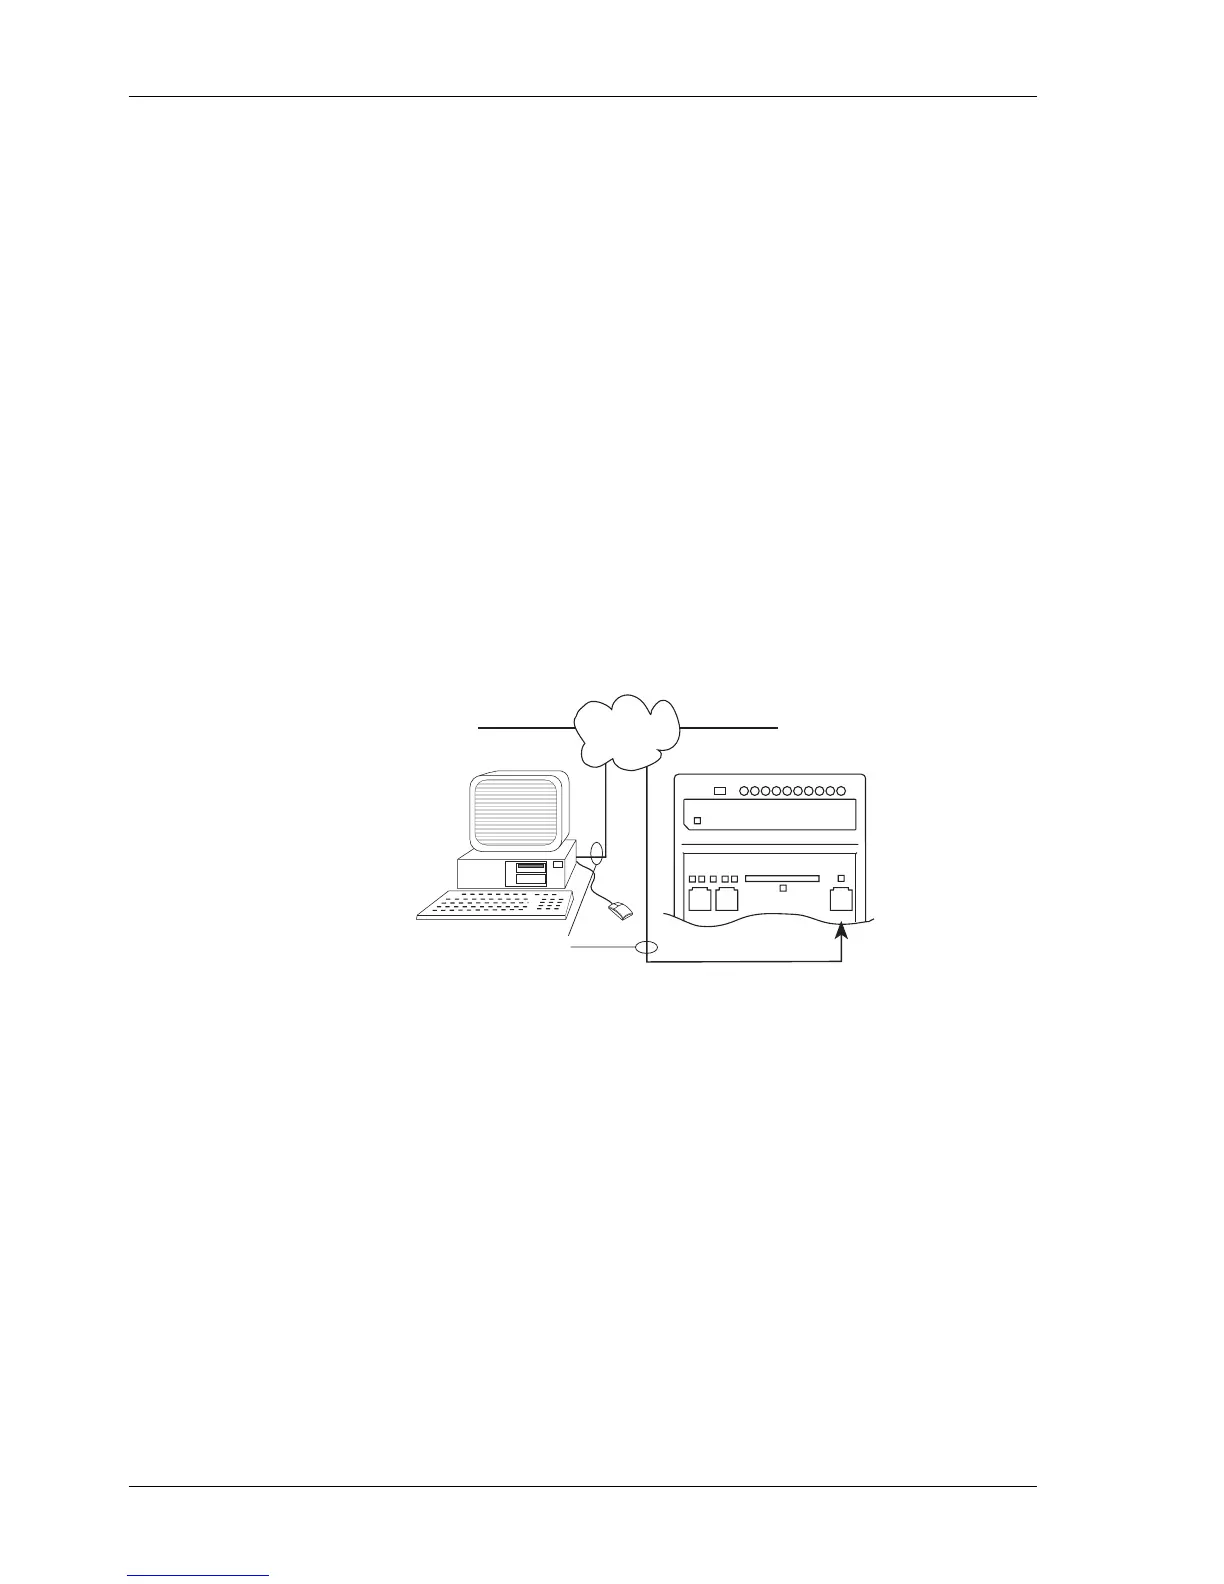
2.3.4 Connecting a PC to the TAC Xenta 511 via a LAN
1 Connect the Xenta 511 to a LAN according to the figure below.
2 Connect the PC to the same network and start the PC HTML
browser (for example Internet Explorer).
3 Enter the IP address for the Xenta. (e.g. http://172.20.4.21).
4 Log in as root and use the valid password. This should get you to
the Welcome page of the Xenta 511.
5 Select the required item under the System Configuration header to
configure the unit (next section).
2.3.5 Application System Configuration
1 In the web browser: Enter the remaining system parameters.
2 Decide on a L
ONWORKS strategy:
Variable binding: use an LNS Tool (e.g. LonMaker).
Non-variable binding: Use TAC Vista.
3 Create an application for the web-based presentation system using
TAC XBuilder as described in the Engineering TAC Xenta 511 man-
ual.
10 Mbps patch
UTP or STP cable
MMC
A RS232 B
10Base-T
LAN
Connecting the TAC Xenta 511 to a Local Area Network
LAN = Local Area Network
UTP = Unshielded Twisted Pair
STP = Shielded Twisted Pair
 Loading...