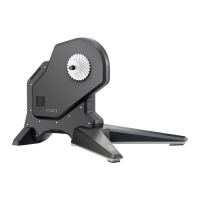
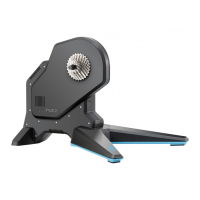
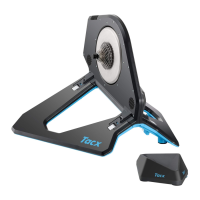
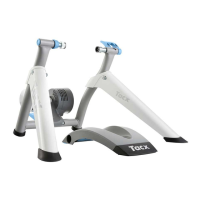
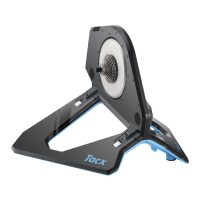
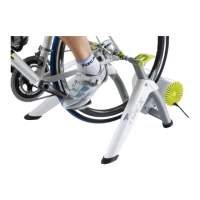
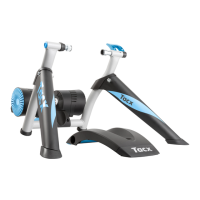
Attaching Your Bike to the Trainer
WARNING
For direct-drive trainers, the rear axle must be installed properly. Failure to tighten and firmly close the quick
release lever may result in injury or property damage. To see a video, go to www.garmin.com/tacx/axle.
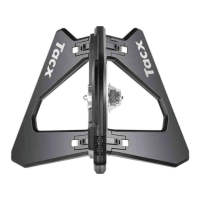
1 Place the trainer on a firm and level surface.
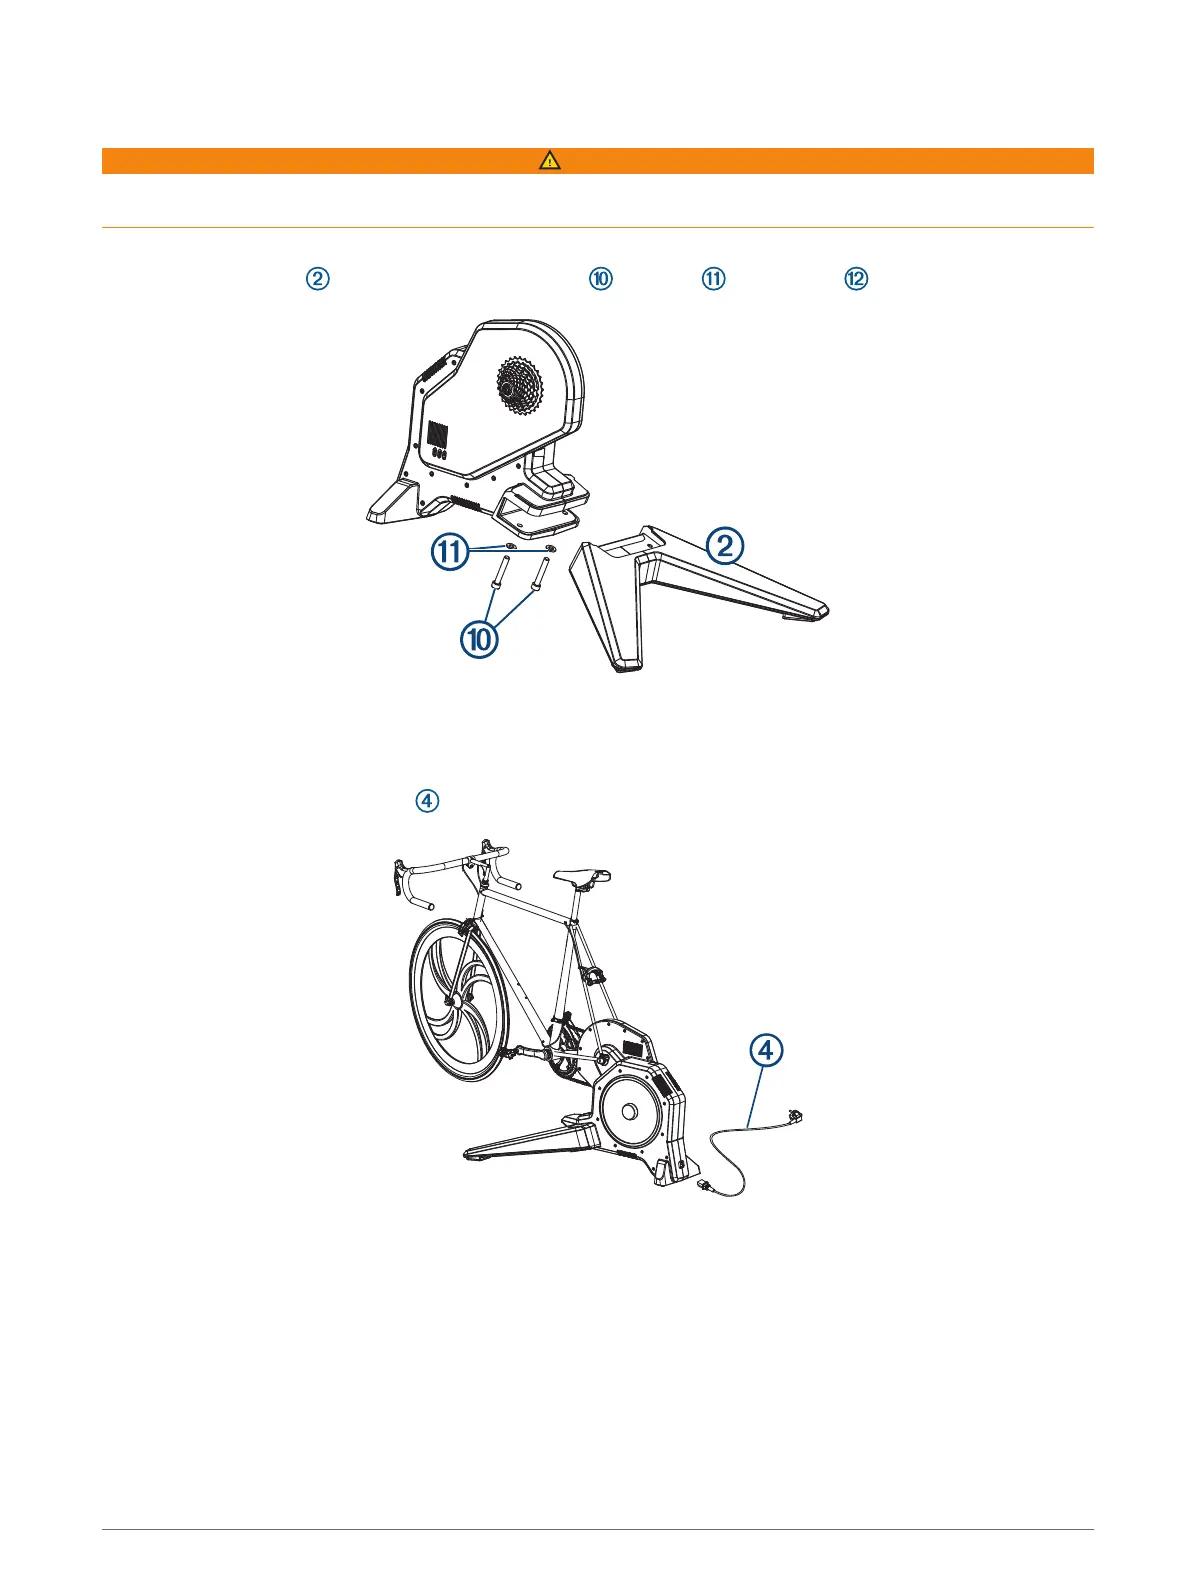
2 Attach the front leg to the trainer using the bolts , washers , and hex key .
3 Remove the rear wheel from your bike.
4 Align the rear axle of the bike with the trainer frame.
5 Tighten and close the quick release skewer or thru axle.
6 Plug the power cable connector into the Tacx FLUX 2/S port.
7 Plug the power cable into a standard wall outlet.
The power LED is green during normal operation.
8 Rotate the crank arm to check for clearance.
4 Tacx FLUX 2/S Instructions