9
1. Make sure the amplier is turned o (the Power Switch and the Power Cable
is removed from the wall outlet).
2. Turn the Volume Regulator to MIN (max counter clockwise).
3. Using speaker cables (not supplied with this product) connect your speakers to the
SPEAKERS OUT connectors located on the rear panel.
Check “Hooking Up Speaker Cables” for more details.
4. If you want to play music from analog audio source devices (CD player, satellite or
FM tuner,video console etc.): using RCA interconnect cables (not supplied with this
product) connect them to the analog inputs on the rear panel (CD, LINE).
5. If you want to play digital audio les connect a USB Flash Drive (no supplied with this
product) to the USB Port on the front panel.
Make sure that this amplier supports the les you want to play.
Check “Play from a USB Flash Drive” for more details.
6. Preamplier Output (PRE-OUT): this amplier is equipped with the preamplier
output. Using RCA interconnect cables (not supplied with this product) you can
connect to it an external amplication device (power amplier, powered speakers,
active subwoofer etc.) or a recording device (CD recorder etc.).
Check "Preamplier Output Connection (PRE-OUT)" for more details.
7. If you want to listen to music via headphones: connect the headphones to the
Phones output. Check "Headphones connection (PHONES)" for more details.
8. If you want to stream music via Bluetooth
®
from compatible devices check
“Bluetooth
®
Connection” for more details.
9. Your amplier is ready for operation.
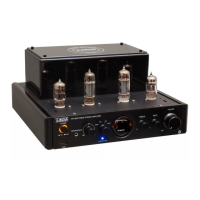
Hooking Up the Amplier
Only speakers within range of impedance 4 - 8Ω may be connected to
this amplier. Connecting speakers outside this range may damage this
amplier and/or speakers. This may void your warranty.


 To Next Page