Do you have a question about the Target windham 249-16-0731 and is the answer not in the manual?
Essential preparation steps before starting assembly, including checks and surface use.
Identifies the tools necessary for successfully assembling the cabinet.
Detailed list and images of all hardware components included with the cabinet.
Visual breakdown of the cabinet parts with their corresponding item numbers.
Step-by-step guide on operating the cam lock mechanism for secure panel connection.
Instruction for attaching the right side frame to the bottom panel.
Instruction for attaching the left side frame to the bottom panel.
Procedure for attaching the magnet and securing the top panel.
Guidance on installing the back panel to ensure cabinet squareness.
Instructions for attaching the cabinet knob to the door.
Procedure for attaching the door to the cabinet frame.
Instructions for inserting shelf supports and placing the shelf panel.
Procedure for installing the anti-tip restraint for enhanced safety.
Critical safety warning regarding furniture tip-over and prevention measures.
Recommendations for maintaining the cabinet's appearance and longevity.
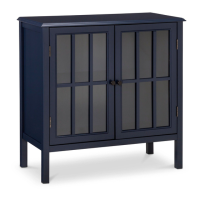
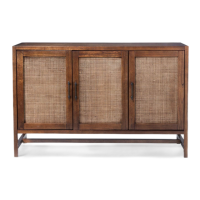
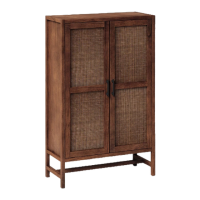
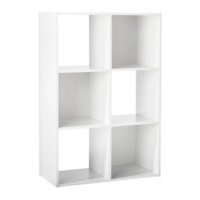
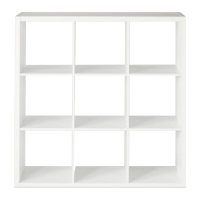
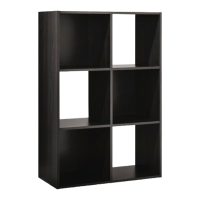
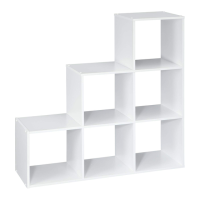
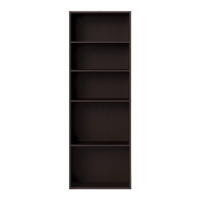
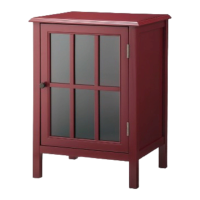
The Windham One Door Accent Cabinet is a versatile piece of furniture designed to add both style and storage to any room. This cabinet is available in a variety of colors, allowing it to complement diverse interior design aesthetics. The available styles include:
The Windham accent cabinet serves as a compact storage solution with a single door and an adjustable interior shelf. It is designed to hold various household items, keeping them organized and out of sight. The cabinet's top surface can also be used for display, accommodating decorative items, lamps, or other light objects. Its primary function is to provide supplementary storage in living rooms, bedrooms, hallways, or entryways, enhancing the aesthetic appeal of the space while offering practical utility.
The cabinet is designed to support a maximum weight of 50 lbs. on its top surface. The inner shelf has a weight limit of 25 lbs. Exceeding these recommended weights can lead to "sagging" of the top or shelf and potential product failure or injury. The construction involves various hardware components, including wooden dowels, cam bolts, cams, different types of screws (short pan-head, short flat-head, long pan-head), shelf supports, a knob with a corresponding bolt, a magnet, lock washers, washers, and an allen wrench for assembly.
The cabinet features a single door with a knob, which can be installed to open either to the left or to the right, depending on user preference and room layout. This flexibility is achieved by utilizing pre-drilled holes on either the left or right side frame for the door hinges and the magnet. The interior includes a shelf panel, which can be adjusted to different heights using the provided shelf supports. This allows users to customize the storage space to fit items of varying sizes.
Assembly of the Windham accent cabinet is designed to be straightforward, with clear, step-by-step instructions. Key steps include:
A critical safety feature is the anti-tip kit, which must be installed to prevent serious or fatal crushing injuries from furniture tip-over. The kit includes a wall strap (H13), a long pan-head screw (H14), washers (H16), a wall anchor (H12), and a wall screw (H11). Installation steps for the anti-tip kit are:
The cabinet requires minimal maintenance. For cleaning, it is recommended to dust with a clean, lint-free cloth. A spray furniture polish can be used as needed to maintain its appearance. The product is designed for the specified weight limits, and adherence to these limits is crucial for its longevity and structural integrity. The anti-tip label is permanent and should not be removed, serving as a constant reminder of the safety precautions.
For any questions, missing parts, or service, customers can contact 1-855-MYTGTHOME (855-698-4846). For faster service, it is recommended to have the style number and DPCI number ready when calling.
| Brand | Target |
|---|---|
| Model | windham 249-16-0731 |
| Category | Indoor Furnishing |
| Language | English |