Do you have a question about the TasmanEco Sleigh and is the answer not in the manual?
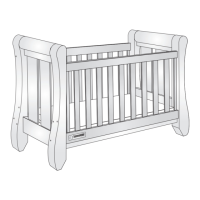
Lists all parts required for assembly, with visual representation.
Crucial safety warnings and advice for child's well-being during use.
Details the recommended mattress dimensions for safety and proper fit.
Emphasizes checking and tightening connecting bolts periodically.
Initial setup involving placing the base and inserting dowels.
Attaching glide pins and split washers securely, avoiding overtightening.
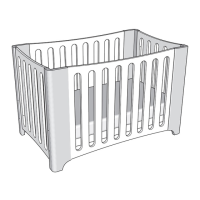
Connecting the main bed head sections to the prepared base frame.
Installing screws in unused holes for safety, preventing finger entry.
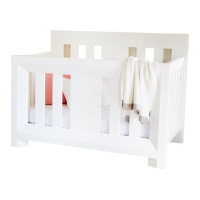
Attaching the non-moving rear panel to the bed head structures.
Inserting the movable front panel into the side frame channels.
Securing the front panel with guard screws for stability and safety.
Final tightening of all assembly bolts to ensure structural integrity.
Instructions for lowering and raising the cot's adjustable front panel.
Advice on cleaning and periodic tightening of bolts for upkeep.
Begin conversion by loosening all bolts around the cot.
Remove the guard screws from the cot.
Detach the adjustable front panel from the bed head frames.
Remove glide pins and split washers from the bed head frames.
Retighten the bolts after conversion, advising not to overtighten.
Offers a refund if not satisfied within 3 months, subject to conditions.
Covers defects in materials or workmanship for five years.
Instructions on how to register the product and make a claim.
Information on the optional furniture assembly service offered.
| Mattress Included | No |
|---|---|
| Drop Side | No |
| Age Suitability | Newborn to Toddler |
| Convertible | Yes |
| Assembled Dimensions | 157cm L x 79cm D x 101cm H |
| Color | White |
| Dimensions | 157cm L x 79cm D x 101cm H |