English
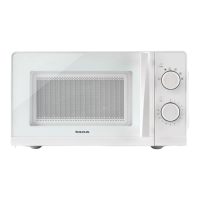
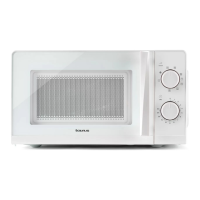
Microwave
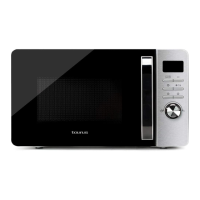
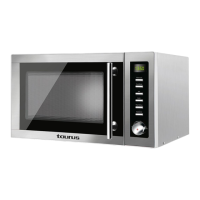
Fastwave 23 Digital
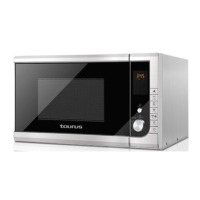
Fastwave 25 Digital
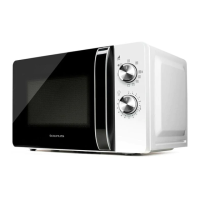
DESCRIPTION
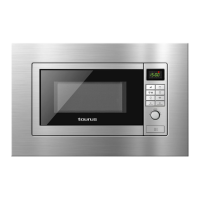
A Door
B Handle
C Command panel
D Digital display
E Congurationbuttons
F Turntable
G Turntablewheels
H Grill Rack
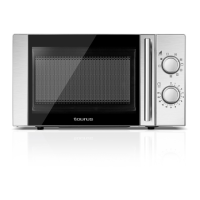
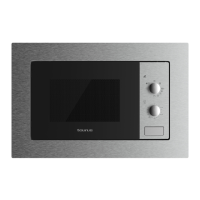
1 FunctionSelector
2 ECObutton
3 Clockbutton
4 DefrostandAutocleanbutton
5 Pause/Stopbutton
6 Startbutton
7 Turningknob
Ifthemodelofyourappliancedoesnothavethe
accessoriesdescribedabove,theycanalsobe
boughtseparatelyfromtheTechnicalAssistance
Service.
USE AND CARE:
- Fullyextendtheappliance’spowercablebefore
eachuse.
- Donotusetheappliancewhenempty.
- Donotusetheapplianceiftheon/offswitch
doesnotwork.
- Disconnecttheappliancefromthemainswhen
notinuseandbeforeundertakinganycleaning
task.
- Storethisapplianceoutofreachofchildren
and/orpersonswithphysical,sensoryor
reducedmentalorlackofexperienceand
knowledge.
- Makesurethatdust,dirtorotherforeignob-
jectsdonotblockthefangrillontheappliance.
- Usetheapplianceanditsaccessoriesand
toolsinaccordancewiththeseinstructions,
takingintoaccounttheworkingconditionsand
theworktobeperformed.Usetheappliance
foroperationsdifferentfromthoseintended
couldresultinahazardoussituation.
- CAUTION:Donotusetheapplianceifthe
glassiscrackedorbroken.
INSTALLATION
- Besuretoremoveallpackagingmaterialfrom
insidetheappliance.
- Donotcoverorobstructanyoftheopeningsof
theappliance.
- Theplugmustbeeasilyaccessiblesoitcanbe
disconnectedinanemergency.
- Checktheovenforanydamage,suchasmis-
alignedorbentdoor,damageddoorsealsand
sealingsurface,brokenorloosedoorhinges
andlatchesanddentsinsidethecavityoron
thedoor.Ifthereisanydamage,donotoperate
theovenandcontactqualiedpersonnel.
- DonotplaceanythingovertheMicrowave.
- Keeptheovenseparatedabout20cmforeach
sideand30cmonbehindtoensurethecorrect
ventilation.
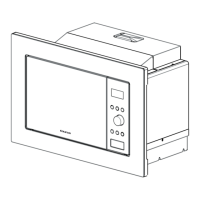
PLATE MOUNTING
- Removeallcartonandplasticfromtheinside
oftheappliance.
- Placetheplatewheels(G)intheinternalcavity
oftheMicrowaveovenbyassuringthatthey
stayinsideoftheholeontheinteriorbase.
- Placetheplateoverthewheelsbymatching
thecenterwiththeinternalpiececonnectedto
themotor.
INSTRUCTIONS FOR USE
BEFORE USE:
- Makesurethatallproducts’packaginghas
beenremoved.
- Preparetheapplianceaccordingtothefunction
youwishtouse:
SETTING UP THE CLOCK:
- Onconnectingthemicrowaveforthersttime
thedigitalscreenwilldisplay“1:00”Toadjustto
thefunctionyouwishtouse:
- Presstheclockselectorbutton.TurntheTimer
controlinordertosetthehours.