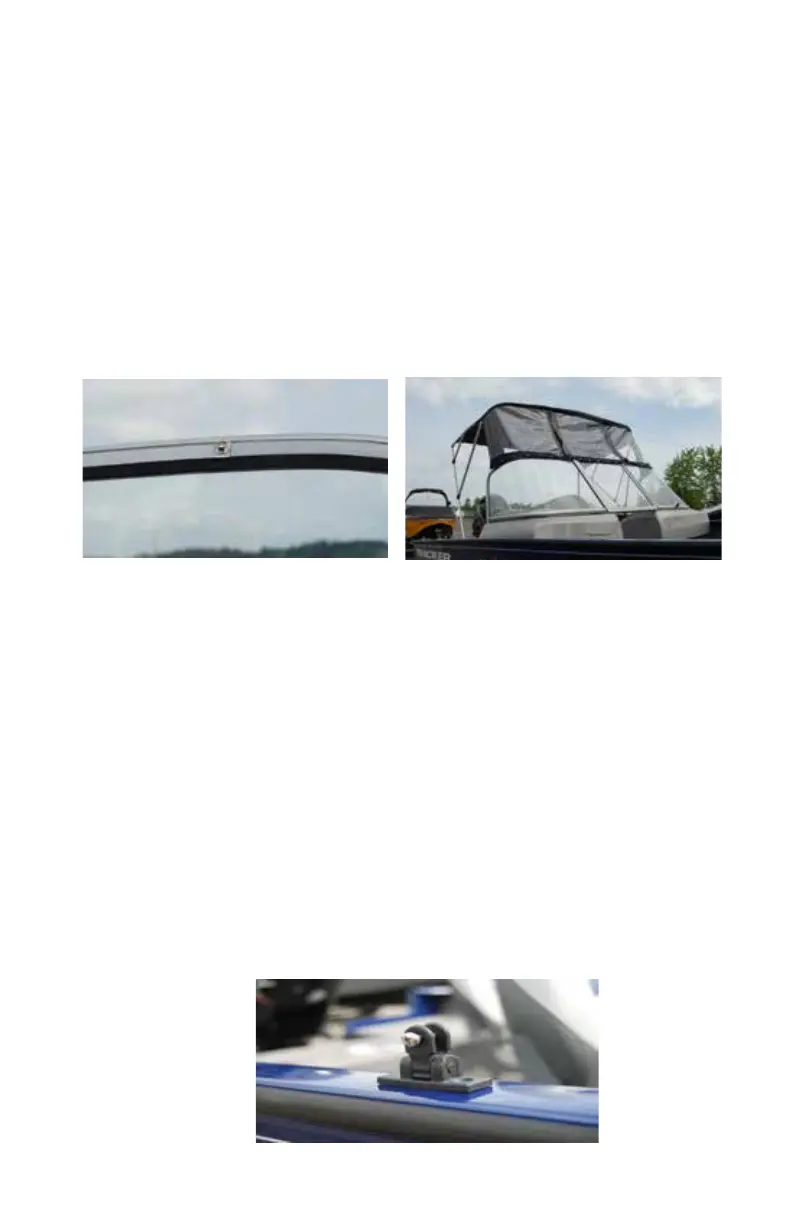
Step 4: Securing Top to the Boat – Installing windshield Clips - Best to
have a helper during this step.
Stand up the top on the boat deck. One person should hold the
frame and the other should hold the windshield section of the top. Make
sure that the fabric skin is centered on the frame and aligned to the boat
windshield. Align snaps on lower portion of the top with upper edge of boat
windshield. This will provide a relative location for the installation of the
windshield clips. Begin installing the bottom of the clips into the rubber strip
or channel – aligning with the snaps on the fabric before fully snapping clip
in. Start at the center of the windshield and work outward until all the snaps
are located and secured. Snap each of the clips onto the fabric top.
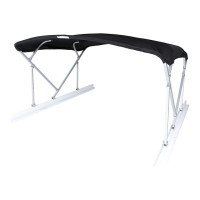
Step 5: Locating the Deck Hinges
Take note of the position of the bottom of the A-Bow eye-end when
the windshield snaps are all installed, as this will indicate the deck hinges.
This location will vary depending on the make & model of your boat and may
be on the top or the side of the gunnels. Make any adjustments to this loca-
tion to insure that the top is level and that the front panels follow the angle of
the windshield.
Mark the location of the deck hinge holes on the boat deck – measu-
re to be sure that both sides are the same. Check under the mount locations
to be sure it’s free of cables or other obstructions. Carefully drill the deck
hinge mounting holes using a 5/32 drill bit. Secure one side hinge with #10 x
1” screws – do not overtighten. Verify position of other side hinge – drill and
secure as before.
4