123
7) Remove the PCB.
8) Take care of power components covered with thermal paste
9) Take out from the old board the EEPROM and possible wire jumpers.
10) Plug the EEPROM (and possible jumpers) on the specific socket of the new board. Respect position of the
EEPROM on its socket (see picture below). Be careful when handling the EEPROM, as its pins can be easily bent.
11) Make sure that micro switches and jumpers are in the right selection – refer to § 3.2.5.
12) Install the new board in the cabinet and connect it while respecting wiring diagram. Pay attention to apply some
thermal paste on power components.
13) Switch on again the unit. EEPROM alarm LED must off (If this LED is blinking, check that EEPROM is installed
correctly).
14) Start the unit and check its correct operation.
Caution: If the EEPROM is not functioning correctly, alarm F31 appears. In that case, EEPROM must be changed also
(use the one delivered with the new board). Then, parameters specific to the unit must set in the EEPROM
, by means
of service remote control, before starting again the unit. For that refer to part 6.
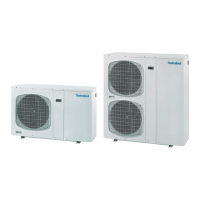
Unit 095 Unit 125
EEPROM alarm LED
 Loading...