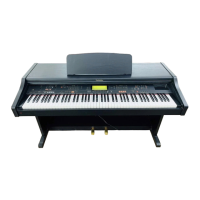
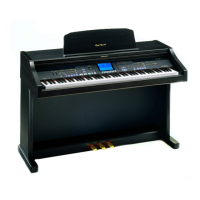
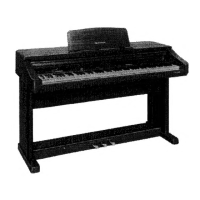
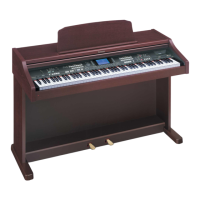
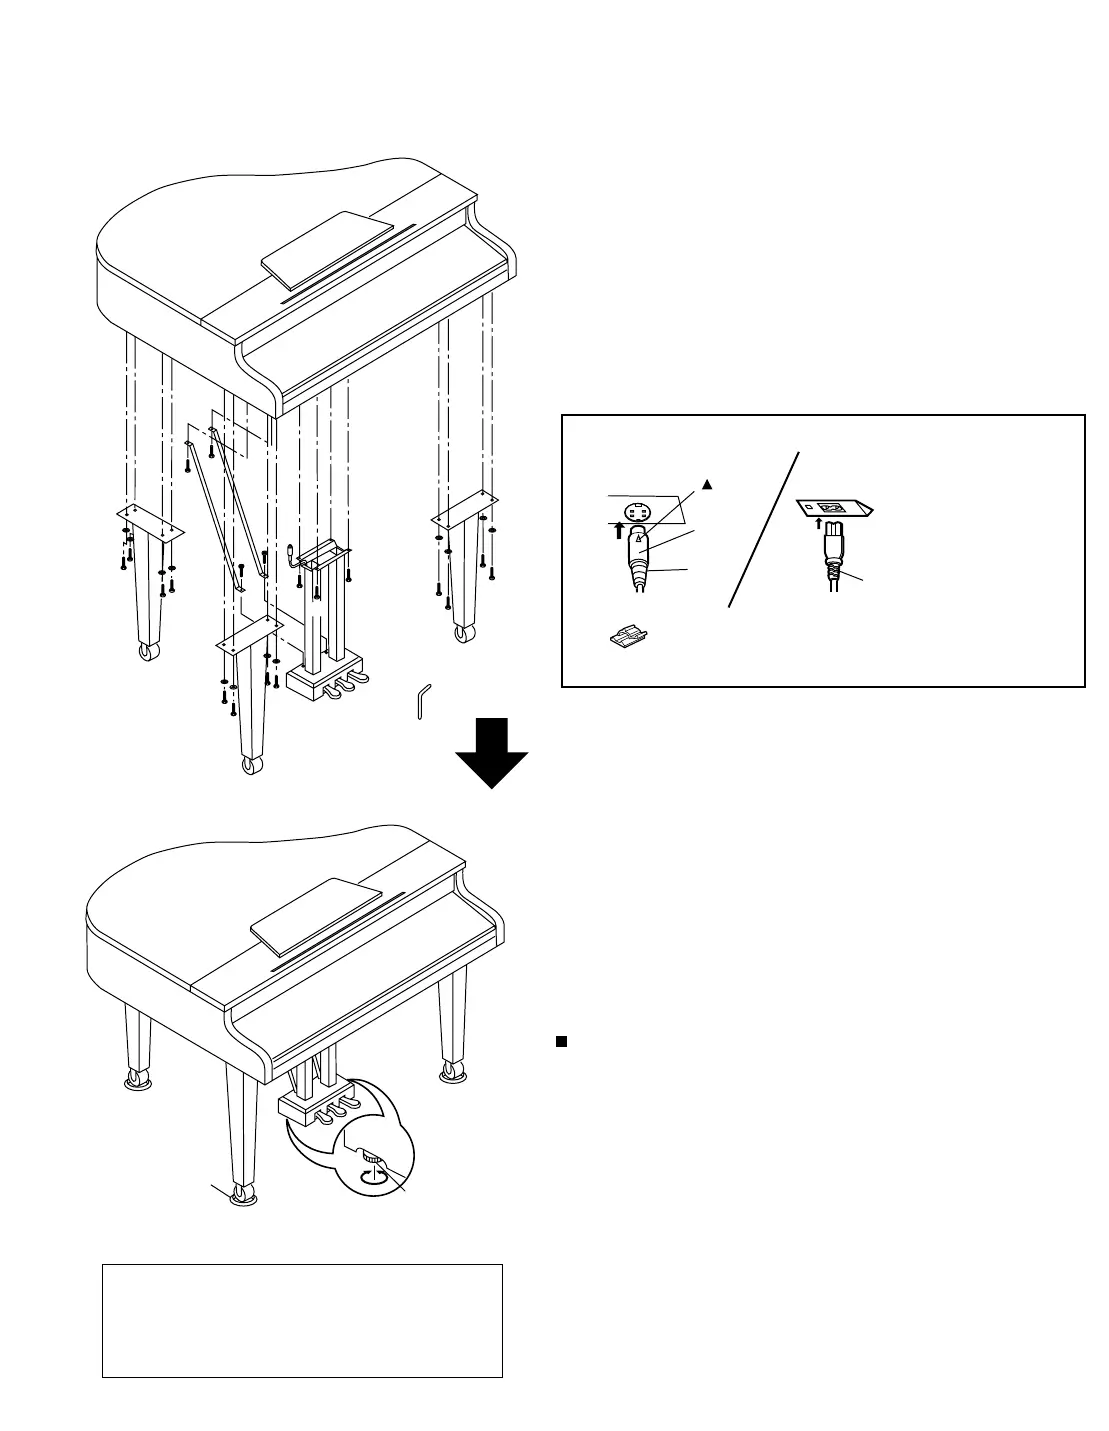
Follow the steps below to assemble your Technics piano. Make sure you are using the correct parts and that they are in
the correct direction.
• At least 2 people are required for assembly.
• To disassemble the piano, reverse the procedure.
A: Black screws (long)..............12
B: Black screws (short)...............4
C: Washers.................................12
D: #4 Hexagonal key...................1
G: Brass-colored screws.............4
• Following the assembly, connect the respective cords.
• Place the insulators under the casters, positioning the
Technics Piano in the desired location.
• Use the adjusters to make the pedal unit secure.
Caution
If the Technics Piano is to be moved, be sure to first shorten
the adjusters in order to prevent pedal unit damage and scrat-
ching the floor.
Confirm
After assembling, check these points.
• Are any parts left over?
→ Check the assembly procedure again.
• Does the piano rattle when it is rocked?
→ Make sure all the screws are securely tightened.
• Is the power cord firmly inserted?
→ Check again.
• Is the plug of the pedal cord inserted as far into the connector
terminal as it will go?
→ If it is not completely inserted, the sustain and other pedal functions may
not work.
• Does the pedal box move when the pedals are pressed?
→ Turn the adjuster to stabilize the pedal box.
• When the piano has been moved or transported, retighten
the screws securely.
AC
cord
pedal
cord
AC IN
plug
PEDAL IN
mark
(Piano bottom side)
• Use the included clamps to secure the cords.
power
cord
AC IN
A
A
A
A
A
A
A
B
B
A
A
A
A
D
C
C
C
C
C
C
C
C
C
C
C
C
B
B
A
G
G
G
G
insulator
adjuster
CAUTION:
TO PREVENT ELECTRIC SHOCK MATCH
WIDE BLADE OF PLUG TO WIDE SLOT,
FULLY INSERT.
(for U.S.A. and Canada)