UTS 4.3 PROX Rel. 1.2 - 06/2017
Via Ciriè 38 - 10099 San Mauro T.se - Torino (Italy)
tel +390112235410 - fax +390112735590
tecnoalarm@ tecnoalarm.com
www.tecnoalarm.com
Le caratteristiche del prodotto possono essere soggette a modifi che senza alcun preavviso.
Les caractéristiques de ce produit peuvent être sujettes à modifi cations sans préavis.
The product features can be subject to change without notice.
Las funciones del producto pueden estar sujetas a modifi caciones sin previo aviso.
Die Charakteristika des Produktes können jederzeit ohne vorherige Ankündigung geändert werden.
Lead free
compliant
RoHS
Pb
A
B
1
C
2
G
H
I
4
D D
F
D
E
E
D
3
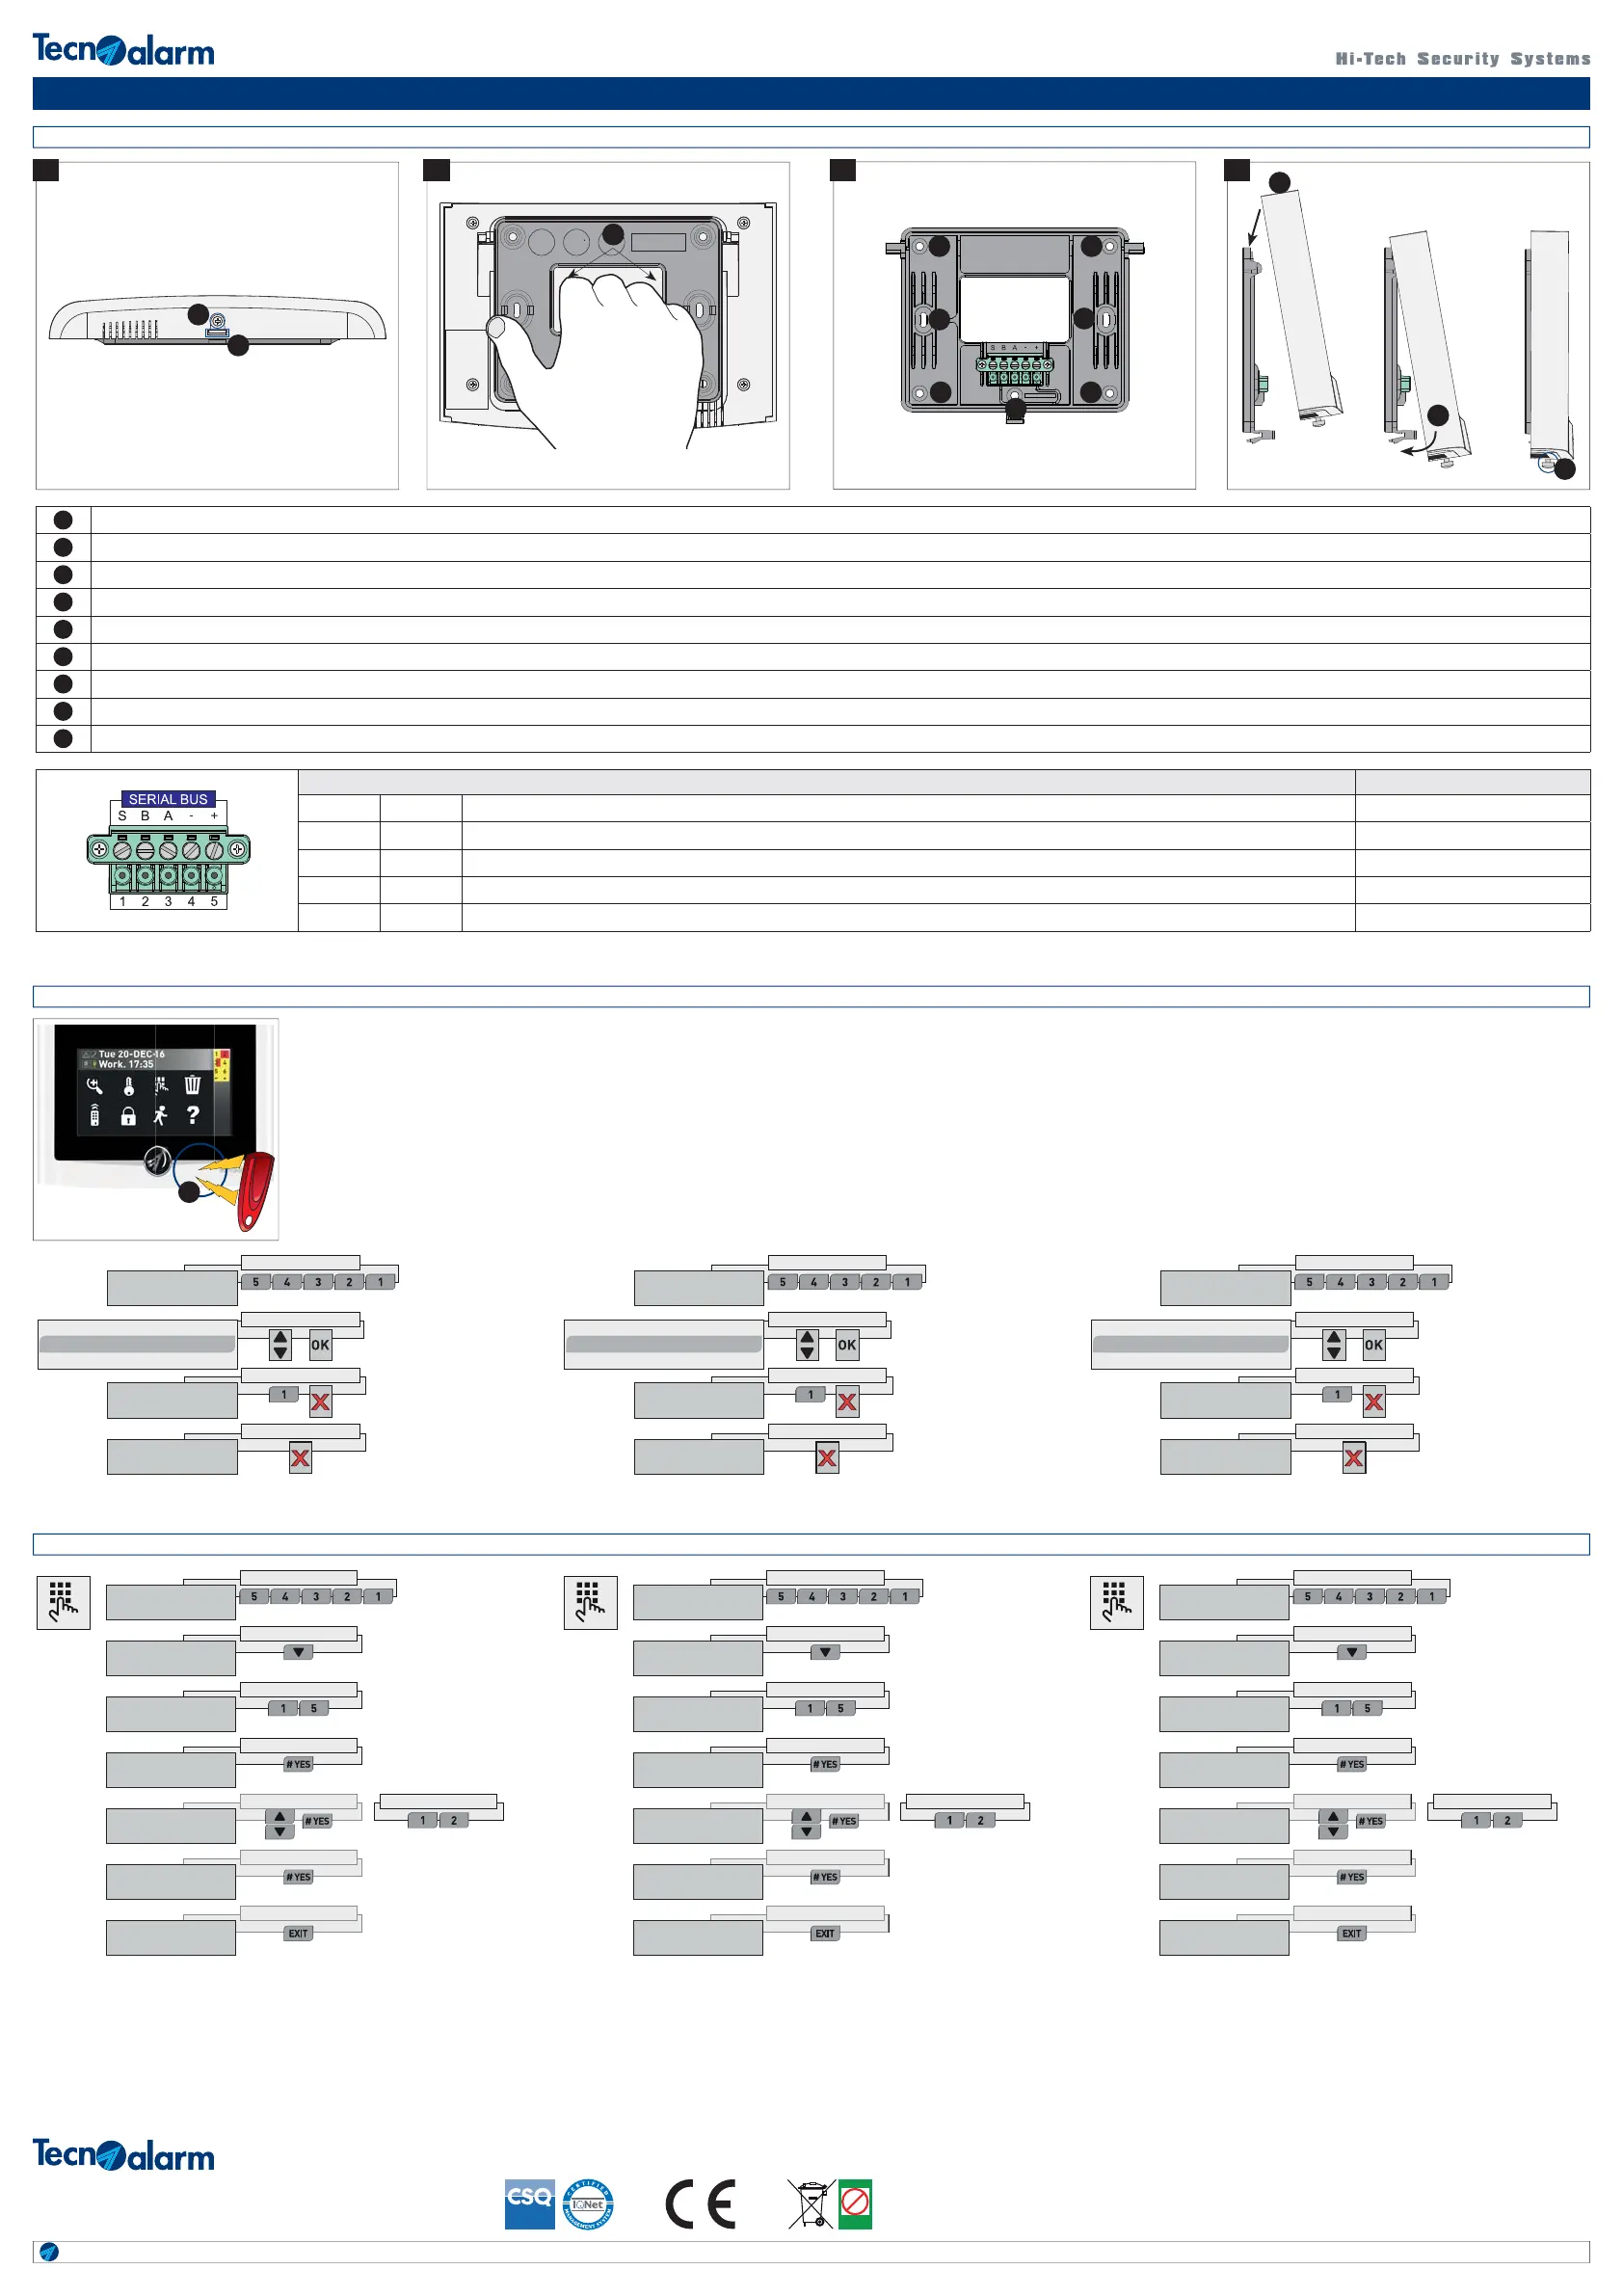
INSTALLATION / INSTALACIÓN / INSTALLATION
Errichtercode
PROGRAMMING OF THE GRAPHIC CONSOLE / PROGRAMACIÓN DE LA CONSOLA GRÁFICA / PROGRAMMIERUNG DES GRAPHIKDISPLAYS
Installer code
FRI 06-MAY-16
Work. 17:35
Access
Installer
Menu 1
Remote controls
Menu 15
Consoles
Consoles
Console 01
Console 01 12
Graphic [ ]
Console 01 12
Graphic [#]
Access the menu
Select the menu
Confi rm
Select the console Select the menu
Enable option
Exit
Fre 06-MAI-16
Werk. 17:35
Zugri
Errichter
Menu 1
Fernsteuerungen
Menu 15
Bedienteile
Bedienteile
Bedienteil 01
Bedienteil 01 12
Graphic [ ]
Bedienteil 01 12
Graphic [#]
Menü öffnen
Menü wählen
Bestätigen
Bedienteil wählen Menü wählen
Option aktivieren
Verlassen
Vie 06-MAY-16
Labo. 17:35
Acceso
Instalador
Menú 1
Telecomandos
Menú 15
Consolas
Consolas
Consola 01
Consola 01 12
Gráfi co [ ]
Consola 01 12
Gráfi co [#]
Código instalador
Acceso al menú
Seleccione el menú
Confi rme
Seleccione la consola Seleccione el menú
Habilite la opción
Salida
A
PROGAMMING OF THE SERIAL ADDRESS / PROGRAMACIÓN DE LA DIRECCIÓN SERIAL / PROGRAMMIERUNG DER ADRESSE
Um von der Alarmanlage erkannt zu werden, muß dem Bedienteil
UTS 4.3 PROX eine Adresse zugeordnet werden. Die Programmierung geschieht
direkt auf dem Bedienteil.
Zugriff auf das Menü
A - Halten Sie den Magnet (rot) vor den für Magneten empfi ndlichen Bereich,
um das Menü Einstellungen zu öffnen.
Para que la consola UTS 4.3 PROX sea reconocida por el sistema de alarma es
necesario asignar una dirección serial. La programación de la dirección serial se
hace directamente en la consola.
Acceso al menú
A -
Acerque el imán (rojo) al campo magnético para visualizar el menú parámetros.
In order that the UTS 4.3 PROX console
is recognized by the alarm system,
it must be assigned a serial address.
The programming of the serial address
is made directly on the console.
Access to the menu
A - Approach the magnet (red) to the
magnetic fi eld to view the Settings menu.
Settings menu
Enter code
Einstellungen-Menü
Code eingeben
Menú parámetros
Teclee el código
Backlight HintergrundbelauchtungRetroiluminacion80% 80%80%
0 00
40% 40%40%
Address AdresseDirección
Volume buzzer Lautstärke BuzzerVolumen buzzer
Address
0
Adresse
0
Dirección
0
Settings menu
Release 0.0.04
Einstellungen-Menü
Version 0.0.04
Menú parámetros
Versión 0.0.04
Installer code ErrichtercodeCódigo instalador
Select the address Adresse wählenSeleccione la dirección
Enter the address Adresse eingebenTeclee la dirección
Exit the menu Menü verlassenSalir del menú
21ISTR10050
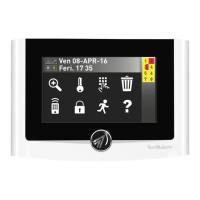
UTS 4.3 PROX
A Unscrew the screw / Destornille el tornillo / Lösen Sie die Schraube
B Unhook the tang with a slotted screwdriver / Desenganche la lengüeta con un destornillador plano / Haken Sie die Nocke mit Hilfe eines lachschraubenziehers aus
C Grasp the frame to unhook it / Empuñe el marco para desengancharlo / Greifen Sie in den Rahmen, um ihn oben auszuhaken
D Wall mounting holes / Agujeros de fi jación en la pared / Öffnungen für die Wandbefestigung
E
Holes for mounting in a 503 fl ushing box / Agujeros de fi jación para montaje en la caja para empotrar 503 / Öffnungen für die Befestigung an einer Unterputzdose 503
F Tamper mounting hole / Agujero de fi jación del contacto de tamper antiarranque / Öffnung für die Befestigung des Sabotagekontaktes (Abhebeschutz)
G Hook the console to the frame by pushing down / Enganche la consola al marco presionando hacía abajo / Haken Sie das Bedienteil auf die oberen Nocken am Befestigungsrahmen ein
H Turn the console by pushing it toward the frame / Gire la consola presionandola hacía el marco / Drücken Sie das Bedienteil gegen den Rahmen und haken Sie die untere Nocke ein
I Screw the locking screw / Atornille el tornillo de bloqueo / Ziehen Sie die Schraube fest
Description / Descripción / Klemmenbeschreibung Notes / Notes / Noten
1SVoice channel / Canal vocal / Sprachausgang Audio
2BChannel B serial bus / Canal B línea serial / Kanal B Schnittstelle Datas / Datos / Daten
3AChannel A serial bus / Canal A línea serial / Kanal A Schnittstelle Datas / Datos / Daten
4-Negative power supply serial bus / Negativo de alimentación línea serial / Negative Versorgungsspannung Schnittstelle -
5+Positive power supply serial bus / Positivo de alimentación línea serial / Positive Versorgungsspannung Schnittstelle +13.8 DC
 Loading...