9
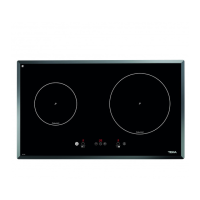
Double zone hot plate
T
he double zone hot plate offers the
possibility of using the inside ring or
a
lso, in addition, the outside one,
depending on the size of the pot or
pan.
CONNECTION / SWITCHING ON OF
T
HE DOUBLE HOT PLATE
1
Select the desired power (from 1 to
9) using the touch key or (6/5).
3 Press the double hot plate touch
key (7) to activate the second
zone. When the pilot light (14) swit-
ches on, it is working.
DISCONNECTING / SWITCHING
THE DOUBLE BURNER HOT PLATE
OFF
1 The double burner hot plate must
previously be selected.
2 Touch the touch key for the double
hot plate (7). The pilot light (14)
will switch off and the outer ring will
be disconnected.
Timer function
This function makes it easier to cook,
as you do not need to be present
throughout the process: the timed hot
plate(s) will switch off automatically
after the set time has lapsed.
With this model you can use the clock
as a timer for the hotplates for times
ranging from 1 to 99 minutes. All the
cooking areas can be programmed
individually. It can only be timed one
heater each time.
Timing one hotplate
1 Activate the clock using the touch
keys or (12/11).The indica-
tor (3) of the hotplates will display
the the symbol.
2 A hot plate has to be selected befo-
re 10 seconds. The selection of a
new heater disables the previous
selection in such a way that the
timer only operates on one heater
each time. Set a power level from 1
to 9 using the touch keys or
(5/6). It is posible for the user to
time a heater at power 0.
3 Enter a cooking time between 1 and
99 minutes, by using the touch keys
or (12/11). With the former
the value will start at 1, whereas with
the latter it will start at 99.
3
The clock display of the hot plate
(15) light and the clock indicator
(
10) will start to count down the time
automatically.
Once the selected cooking time has
elapsed, the heating zone being timed
is turned off and the clock emits a series
o
f beeps for one minute. The timer indi-
cator will display a flashing 00. The
a
larm can be cancelled at any time by
pressing any sensor.
If the heating zone turned off is hot, its
indicator shows an H or otherwise an
0. To turn off the audible signal touch
any sensor.
Changing the programmed time.
To change the programmed time, you
must press the touch key or
(12/11).
DISCONNECTION OF THE TIMER
If you want to stop the timer before the
programmed time is up.
1 Use the touch key (11) to redu-
ce the time to 00. The clock is can-
celled.
For quick switch-off: repeat step 1 as
above. Simultaneously pressing the
and touch keys (11 and 12) the
timer will be disconnected.
Safety switch off function
If due to an error one or several hea-
ting zones do not switch off, the
appliance will be automatically discon-
nected after a set amount of time (see
table 2).
When the "safety switch off" function
has been triggered, a 0 is displayed if
the glass surface temperature is not
d
angerous for the user or an H if there
is a burn risk.
Keep the control panel of the
heating areas clean and dry at all
times.
I
n the event of operating pro-
blems or incidents not mentioned in
t
his manual, disconnect the
appliance and contact the TEKA
technical service.
Suggestions and
recommendations
* Use pots or pans with thick, comple-
tely flat bottoms.
* Pots/pans with a smaller diameter
than the shown heating area are not
recommended.
* Do not slide pots and pans over the
glass because they could scratch it.
* Although the glass can take knocks
from large pots and pans without
sharp edges, try not to knock it.
* To avoid damaging the ceramic
glass surface, do not drag pots and
pans over the glass and keep the
undersides of them clean and in
good condition.
Try not to spill sugar or pro-
ducts containing sugar on the glass
as while the surface is hot these
could damage it.
Cleaning and maintenance
To keep the appliance in good condi-
tion, clean it using suitable products
and implements once it has cooled
down. This will make the job easier
and avoid the build-up of dirt. Never
use harsh cleaning products or tools
that could scratch the surface, or ste-
am-operated equipment.
Light dirt not stuck to the surface can
be cleaned using a damp cloth and a
gentle detergent or warm soapy water.
However, for deeper stains or grease
use a special cleaner for ceramic hot
plates and follow the instructions on the
bottle. Dirt that is firmly stuck due to
being burned repeatedly can be remo-
ved using a scraper with a blade.
Slight tinges of colour are caused by
pots and pans with dry grease residue
underneath or due to grease between
the glass and the pot during cooking.
These can be removed using a nickel
1
2
3
4
5
6
7
8
9
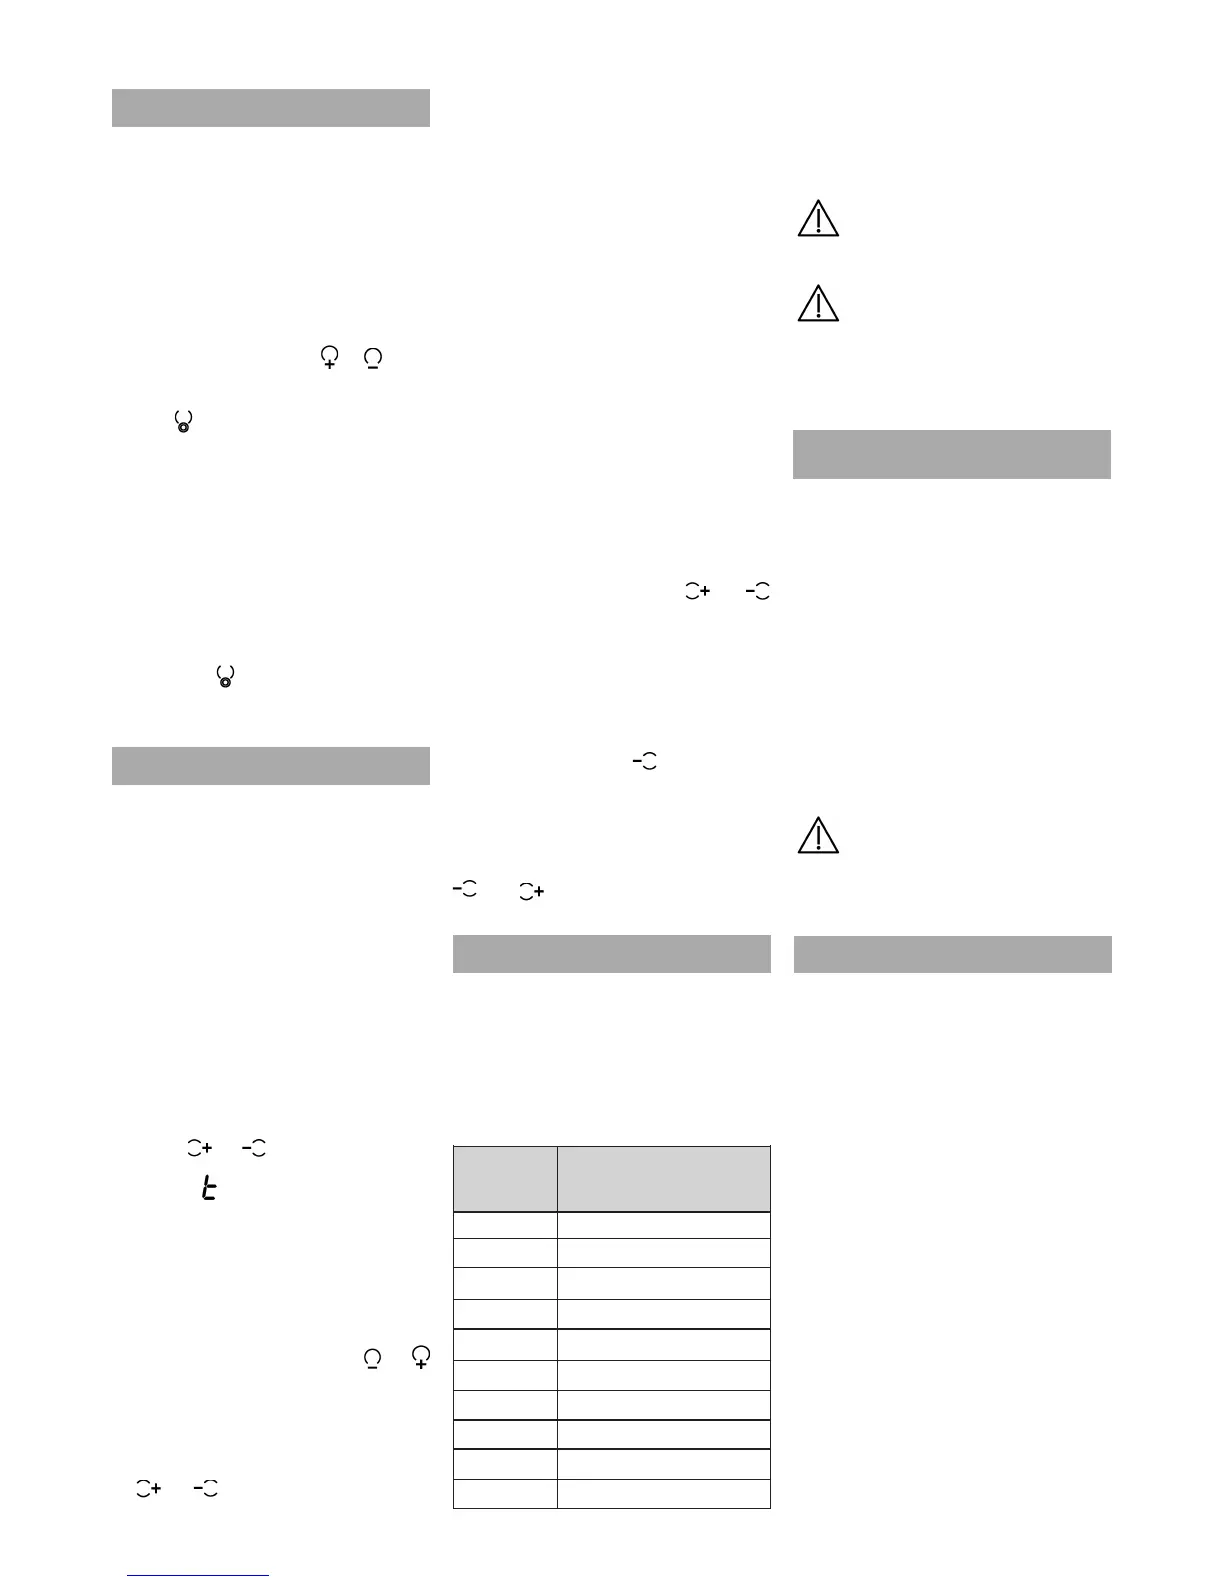
P
Table 2
Selected
power level
MAXIMUM
OPERATING TIME
(in hours)
10
5
5
4
3
2
2
2
1
10 mins.
 Loading...