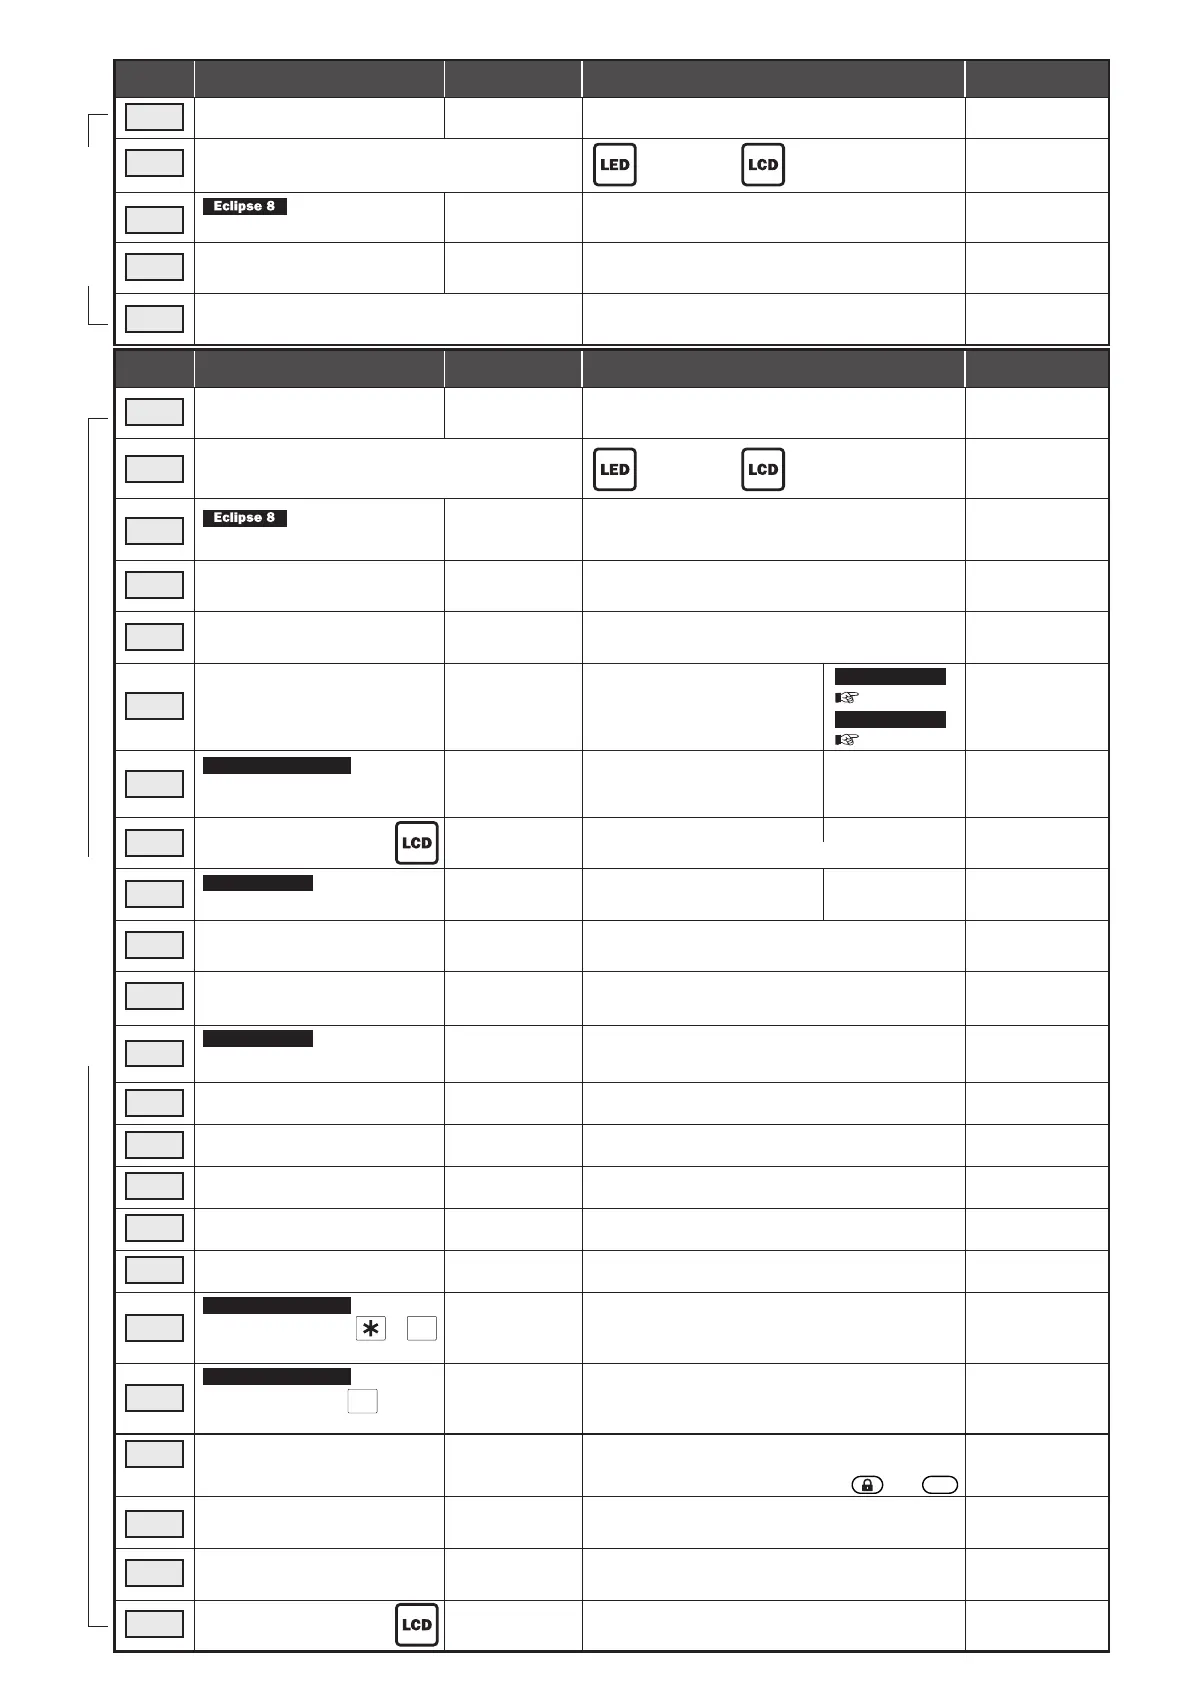
Address Description Settings
Submenu
Default
2. Description of the Programming Menus - Address Tables:
01
1
Changing user access codes
Changing own access code
Press button “0” to delete the current code,
enter new access code and confirm
Enter user
number
Manager - 0000
Users - No
02
03
3
04
4
5
05
06
07
08
09
10
11
13
14
21
22
90
92
91
Memory LOG file review
Chime setting
Chime setting
Zone bypassing
Zone bypassing
Adding/Deleting OwnUser Card
Engineer access
Attributes for User rights
User areas
User names
User Timeslots
User Porxi card attributes
Adding / Deleting proxycards
Cloning of user attributes and
rights
Setting the time
Function of button
of BRAVO RC-41
Buzzer level
Scroll speed setting
Brightness of the buttons and
display backlit
Enter user
number
Enter user
number
Enter user
number
Enter user
number
Enter user
number
Enter user
number
Manager -
All rights
Users -
Partial Rights
DISABLE - The chime is disabled
ENABLE - The chime is enabled
DISABLE - The chime is disabled
ENABLE - The chime is enabled
NOT BYPASSED - The zone is not bypassed.
BYPASSED - The zone is bypassed
NOT BYPASSED - The zone is not bypassed.
BYPASSED - The zone is bypassed
DISABLED
DISABLED
ENABLED
Enter zone
number
Enter zone
number
DISABLE - The engineer access is disabled.
ENABLE - The engineer access is enabled.
1 - Disarming
2 - Stay/Sleep ARM
3 - Bypass
4 - Programming
8 - Manager
Enter in sequence a user source code, then
first user code to clone, and at the end - the
last user code to clone.
Enter actual hour and minutes using time
format [HH:MM].
18
Manual test for communication
Sending of test messages to central monitoring
station.
Adjust the buzzer volume level from 1 to 4.
Use the arrows to increase or decrease volume.
Enter the scroll speed for displaying text
messages on the LCD - 1 to 7.
Adjust the backlit level from 1 to 7.
Use the arrows to increase or decrease value.
Event code;
Event text description
with date and time
1, 2, 3, 4
1, 2, 3, 4, 8
Enter area numbers
associated for the respective
user number.
Enter user name up to 16 symbols -
use the digit buttons for text enter.
USER XX
0 (Eclipse 32)
00 (Eclipse 99)
1, 2, 3
(Sleep Arming)
00:00
15
Setting the date Enter actual date using format [DD/MM/YY].
01/01/19
16
Remote access
Enter the permissible number of invalid access
codes for remote access - value 000 to 255.
10
2
0 /Unused/
0 /Unused/
4
3
Enter timeslot number
associated for the respective
user number
1 - Disarming; 2 & 3 - Arming
(2+3 = Sleep; 2 * = Stay; * 3 = Full)
Place the card in front of the proxi reader until
a confirmation signal is heard.
To delete a card press and hold the “0” button.
17
Remote access attributes
1, 2, 3, 4, 6
1 - Disarm; 2 - ARM; 3 - Codes Access;
4 - Programming; 6 - Bypass
0 - Not used; 1 - Sleep ARM; 2 - Stay ARM;
3 - Fire alarm; 4 - Medical alarm; 5 - Police alarm
6 - PGM Switch
0 - Not used; 1 - Sleep ARM; 2 - Stay ARM;
3 - Fire alarm; 4 - Medical alarm; 5 - Police alarm
6 - PGM Switch
Address Description Settings
Submenu
Default
MANAGER Menus USER Menus
Manager:
All Areas
Users:
Area 1
2
Memory LOG file review
Event code;
Event text description
with date and time
Use Button “2” for additional information;
Use button “1” to return to date and time showing screen.
Use Button “2” for additional information;
Use button “1” to return to date and time showing screen.
Press button “0” to delete the current code,
enter new access code and confirm
Enter user
number
Enter user
number
Function of buttons &
of BRAVO RC/RC-41/RC-11
A
B
Eclipse 32/99
Eclipse 8+/16/32/99
Eclipse 32/ 99
Eclipse 32/ 99
Eclipse 32: 1-8
Eclipse 99: 01-16
Eclipse 8+: 1-3
Eclipse 16: 1-3
Eclipse 32: 1-8
Eclipse 99: 01-16
Place the card in front of the proxi reader until
a confirmation signal is heard.
To delete a card press and hold the “0” button.
6x
(x: 1-8)
Menus for entering
VD Phone numbers
(8 telephone numbers)
Number of the
phone
Enter a telephone number for remote control and
voice messaging for the Eclipse VD voice dialler.
To delete a number press buttons and
5
Eclipse 8/8+/16
Eclipse 8+/16/32/99
Eclipse 8+/16/32/99
 Loading...