2. Take a picture of the exposed wires
3. Use the needle nose pliers to remove one wire off at a time, ensure to label it with the
associated letter
a. Must have one W and one R wire
4. If wire is not labeled, consult an HVAC specialist before proceeding
5. Once all wires are removed and labeled, remove the old Thermostat
Requirements Before Repositioning of Smart Thermostat
Ensure the Smart Thermostat is compatible with your home’s heating system.
1. Works with low voltage systems of 24 Volts AC
2. Base heaters are mostly likely not a low voltage system, consult your product manual
or manufacturer
3. Turn off all heating systems
4. Turn off all cooling systems
5. Furnace or breaker is switched off
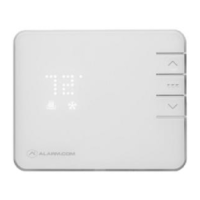
Repositioning of Smart Thermostat
1. Secure the baseplate for the new thermostat
a. Use the bubble level on the back plate as a guide
b. With a pencil mark where the screws go
c. Use drywall anchors for added support
2. Connect labeled wires to the new Thermostat
a. Match the wire label to the corresponding terminal and insert
b. Give it a slight pull and it should lock into place
c. Take a picture of the inside wired labels, you will need to reference this later
when enrolling Thermostat
3. Install batteries in Thermostat
4. Attach body of Thermostat onto baseplate
5. Turn power back on to the Thermostat