KILNS & FURNACES
Electric in air to 1800°C • Research • Heat treatment
Controlled atmosphere • Melting • Gas, Natural/LPG to 2300°C
Tetlow Kiln Pty. Ltd. ABN: 26 166 832 300 54 Howleys Road, Notting Hill, 3168 Victoria Australia
T: +61 3 8545 8296 F: +61 3 9544 2723 E: info@tetlow.com.au www.tetlow.com.au
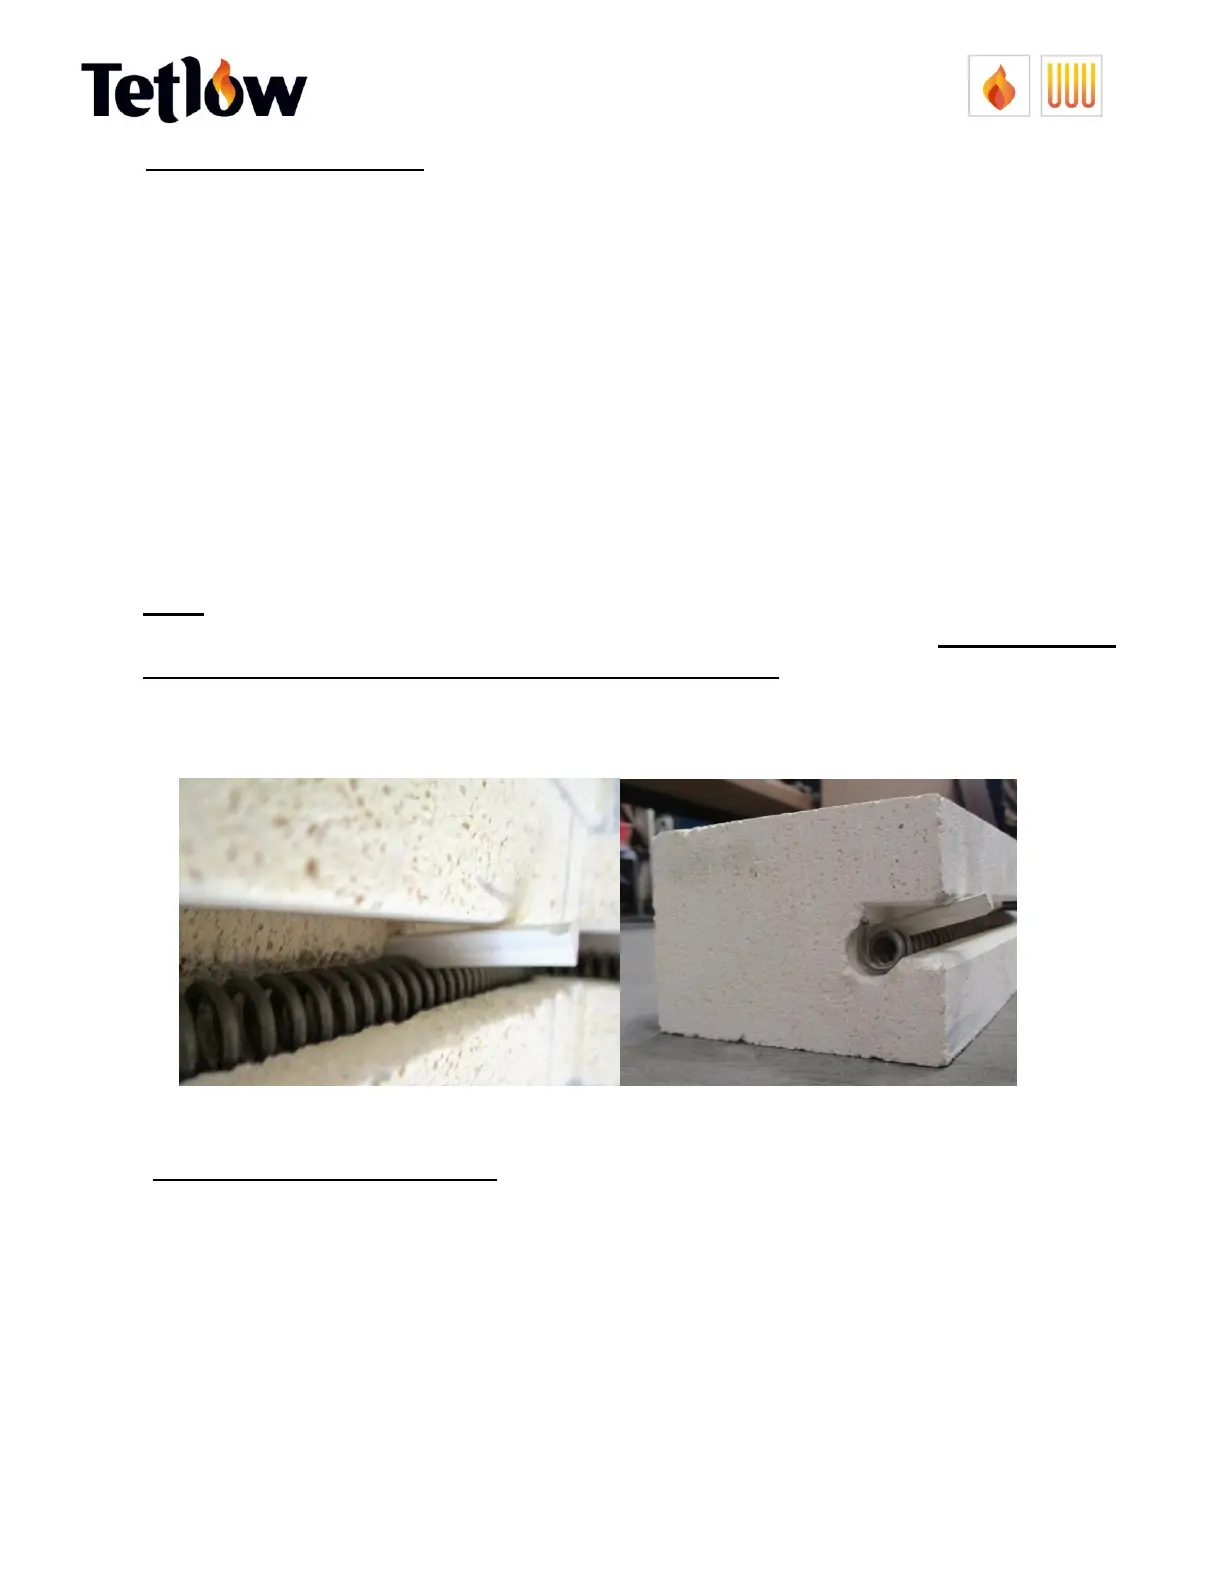
11.1 FITTING ELEMENT PINS
1. Drill hole by hand using a drill bit (smaller than ceramic pin, say around 5 mm) hold drill bit
between fingers and rotate.
2. Drill into the brick at the corner of the kiln in the back of the groove, the hole should be on
a slight downwards angle.
3. If element is not sitting at the bottom of the groove then wedge down with a small section
of wood or similar, do not forget to remove before firing.
4. Drill in approximately 25 to 35 mm deep.
5. Put pin into hole and very gently tap in with a piece of wood or soft hammer.
6. It does not matter if the ceramic protrudes out the front of the brick.
7. Do not remove the ceramic pin after installation.
8. Pins should be left in to keep element from jumping out of the corner.
Note:
If your elements have been fired they will be brittle and probably break, we recommend
this operation be done by a qualified kiln technician, during the above operation. If
elements have turned brittle the only way to get them down or back into groove is to use
gas torch and heat then red hot and manually put them in position.
11.2 RESISTANCE TO CHEMICALS
Reducing gases with a sulphur content reduce the life of your kiln’s electric elements, and a
kiln atmosphere containing halogens (such as fluorine and chlorine) are highly detrimental
to electric elements.