SECTION 5 LYCOMING OPERATOR’S MANUAL
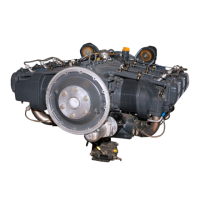
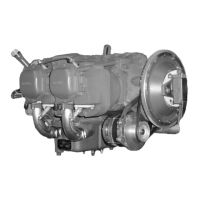
MAINTENANCE PROCEDURES O-320 SERIES
(Impulse Coupling Magneto) – Hold the T1 or B1 lead wire spring 1/16 in. to 1/8 in. away from
the magneto frame and turn the impulse coupling one click at a time until a strong spark jumps
between the spring and the frame. Hold the magneto firmly so the coupling will not move beyond
the point where it trips and the spark occurs. Reverse the rotation approximately 25° until the
timing pin hole appears in the center of the vent plug hole. Hold the rotor by inserting the timing
pin and line the timing pin with the center of the vent plug hole.
(Conventional Magneto) – Hold the B1 lead wire spring 1/8 in. away from the frame. Turn the
gear counterclockwise vigorously through the flux lines until a strong spark occurs at the lead.
Reverse the rotation into the flux until the timing pin hole appears in the center of the vent plug
hole and insert the timing pin into the hole.
(3) Being sure that the gear does not move from this position, install gaskets and magnetos on the
engine. Secure with washers and nuts; tighten only finger tight.
NOTE
In order to turn the shaft on an impulse coupling magneto, depress the pawl on the impulse
coupling with the finger.
(4) Using a battery powered timing light, attach the positive lead to a suitable terminal connected to
the ground terminal of the magneto and the negative lead to any unpainted portion of the engine.
Rotate the magneto in its mounting flange to a point where the light comes on, then slowly turn it
in the opposite direction until the light goes out. Bring the magneto back slowly until the light just
comes on. Repeat this with the second magneto.
NOTE
Some timing lights operate in the reverse manner as described above, the light comes on
when the breaker points open. Check your timing light instructions.
(5) After both magnetos have been timed to the engine, check, as described below, to ascertain that
both magnetos are set to fire together.
(6) Back off the crankshaft a few degrees, the timing lights should go out. Being the crankshaft slowly
back in direction of normal rotation until the timing mark and the hole in the starter housing are in
alignment. At this point, both lights should go on simultaneously. Tighten nuts to specified torque.
c. Generator or Alternator Output – The generator or alternator (whichever is applicable) should be
checked to determine that the specified voltage and current are being obtained.
2. FUEL SYSTEM.
a. Repair of Fuel Leaks – In the event a line or fitting in the fuel system is replaced, only a fuel soluble
lubricant such as clean engine oil or Loctite Hydraulic Sealant may be used on tapered threads. Do not
use Teflon tape or any other form of thread compound. Do not apply sealant to the first two threads.
b. Carburetor Fuel Inlet Screen Assembly – Remove the assembly and check the screen for distortion or
openings in the strainer. Replace for either of these conditions. Clean screen assembly in solvent and
dry with compressed air and reinstall. The fuel inlet screen assembly is tightened to 35-40 in.-lbs. The
hex head plug on pressure carburetor is tightened to 150-175 in.-lbs.
5-4
 Loading...