2322
Radio-controlled alarm clock
Important information on product safety!
• Do not expose the device to extreme temperatures, vibrations or
shocks.
• Protect it from moisture.
• Clean the device with a soft damp cloth. Do not use solvents or
scouring agents.
3. Elements
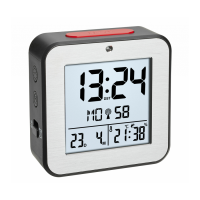
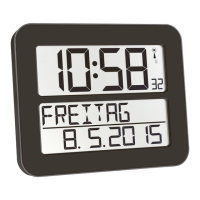
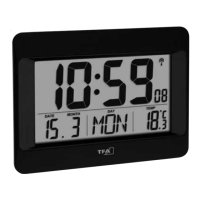
A: Display (Fig. 1):
A 1: AM/PM
A 2: Time
A 3: Symbol Daylight Saving Time (DST)
A 4: Alarm time 1 (activated)
A 5: Day of the week
A 6: DCF reception symbol
A 7: Seconds
A 8: Alarm time 2 (activated)
A 9: Date/alarm time 1
A 10: Temperature and humidity/alarm time 2
Radio-controlled alarm clock
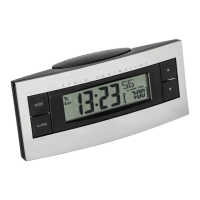
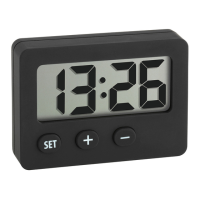
B: Buttons (Fig. 1-3):
B 1: SNOOZE/LIGHT button
B 2: AUTO LIGHT ON/OFF switch
B 3: WAVE button
B 4: TIME button
B 5: ALARM Taste
B 6: ALARM 1 ON/OFF switch
B 7: + button
B 8: – button
B 9: ALARM 2 ON/OFF switch
C: Housing (Fig. 1-3):
C 1: Light sensor
C 2: Battery compartment
4. Getting started
• Open the battery compartment and insert two new AA 1,5 V batter-
ies. Make sure the polarity is correct.
• Close the battery compartment again.
TFA_No. 60.2547_Anleitung_11_19 14.11.2019 19:17 Uhr Seite 12