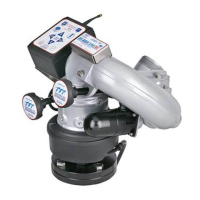
Using the meter
1. Place the Reflectometer on the calibrated reference tile supplied with it and move the slide switch to the
left. The green light indicates that the meter is switched on. The red light indicates a low battery (see the
section on charging for more information).
2. When switched on, the meter reading will drop from its initial value as the meter warms up. Allow one
minute warm-up time, or wait until the reading shows no further drop.
3. Once the reading is sufficiently stable, calibrate the meter by using the coarse and fine calibration dials on
the top face of the meter so that the display reads the value shown on the ceramic calibration tile and
certificate. Our calibration process ensures that your meter will then read 100% in the conditions outlined
in the certificate. This ensures that different Type 3 meters will give comparable readings.
4. Move the meter from the calibrated reference tile to the material sample to be tested, and record the
reading shown on the display. You must make sure that the sample covers the whole of the glass aperture
on the base of the machine. If the sample does not cover the whole area, the meter reading will include
some contribution from the desk surface giving a false reading.
5. After each reading return the meter to the calibrated tile. Before taking the next readings check that the
meter is still calibrated correctly and adjust if required.
6. Avoid using the meter very close to mobile phones or computers as the radiation they produce can cause
fluctuations in the meter reading.
Ensuring consistent readings
The TFT meter is sensitive to very small changes in light levels. As with all physical measurements, you will obtain
a more accurate reflectance value for each sample if several readings are taken and the results averaged. The
degree of variability will depend on the material under test. The material may not have the same whiteness across
the whole piece.
The orientation of the meter with respect to the material may affect the reading. This is more marked for materials
with rougher surfaces, such as terry towelling, twills or velvets, where the exact positioning of the pile strands will
create shadow areas which will affect the reading. In these cases, take particular care that the pile is flattened as
much as possible.
The number of readings you should take for each sample will be determined by the level of accuracy you require. If
you only need to know the whiteness within a range, a single reading may be sufficient. If you need a more closely
accurate reading we recommend you repeat the reading for each sample at lease 4 times, turning the sample by 90
degrees each time. By rotating the sample you will allow for the variation in whiteness caused by the fabric
structure. In most cases, this will give an acceptable degree of accuracy.
Even with a smooth cotton sheet this rotation can give a difference in reading of 3 or more units. If you need to
know the whiteness to a closer tolerance than this, the sample rotation and repeat readings are critical to getting
consistent, average results. You may also choose to measure both sides of a double-sided fabric.
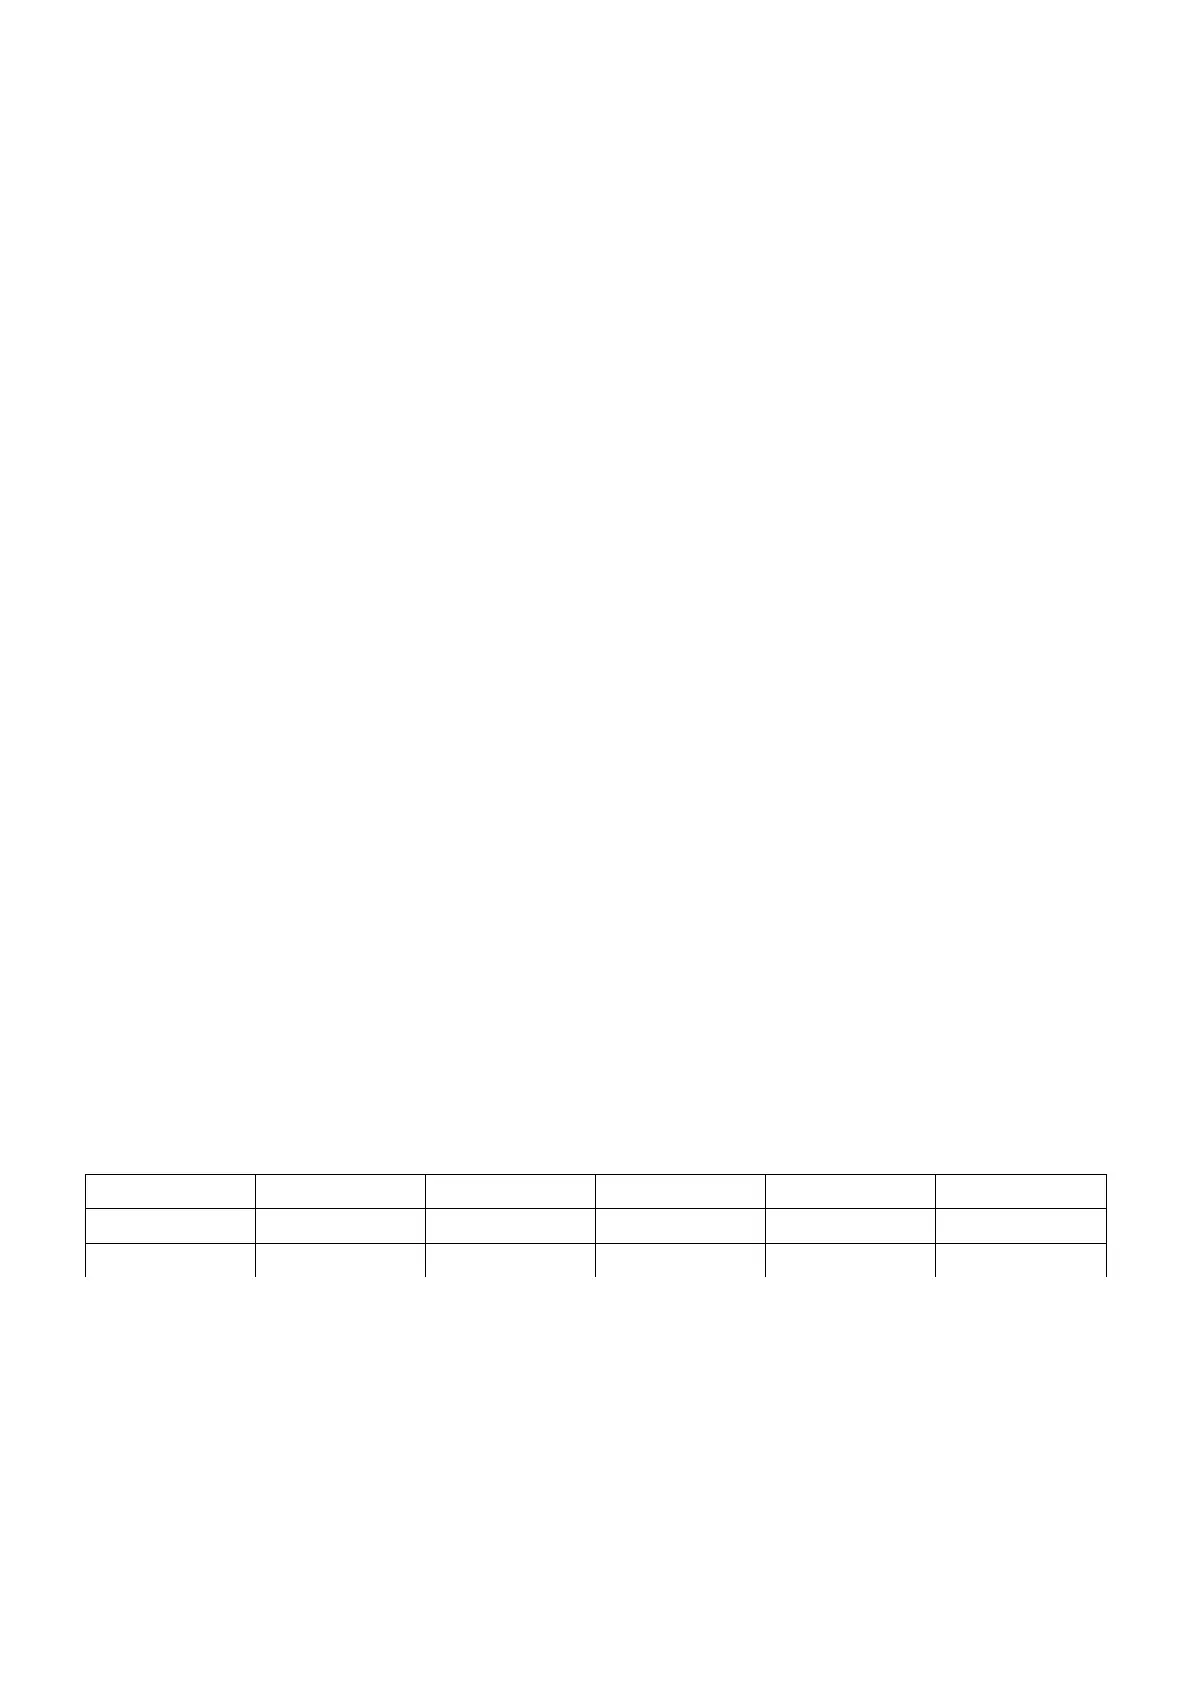
The following table illustrates the sort of readings you may expect from following the above procedure:
North West South East Average
Material front 74 71.4 74.2 71.5 72.8
Material rear 73.6 71.5 73.3 71.5 72.5
These figures show that any single reading does not give a fair representation of the reflectance value for the
material overall.
If you need even higher accuracy, the number of repeats should be increased until you have the accuracy you
need. For the difficult fabrics mentioned above this could mean repeating the reading 8 or even 16 times.
 Loading...