22
3. Laying the Floor Tiles
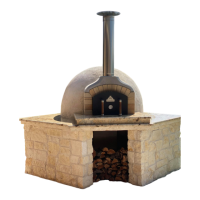
3A - LAY FRONT CENTER TILE
Lay the front-center tile, making sure it’s level with
your stand so that the other tiles can be laid ush and
level with it.
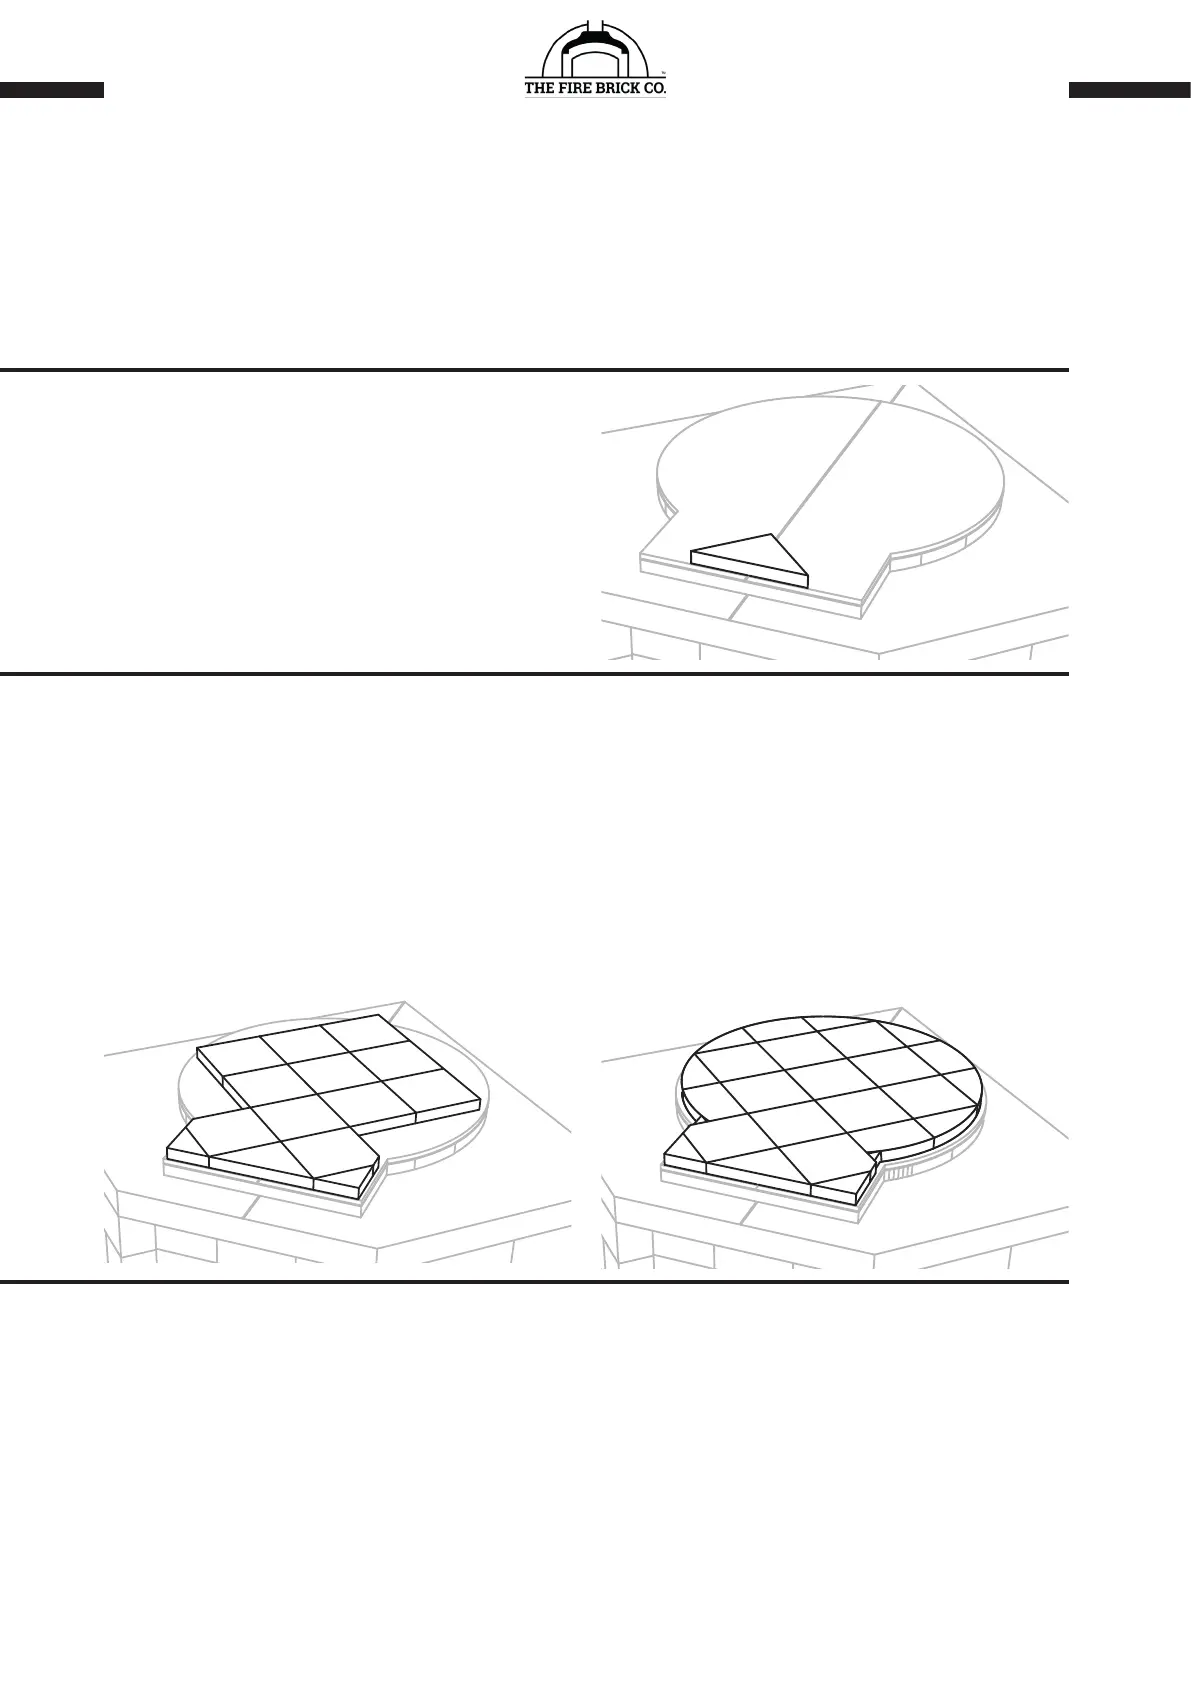
3B: LAY REMAINING FLOOR TILES
Continue the process and bed each tile down into the Hybrid Bedding Mortar mixture, ensuring that each is level
and the edges are ush with each other (as close as you can). Use the diagram above to set out the remaining
oor tiles. Make sure the tile marked ‘C’ is placed in the center, as this is where your trammel tool will pivot
from. Keep the joints between the tiles as tight as possible, remembering that gaps of up to 2mm are normal
and once they’re all laid, you can ll in the joints with the same mortar mix if you want (it’s not necessary).
Leave the Floor Tiles to set for at least 12 hours before starting the construction of the dome.
3C: GRIND HIGH EDGES
If there are any raised edges at joints between the tiles, these can be ground back using an angle grinder with
a masonry grinding disc or sanding disc. Do this before you build the dome, while you have easy access. Don’t
grind the tiles unless you absolutely have to! Only grind the high spots that you might catch your oven tools
on. Refer to the video instructions for more detail.
Reminder - you need to watch the instructional videos to get a full understanding of the process, please don’t
rely on these written instructions alone. Don’t feel like you need to watch them all at once - just watch the
section that you’re about to do before you do it, so that it’s fresh in your mind.
 Loading...