
B
banksmeganAug 7, 2025
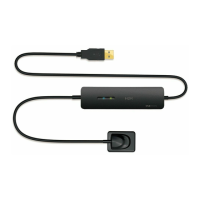
What to do if The Handy All in One Printer computer can’t recognize the sensor?
- RryanriceAug 7, 2025
If your computer doesn't recognize the sensor of The Handy All in One Printer, try using a different USB port and reinstalling the driver program.