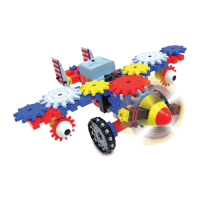
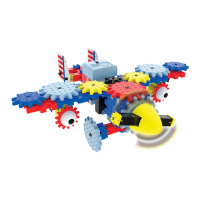
Do you have a question about the The Learning Journey Techno Gears Bionic Bug and is the answer not in the manual?
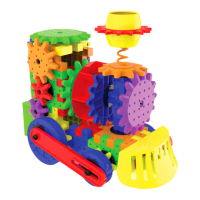
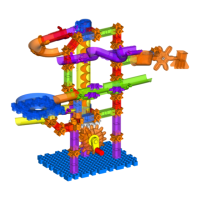
Initial assembly of base components including gears and connectors.
Building a larger structure using multiple gear and connector pieces.
Constructing a section with interlocking gear and connector blocks.
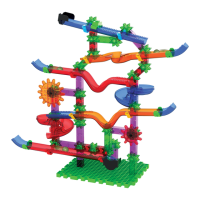
Assembling another part of the structure with multiple colored blocks.
Connecting a red, cone-shaped piece to a set of gears.
Attaching a red, cone-shaped piece to a blue component.
Connecting blue and red blocks with gears and a red cone.
Adding green and blue components to the existing structure.
Attaching a red cone piece to a blue and green assembly.
Connecting a yellow gear to a blue base with a red cone.
Adding yellow gears to a blue base with a red cone.
Attaching yellow gears and a red cone to a blue structure.
Finalizing the main body with gears and a red cone.
Adding yellow gears and a red cone to the main body.
Connecting a yellow gear to a blue base with a red cone.
Attaching multiple yellow gears and red cones to the structure.
Adding yellow gears and red cones to the assembled robot.
Connecting yellow gears and red cones to the robot body.
Attaching yellow gears and red cones to the robot's head.
Connecting yellow gears and red cones to the robot's head.
Attaching a grey wheel and a black base.
Connecting a black circular piece to a grey wheel.
Connecting blue gears and a red cone.
Attaching blue gears and a red cone to a blue base.
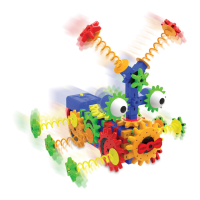
Attaching red star-shaped gears.
Connecting red star-shaped gears and red cones.
Adding red star gears and red cones to the robot's legs.
Completing the robot's legs with red star gears and red cones.
| Brand | The Learning Journey |
|---|---|
| Model | Techno Gears Bionic Bug |
| Category | Toy |
| Language | English |