10
© Third Dimension Confidential Document D13-1604-OP-EN-3.3
V7.5
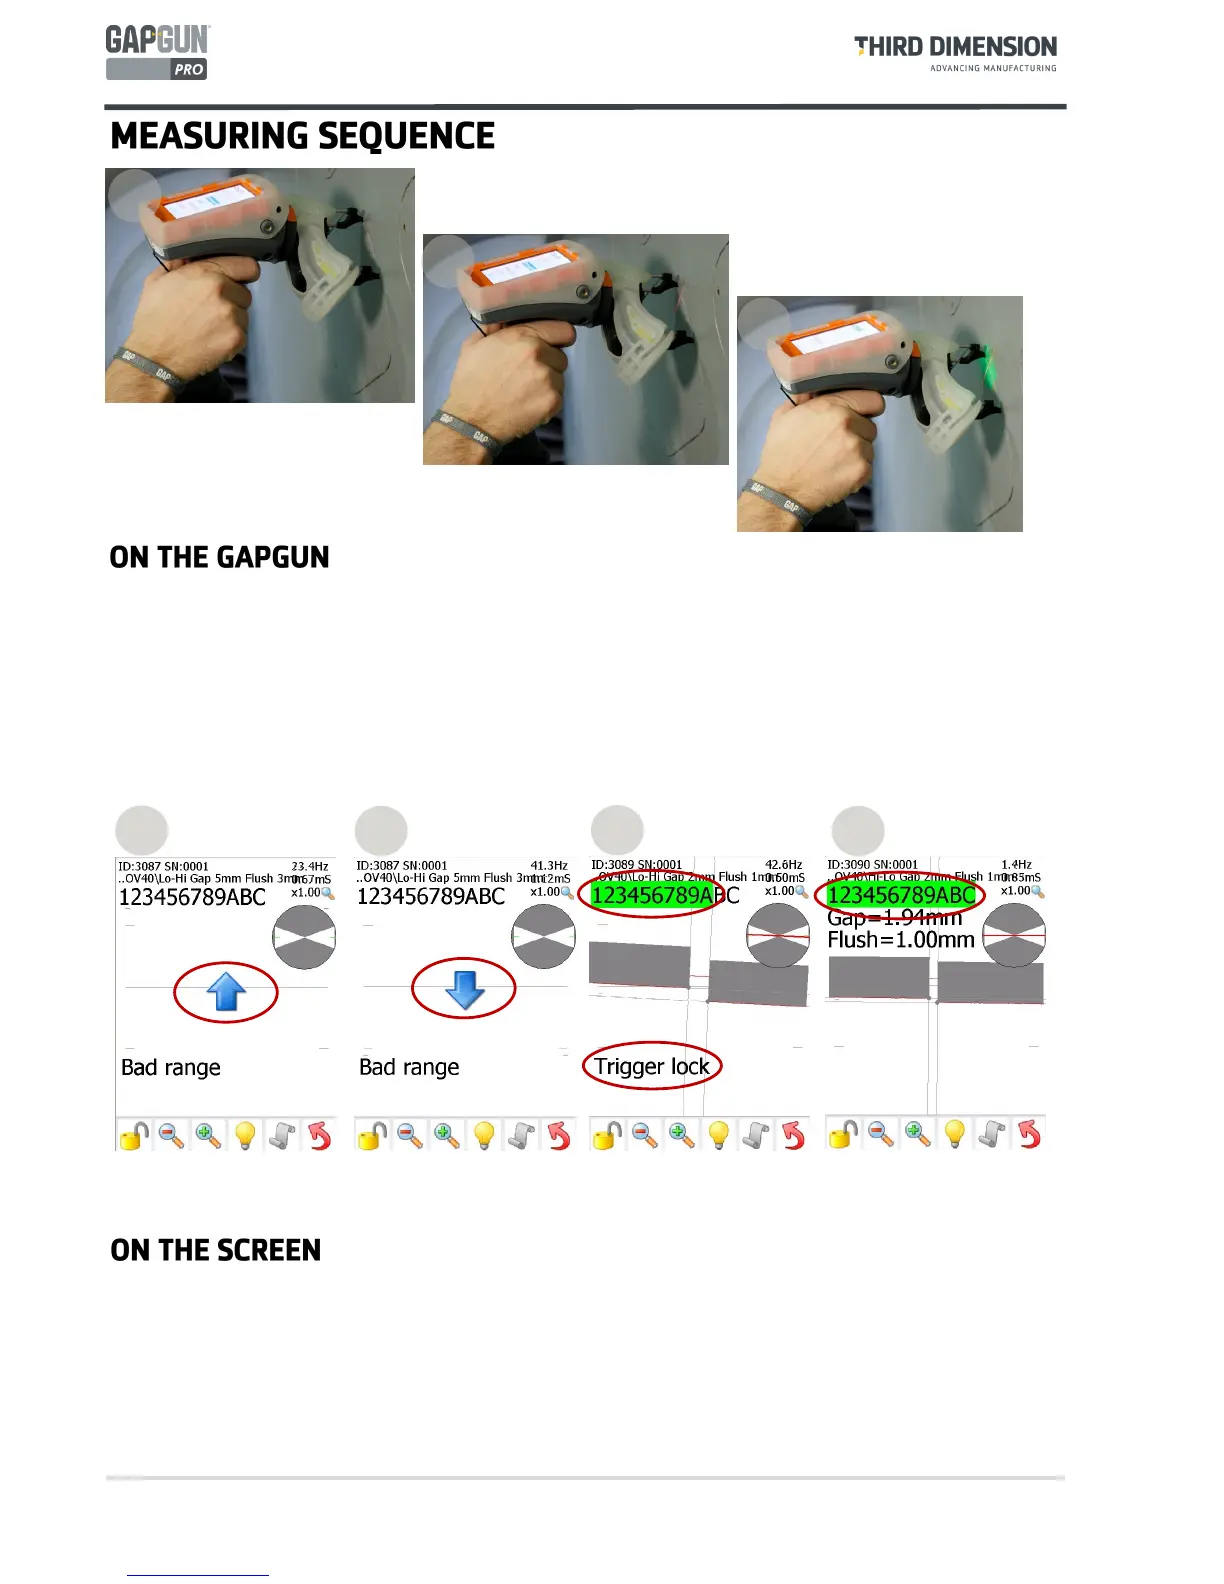
11. Start with the GapGun 10cm/4” away from the feature, then pull the trigger. If standoffs are being used then
locate them on the object and this will place the GapGun in the correct range immediately.
12. Aim the laser line at right angles across the feature. Move the GapGun closer keeping it perpendicular to the
feature. The arrows on the display show whether to move the GapGun towards or away from the feature.
13. When the GapGun is at the best position the green LEDs will appear. When the count reaches eight the
measurement is made. The measurement can be delayed by keeping the trigger pulled.
13
12
11
14. The GapGun should to be moved closer to the feature.
15. The GapGun should be moved away from the feature.
16. The green LEDS will be lit and the counters will start to turn green. “Trigger Lock” is displayed when
measurement has been delayed by pulling the trigger.
17. When the counters all turn green the GapGun will beep and the measurement will be made.
If “Measurement Failed” is shown try again, however this may mean that the wrong virtual tool is being used.
14
15
16
17
 Loading...