Do you have a question about the Thule 100103 and is the answer not in the manual?
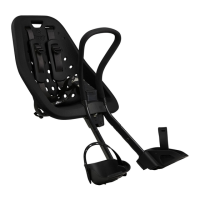
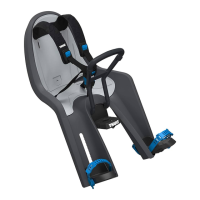
Specifies age, weight, and frame diameter compatibility for the child seat. Ensures correct fit for safety.
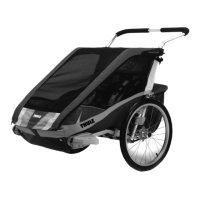
Illustrates proper and improper seat mounting and usage, including speed limits for safe operation.
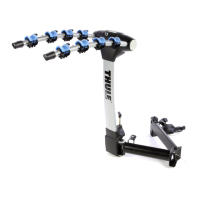
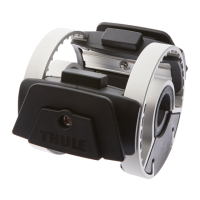
Details the assembly of the mounting bracket components, showing two methods of connection.
Instructions for securely attaching the mounting bracket to the bicycle frame using specified torque.
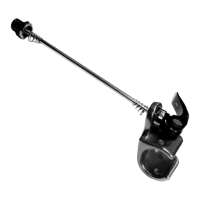
Differentiates between handlebar diameters (20-28mm and 28.6mm) for adapter selection.
Illustrates the process of attaching the selected handlebar adapter to the bike's handlebars.
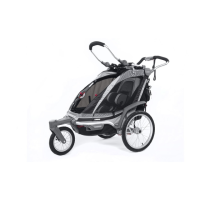
Guides on how to slide and connect the child seat onto the mounted bracket.
Shows the mechanism for locking the child seat securely onto the mounting bracket.
Instructions on how to adjust the recline angle of the child seat for comfort.
Guidance on adjusting the height and fit of the child's shoulder harness.
Demonstrates how to fasten the child's safety harness buckles.
Shows how to tighten the harness straps for a secure and snug fit for the child.
Instructions for adjusting the height of the footrests and securing them in place.
Details on connecting and adjusting the main shoulder belts for the child.
Guidance on adjusting the foot straps to ensure the child's legs are properly secured.
Illustrates how to choose and set the desired recline angle for the seat.
Instructions for attaching the leg restraints for added safety.
A final step to ensure all components are tightened and the seat is secure.
Essential checks to perform before each ride to ensure the seat and child are safely secured.
Guidance on properly placing and securing the child within the seat before riding.
Details about the Thule One-Key System, including part numbers for lock cylinders.
| Category | Bicycle Accessories |
|---|---|
| Model | 100103 |
| Brand | Thule |
| Weight Capacity | 60 kg |
| Foldable | Yes |
| Load capacity | 60 kg |
| Wheel mounting on adjustable holders | Yes |
| Lockable platform | Yes |
| Tilt function with bikes | Yes |
| Material | Steel |
| Color | Black |
| Lockable | Yes |
| Fits frame dimensions | Up to 80 mm |
| Max tire width | 3 inches |
| Max wheel size (diameter) | 29 inches |