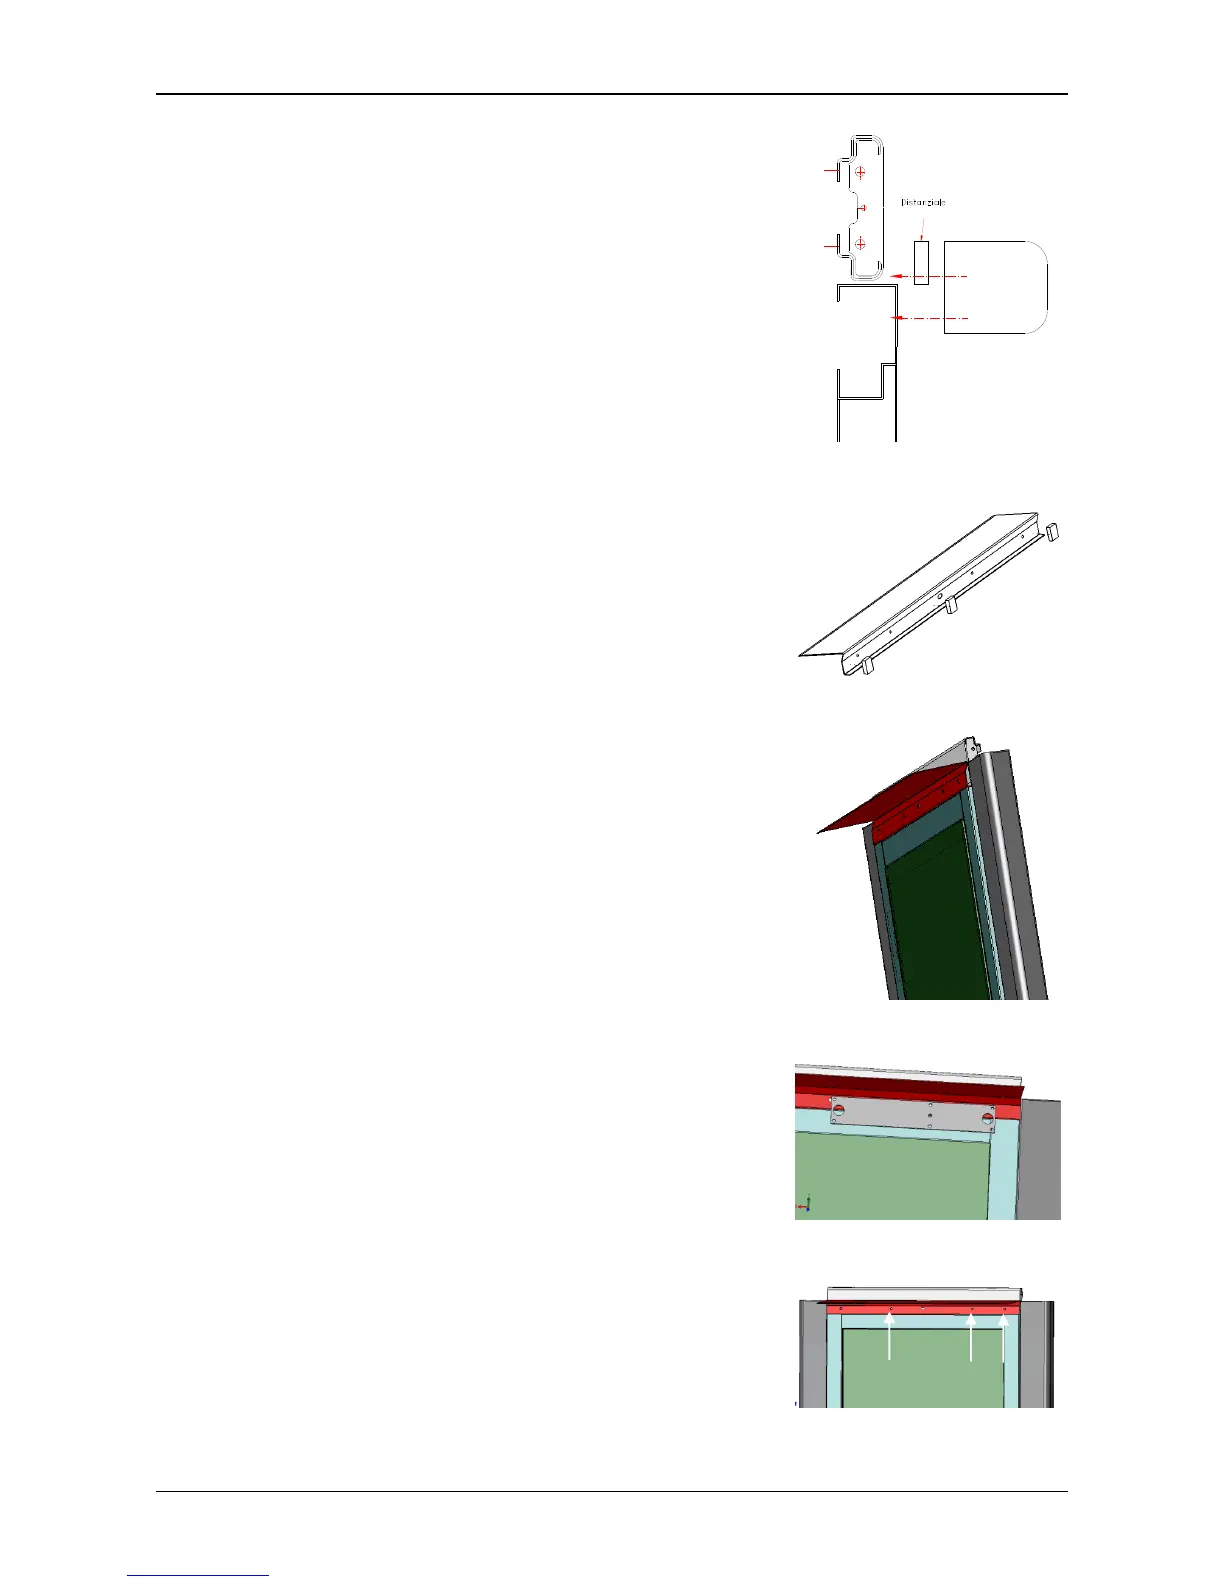
to be installed internally, pierce the beam
above the door and use the spacer as shown in figure 4.
If the elevator is with casing to be installed externally, attach the three
adhesive thicknesses behind the roof covering.
Position the door-opener (to the side of the door hinges) with the upper
holes coinciding with those of the roof covering, and mark the door
structure and casing beam with a pen, at the level of the lower holes.
Drill Ø6.5 at each of the 6 marks.
Fix the door-opener with 6 M6x40 screws, 6 M6 nuts and 6 washers.
At the same time, fix the casing roof covering over the holes that remain
outside the door-opener, with 2 M6x35-TS-PEI screws.
Insert the slide [D] of the sliding arm into the guide [C]. Fix the arm to
the automation, ensuring that it inserts into the housing of the arm
supports.
Position the door-opener (to the side of the door hinges) with the upper
holes coinciding with those of the roof covering, and mark the door
structure and casing beam with a pen, at the level of the lower holes.
 Loading...