3
5. Installation
Important:
• Connect the Safety Extra Low Voltage (SELV) wiring first.
• Connect the mains wiring last.
• When installing the 26mm wall box for the control unit, choose
the fixing holes to ensure clearance between the screw heads
and the rear of the control unit.
• An isolation switch should be installed to enable the power to be
switched ON and OFF for maintenance purposes. (Fuse 3A BS1362).
• For permanently connected apparatus either provided with an all-pole
mains switch or an all-pole circuit breaker, the installation shall be
carried out in accordance with all applicable installation rules.
• Where an all-pole mains switch or an all-pole circuit breaker is used
as the disconnect device, it shall have contact separation of at least
3mm in each pole and shall disconnect all poles simultaneously.
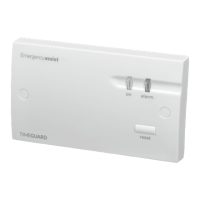
5.1 Single Zone Control Unit:
Mains Wiring (Important): This should be sited (following the
recommendations of the BS8300 code of practice to meet
the needs of disabled people) where it can best attract the
attention of an appropriate person or member of staff. An example
of this is near a reception desk in view of a receptionist.
• Having located the installation site, install a flush or surface
mount double gang wall box (see wall box minimum depth
requirements for details).
• Pass the 230V AC 50Hz mains supply cable (1mm
2
twin and earth)
into the wall box.
• Terminate the cables into the Control Unit marked ‘L’ and ‘N’
ensuring correct polarity is observed and that all bare conductors
are sleeved (See section 6. Mains Voltage Wiring).
• Connect the incoming earth wire as follows;
NOTE: This is a class 1 apparatus if a metal box is used and therefore
the earth wire MUST be connected to the earth terminal of the metal
box itself. If a plastic box is used, connect the earth wire to the Earth
connector marked on the Control Unit.
 Loading...