6
NOTE: If unit is opened while operating, the unit will stop working and user interface
turns off. When closed within 10 minutes, the unit continues operating in the same mode.
NOTE: Unit goes into standby mode if there is no operation in 3 minutes.
WARNING: Do not use the appliance to cook greasy or fatty food, such as sausages, as
the grease could catch on re.
5. Once cooking time has elapsed, the air fryer timer will sound 6 audible tones. Unit
goes back into standby mode.
6. Remove Crisper Tray or Rotisserie Skewer and place on a hot pad, plate or heat-
resistant surface.
WARNING: Rotisserie Skewer Spit Assembly will be HOT. To ensure safety, remove
using the Spit Removal tool and allow to cool before disassembling.
WARNING: Never place a hot Drip Tray, Crisper Tray, or Rotisserie Skewer Assembly
directly on a tabletop or counter top to avoid damage to surfaces. It is recommended to
use a heat-resistant trivet or cutting board.
NOTE: If a second batch of food is desired, immediately place the food in the air fryer
basket and continue cooking. The air fryer is ready for a second batch of food as soon
as the rst one is done.
CAUTION: FOOD AND BASKET WILL BE VERY HOT. DO NOT ATTEMPT TO REMOVE
FOOD FROM THE BASKET WITH YOUR HANDS.
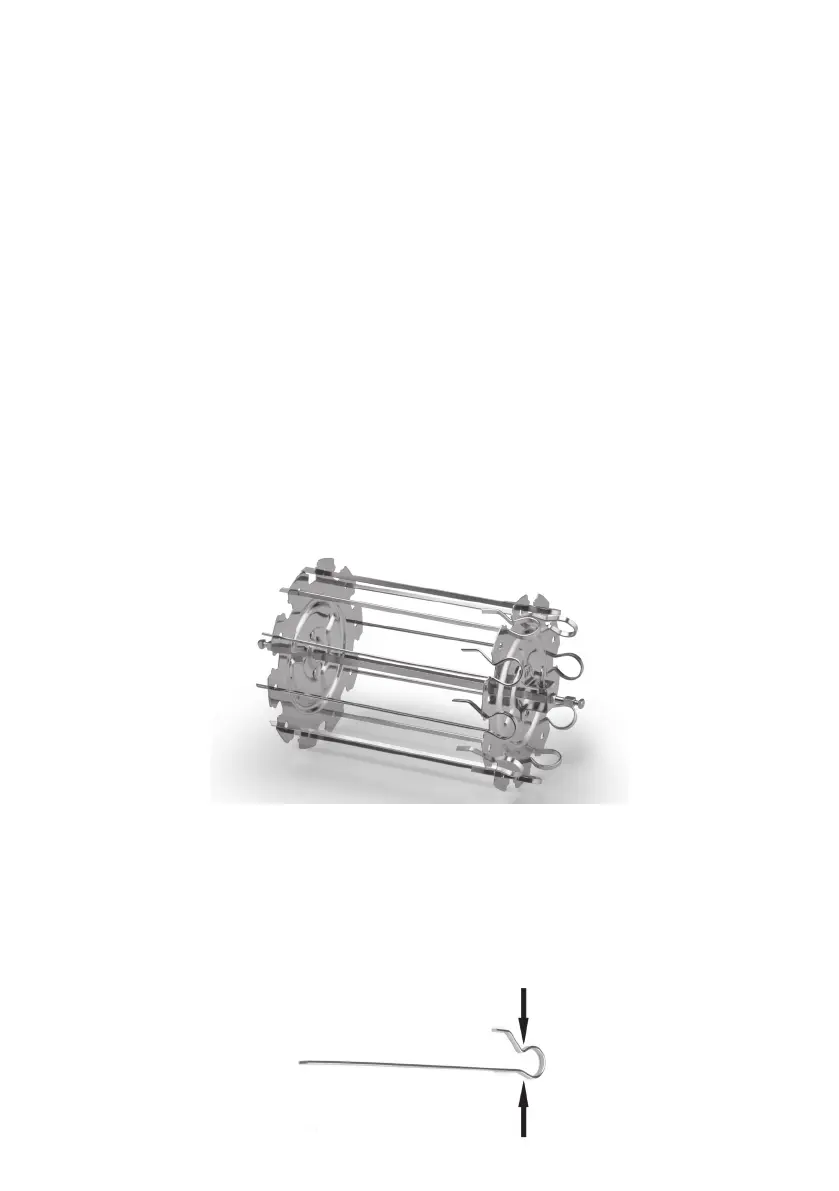
SPIT ASSEMBLY
1. Place two Skewer Wheels at each end of the Spit Rod. Ensure the Set Screws are
on the outer side of the Spit Rod.
2. Guide the sharp end of the Skewer through the hole on the opposite Skewer
Wheels.
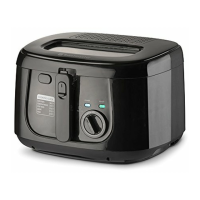
3. To secure the rounded side of the skewer into a slot of the Skewer Wheel, pinch
the clip using thumb and index nger. Insert clip into slot. Repeat 9 times to use
skewers. Remove skewer from slot by grabbing the round clip and twisting skewer
out of the slot.