8
S200
instructions for installation
11
22
33
44
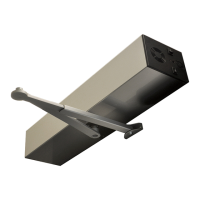
SLIDING PULLING ARM INSTALLATION
The automation must be xed on the side of the hinge.
The distance «A» varies according to the type of the Axle extension used see
table.
The automation must be xed on the side of the hinge.
The distance «A» varies according to the type of the Axle extension used see
table.
xing plate
Door edge
xing plate
Door edge
COMPONENTS
1- Cover, triangular plates
and 6 xing screws
2- Automation S200
3- Fixing plate
4- Automation tting nuts
5- Sliding arm *
6- Axle extension and
corresponding screw (optional) *
* Supplied separately
Automation positioning with left hinge
Attention to the arrow on the xing plate, the door edge
and the axis of rotation of the door
Automation positioning with right hinge
Attention to the arrow on the xing plate, the door edge
and the axis of rotation of the door