7
Dry Suction
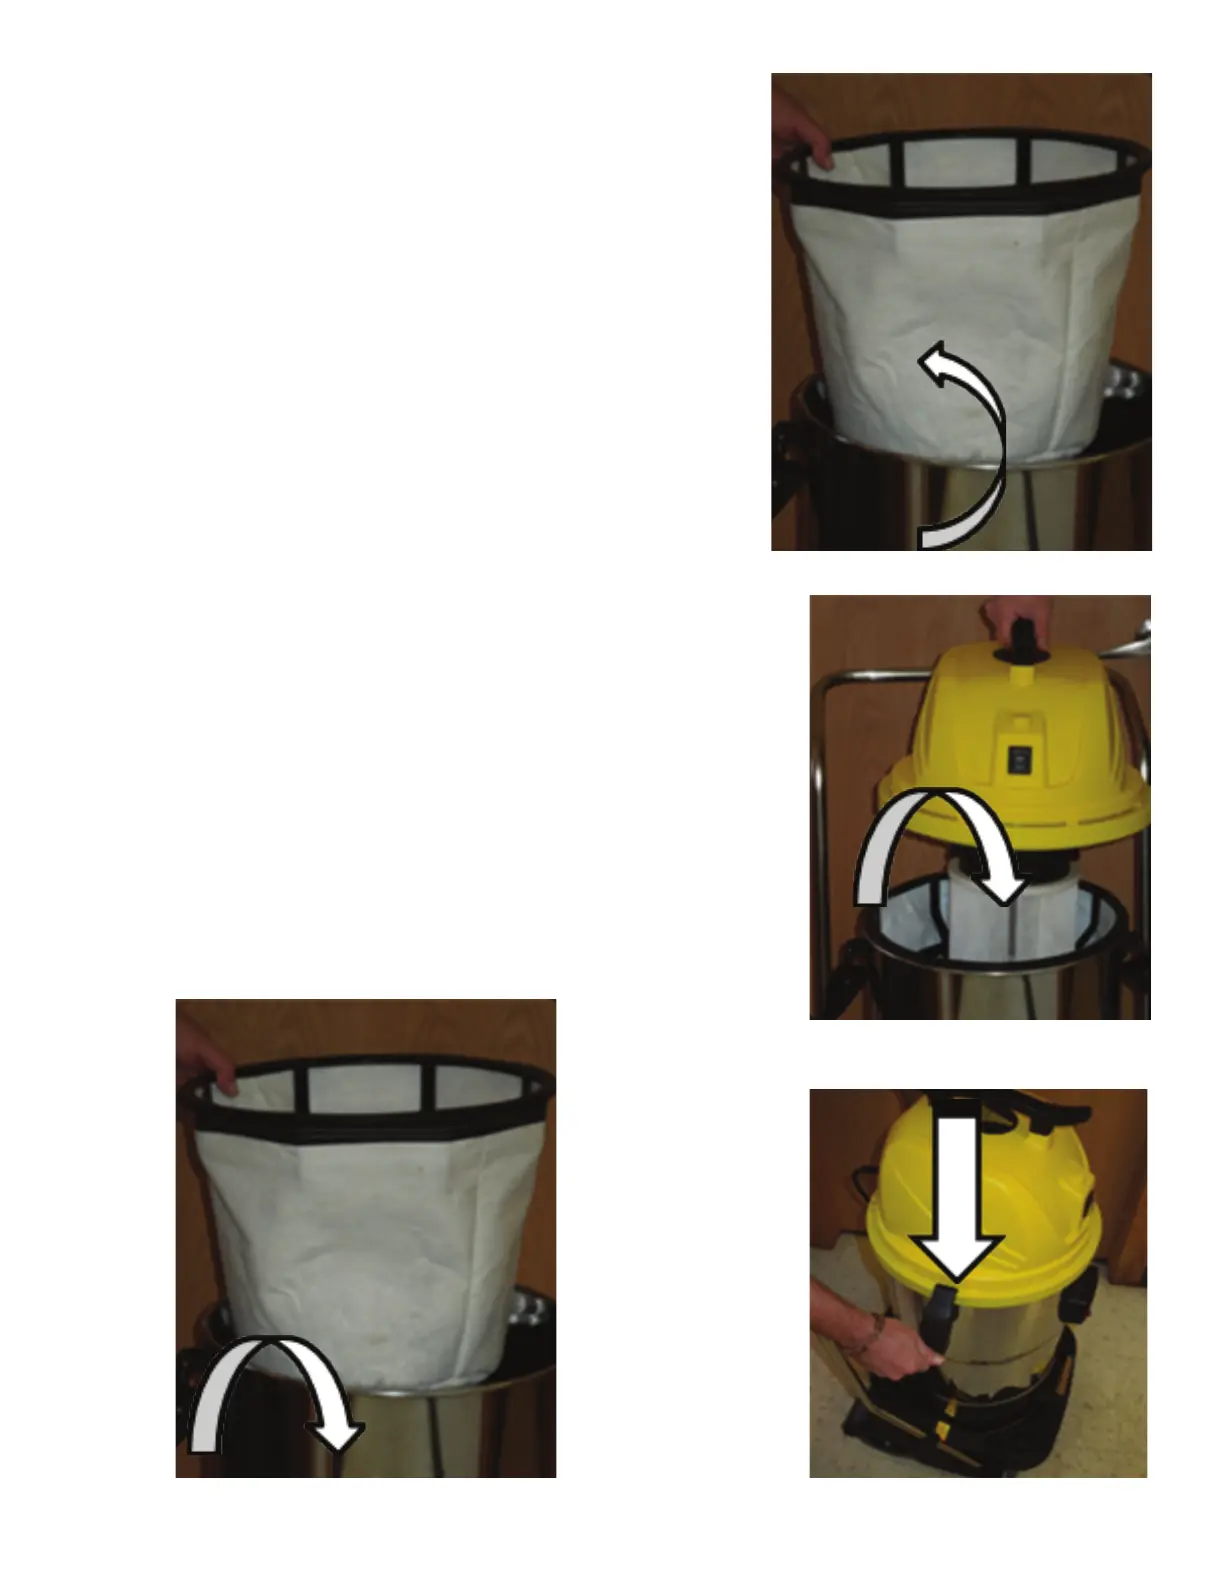
Insert the cloth lter into the tank (Fig. 1)
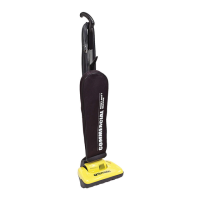
Place the Head assembly onto the tank (Fig. 3)
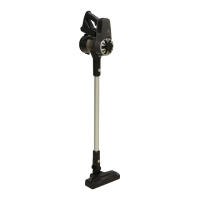
Engage latches by pressing down (Fig. 4)
Attach hose to tank (Fig. 5)
Slide wand onto hose (Fig. 6)
Twist the collar on the wand to lock wand onto hose
(Fig. 7)
Connect the extensions to the wand (Fig. 8)
Attach the desired accessory to the extension (Fig. 9)
Connect the plug to a power outlet and switch on the
unit (Fig. 10)
When nished, remove the hose by pushing in on the
RED tab and pulling the hose (Fig. 11)
Wet Suction
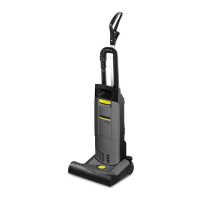
Remove the cloth lter from the tank (Fig. 2)
Place the Head assembly onto the tank (Fig. 3)
Engage latches by pressing down (Fig. 4)
Attach hose to tank (Fig. 5)
Slide wand onto hose (Fig. 6)
Twist the collar on the wand to lock wand onto hose
(Fig. 7)
Connect the extensions to the wand (Fig. 8)
Attach the desired accessory to the extension (Fig. 9)
Connect the plug to a power outlet and switch on the
unit (Fig. 10)
When nished, remove the hose by pushing in on the
RED tab and pulling the hose (Fig. 11)
Fig. 1
Fig. 2
Fig. 3
Fig. 4