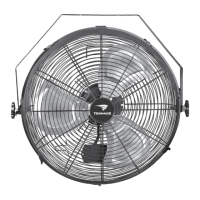
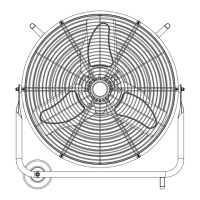
Fan Assembly
We are happy to help, contact us : tornadofans.info@gmail.com
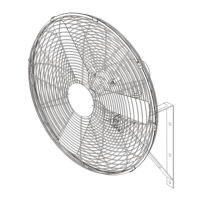
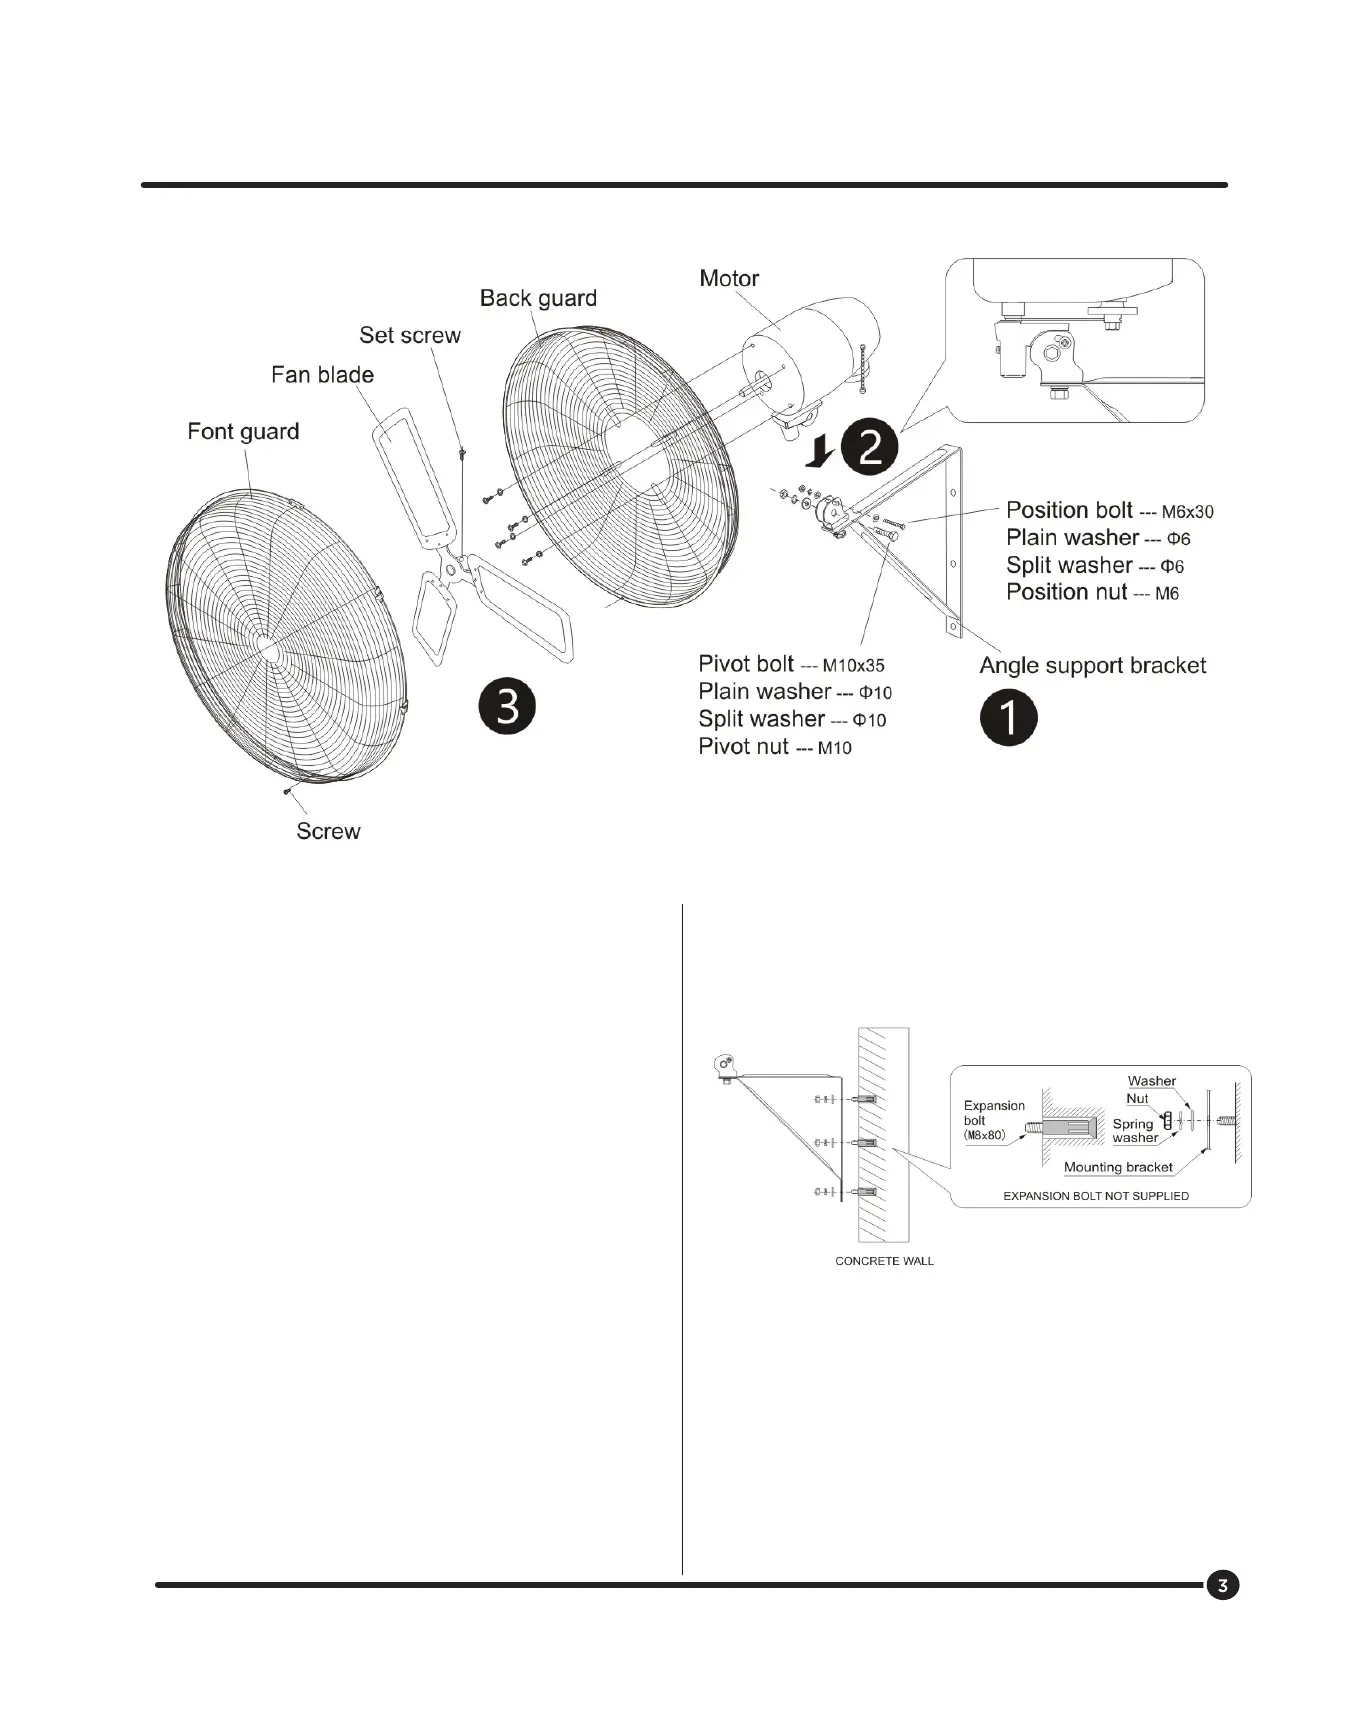
1. Install the angle support bracket on the strong wall.
2. Install the fan motor on the angle support bracket.
3. Assembling the back guard, blade, font guard to the
motor.
ASSEMBLY INSTRUCTION
Use the following information as a guideline only. It is the user's
responsibility to be sure the location and the wall surface can
handle the weight of this fan .
The wall fan must be mounted on 12 inch (300mm) thick dry and
cement ‑ grouted firm wall or on 4 by 5 inch wood studs / joists.
Use wall bracket as a template for locating the holes to be drilled.
After determining the hole locations, use an appropriate sized
drill bit and, drill holes through mounting surface.
It is recommended that a minimum of grade 5 fasteners be used.
The following are acceptable surfaces for mounting wall mount
assembly.
STEEL SURFACE ‑ When mounting to a steel surface, such
as vertical I‑beam, drill through holes at pre‑marked locations,
using a 9/32" drill bit. Attach wall mount assembly to mounting
surface using 1/4"‑20 hex screw, in combination with 1/4" flat
washers, 1/4" lock washers, and 1/4"‑20 hex nuts.
MASONRY SURFACE ‑ When mounting to a masonry surface
use a 1/4" expansion type bolt or 1/4" masonry lag with
shield designed to handle the weight of this fan. Drill holes
at pre‑marked locations using appropriate sized drill bit as
recommended for the fastener.
 Loading...