26
MAINTENANCE
CORING HEAD TIMING
The coring head must be correctly timed to assure
proper tine engagement angle and assure proper hole
quality.
1. Locate the four (4) timing holes, two (2) on each
side of coring head and on crank sprockets (Fig. 39).
2. To check the timing you wiII need the (4) timing
rods, included with unit.
3. Rotate the coring assembly by hand, aligning each
of the (4) timing holes so that the timing rods can be
inserted through coring head and sprocket.
4. If any of the rods cannot be inserted through the
coring head and into sprocket the unit is out of time.
5. To correct timing, locate and remove master link in
drive chain.
1. Timing holes
Figure 39
1
1
6. Rotate the drive sprocket until aII timing holes are
aligned.
7. Make sure alI the rods pass through each of the
timing holes and reinstall chain.
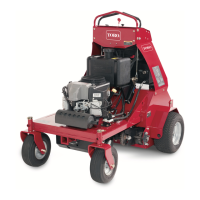
REMOVING CORING HEAD
1. Start the engine, raise the coring head and remove
tines from tine blocks.
2. Position the coring head lock-up brackets in the
down position.
3. Unlatch and remove coring head cover.
4. Remove the coring head drive belt from the engine
pulley (Fig. 40).
1. Drive belt
2. Lift cylinder pin
3. Wire harness
4. Wire harness clamp
Figure 40
1
2
3
4
5. Slide coring head stand (optional) under coring
head.
6. Lower coring head onto stand.
7. Remove hair pin cotter from lift cyIinder pin
connected at coring head (Fig. 40), and remove pin.
8. Remove nut securing wire harness clamp to
chassis (Fig. 40).
9. Disconnect wire harness from coring head
interIock switch.
1. Locknut (each side of machine)
2. Clamp
3. Stud
Figure 41
1
3
2
10. Remove (2) locknuts securing coring head to
chassis (Fig. 41).
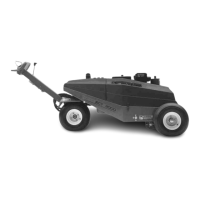
11. Pull traction unit straight away from coring head.
12. Reverse procedure to reinstalI coring head.

 Loading...