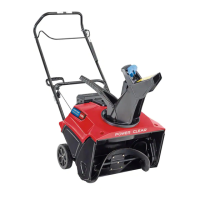
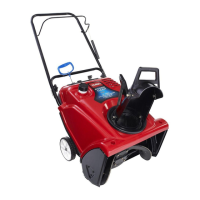
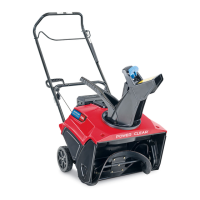
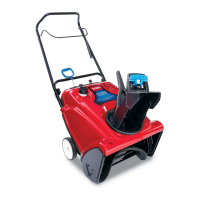
Maintenance
EN-13
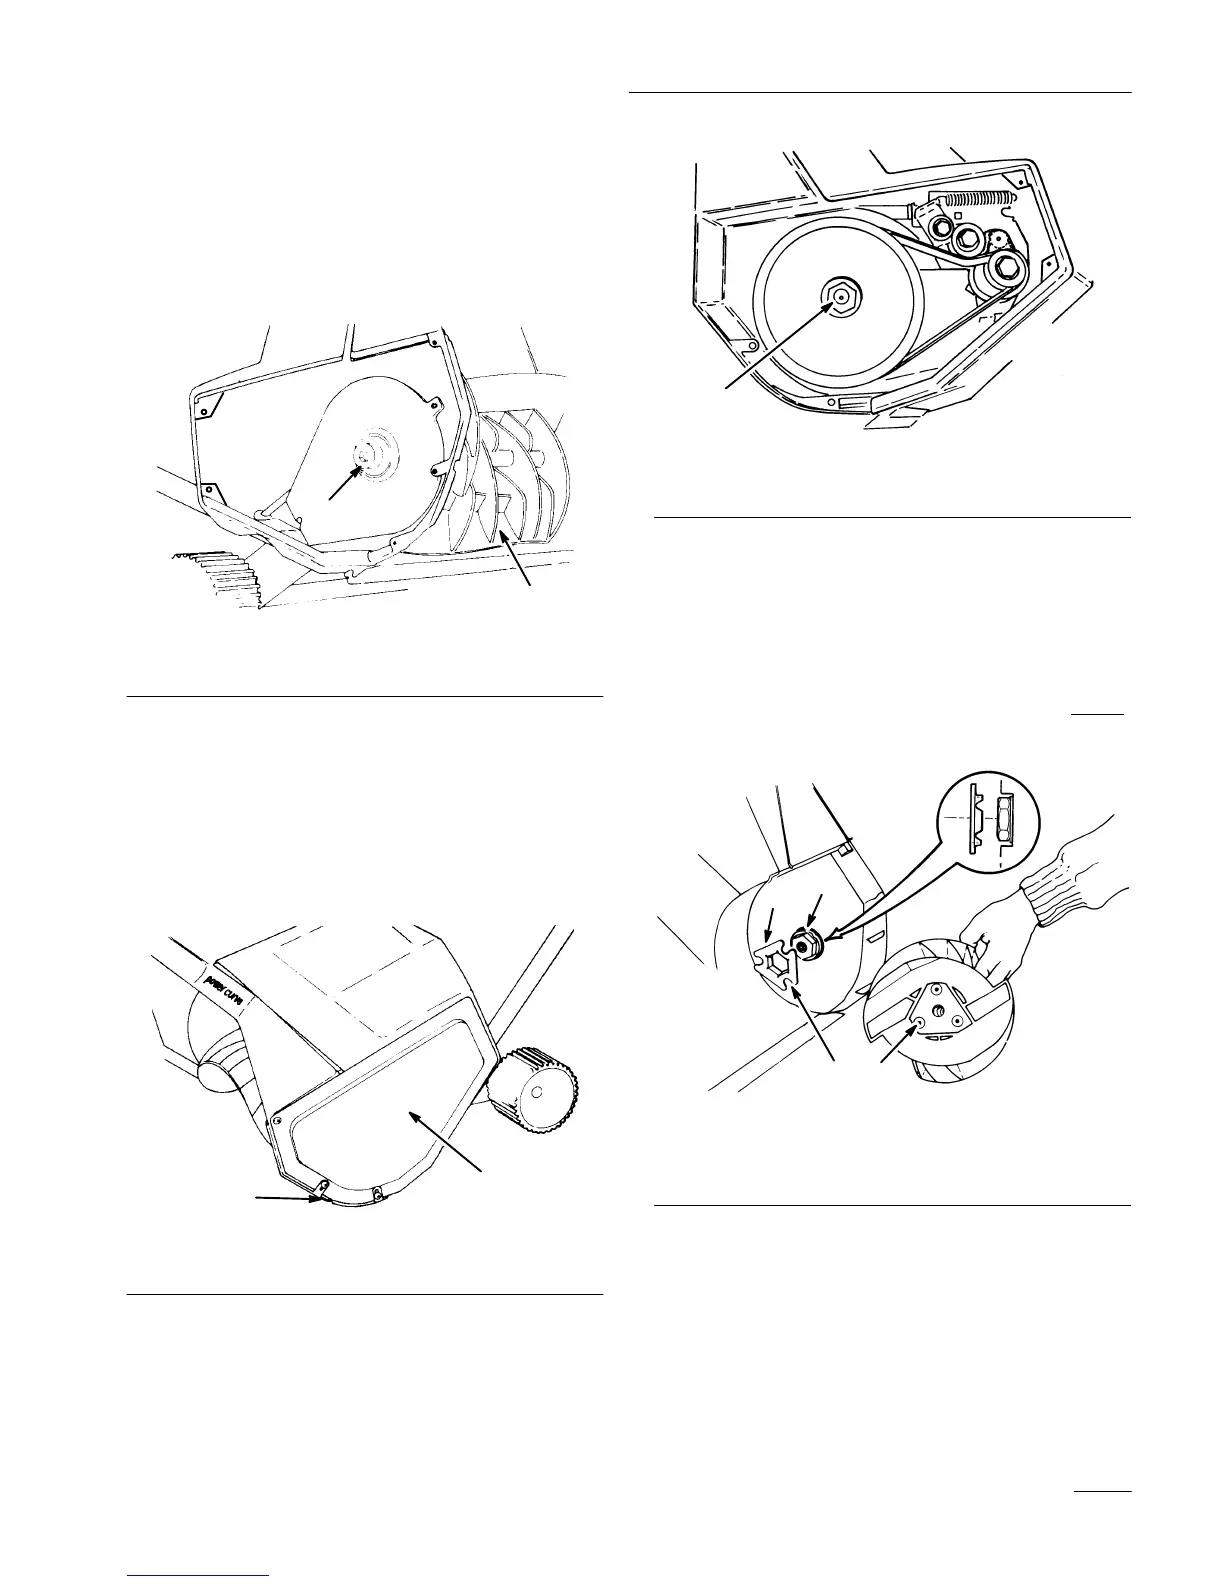
2. Using a 3/8” Allen wrench, turn rotor shaft
clockwise (left hand thread) while holding rotor
(Fig. 13). The Allen wrench may need to be
tapped with a hammer to loosen rotor shaft.
Wedge a stick or hammer handle in rotor to
prevent rotation.
1538
1
2
Figure 13
1. Rotor
shaft
2. Rotor
Note: If you are unable to remove rotor shaft
by holding rotor, remove left side
cover and skid (Fig. 14). Hold hex nut
with 7/8” wrench while unscrewing
rotor shaft (Fig. 15).
3. Hold rotor and pull out rotor shaft.
1539
1
2
Figure 14
1. Left
side cover
2. Skid
4. Remove rotor. Retain washer on right side of
rotor for reassembly. Replace washer if worn.
1525
1
Figure 15
1. Hex
nut
5. If
necessary
, insert a new washer into right side
of new rotor.
6. Align left side of new rotor with coupler. The
(3) bosses on rotor end must align with slots on
coupler (Fig. 16). When mounting coupler to
drive hex, coupler tabs must be aligned to inside
.
Slide right side of rotor into mounting position.
1518
3
4
1
2
Figure 16
1. Coupler
2. Boss
3. Slot
4. Drive
hex
7. Reinsert rotor shaft through rotor. Make sure that
shaft fits into bearing on the right side. Torque to
a minimum of 10 ft-lbs.
8. Reinstall cover and skid.
 Loading...