4
Modelos M32
Owner´s Manual
IV.- OPERATION
V.- KEY ELEMENTS IN MIXING/GRINDING QUALITY PRODUCT
Note: There are two (2) stop buttons: the primary is in front of the grinder
besides the start button and the secondary is the Emergency stop button on
the right side of the grinder.
EMERGENCY STOP BUTTON (E-Stop): When the E-Stop is pressed, the
meat grinder will immediately stop. After being pressed, the E-Stop will need
to be reset to resume use of the meat grinder. To reset, press and rotate the
E-Stop in the clockwise direction.
MODELS: M-32, M-32-3. The meat grinder can grind at a rate of 55 lb/min (25 kg/min) at the first
grinding using a 3/8” plate (not provided) and 28 lb/min ( 13 kg/min) for the second grinding.
MODELS: M-32-5. The meat grinder can grind at a rate of 63 lb/min (29 kg/min) at the first grind-
ing using a 3/8” plate (not provided) and 30 lb/min ( 14 kg/min) for the second grinding
To extend the life of the equipment and get high quality product is recommended the next tips:
Periodically verify the plate (16) and knife (15) sharp.
Grinding Unit must be free of food debris.
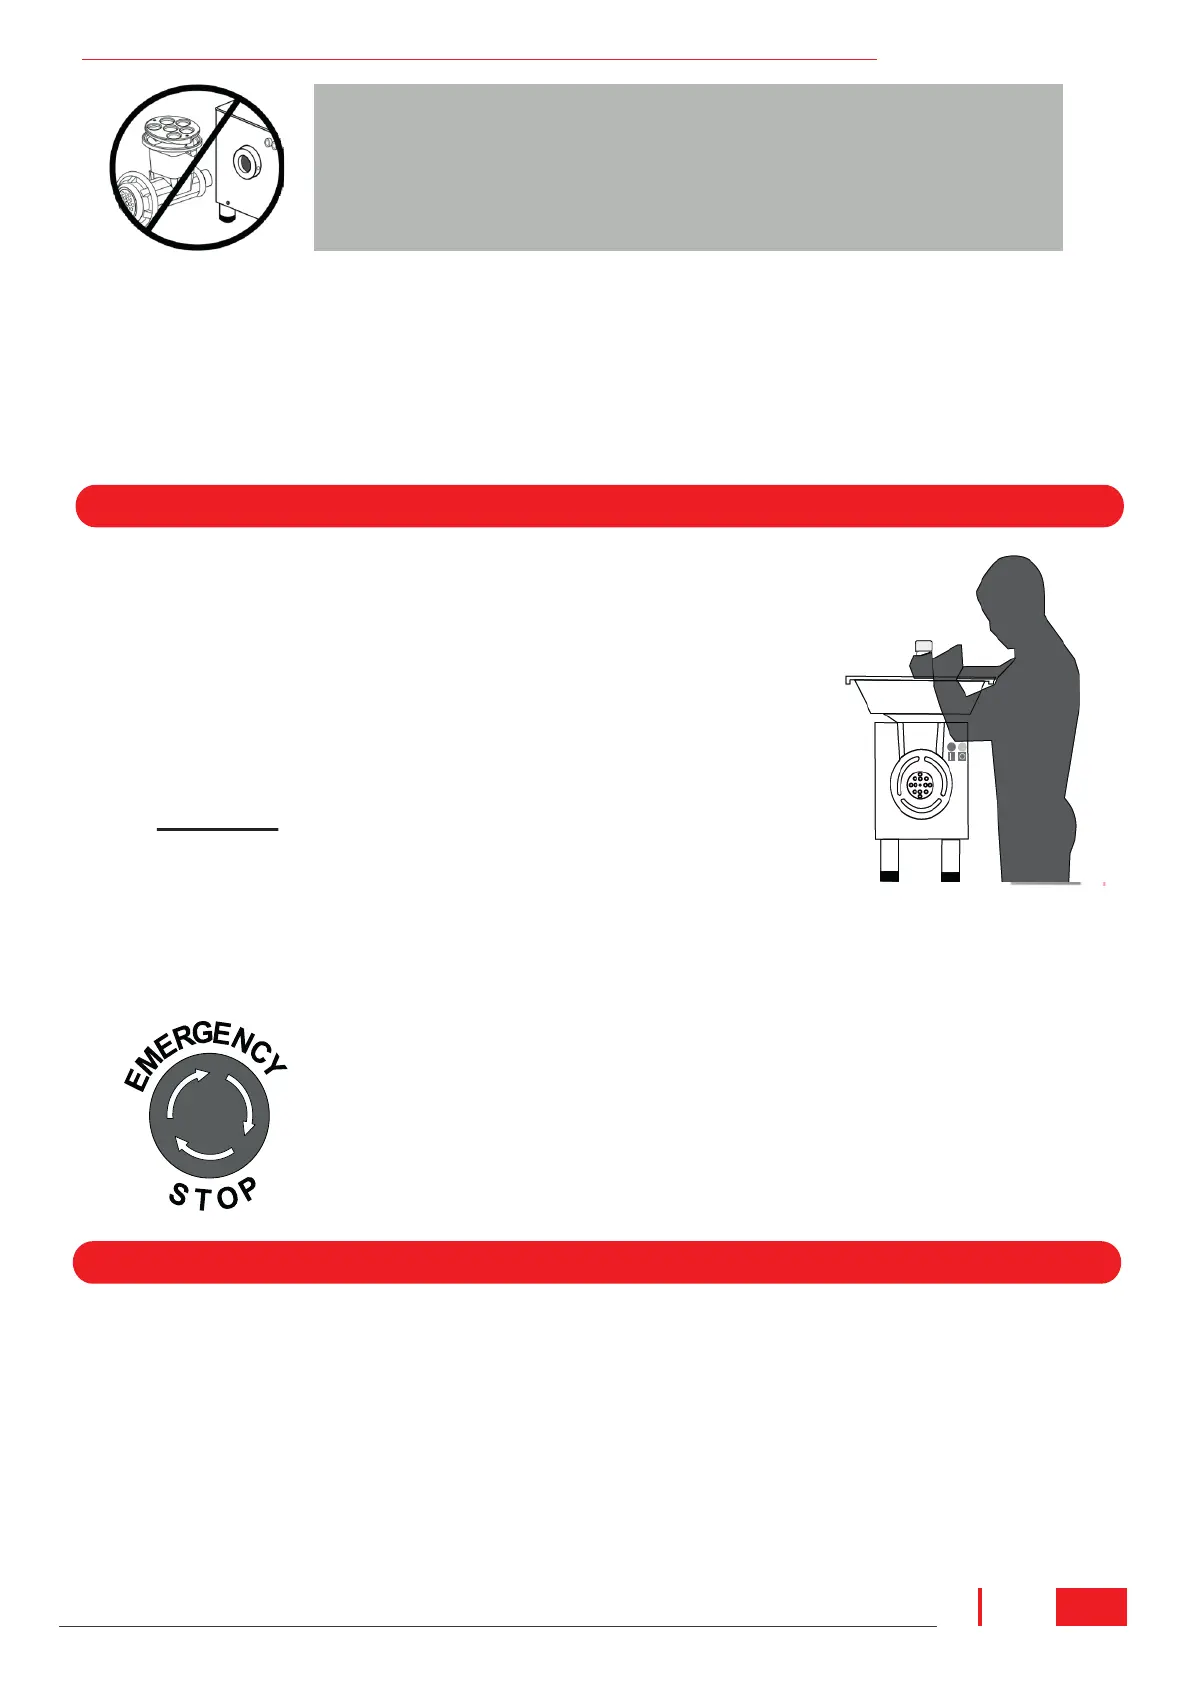
1. Before starting, move to the correct work position – at sides of
meat grinder – (see Fig. 5).
2. Turn on the machine.
3. Place product on the rear of feed tray (2).
4. Feed the product into the opening of the Headstock (10). Product
must be fed into the headstock with the fixed guard in place. If the
fixed guard has been cut off or otherwise removed, the grinder
MUST NOT be used and a replacement headstock must be
ordered. DANGER - Failure to follow this instruction could lead to
serious injury including amputation, dismemberment or, in the
most extreme case, death
5. Using only the provided pusher (1), push the product without forc-
ing it.
FIG.5 WORKING POSITION
HOW TO INSTALL THE PRODUCT TRAY.
1. Place the hole of the tray (2) over the top of the headstock (10), use the guides under the tray
to locate it in the correct position, tight both tray knobs to keep it in place, (be sure the tip of the
knob screw fits in the Indention made in the headstock).
2. Place the pusher (1) into the safety guard.
IMPORTANT!
Do not assemble the whole unit at the same time, this could
damage the gears of transmission. Assembling component by
component extends the life and guarantee the correct operation
of the headstock and its components.
 Loading...