420 Series 4-37
4.15 System Board and Fan
Removing the System Board and Fan
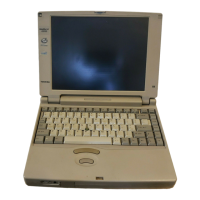
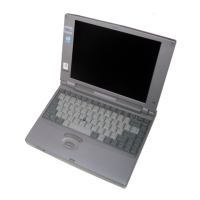
To remove the system board and fan, follow the steps below and refer to Figures 4-39 and
4-40.
1. Turn off the power to the computer. Disconnect the AC power cord and all
external cables connected to the computer.
2. Remove the battery pack, optional PC card, optional memory module, FDD or
CD-ROM drive, HDD, keyboard, sub-battery, VGA board, RTC battery, top
cover with display assembly, sound board, speaker, AC PS unit, and infrared
board as described in Sections 4.2 through 4.14.
3. Remove eight M2.5x6 screws and one M2x8 screw securing the system board,
Selectable Bay connector cover, VGA support, ground plate, and back-guide
assembly support.
4. Lift off the Selectable Bay connector cover, VGA support, back guide
assembly support and ground plate, then lift up the front side of the system
board and remove the board.
Figure 4-39 Removing the system board
5. Remove the reset switch spring from the system board.
NOTE: The shutter assembly for the optional PC card may fall off as you
remove the system board, be sure to note its location.
 Loading...