Disc
Management
Recording Playback
Introduction
Connections Basic Setup Editing Function Setup VCR Function Others
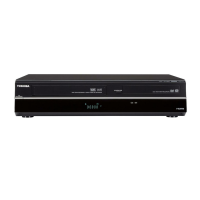
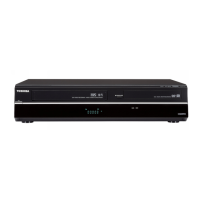
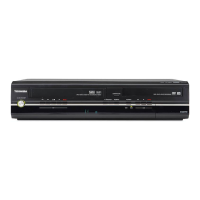
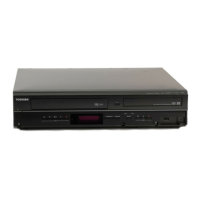
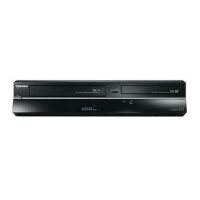
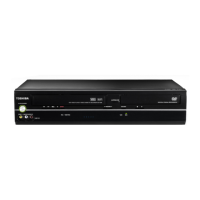
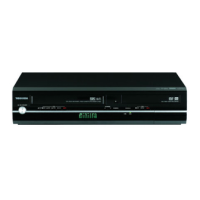
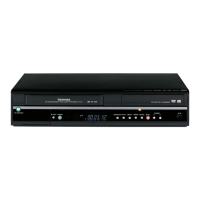
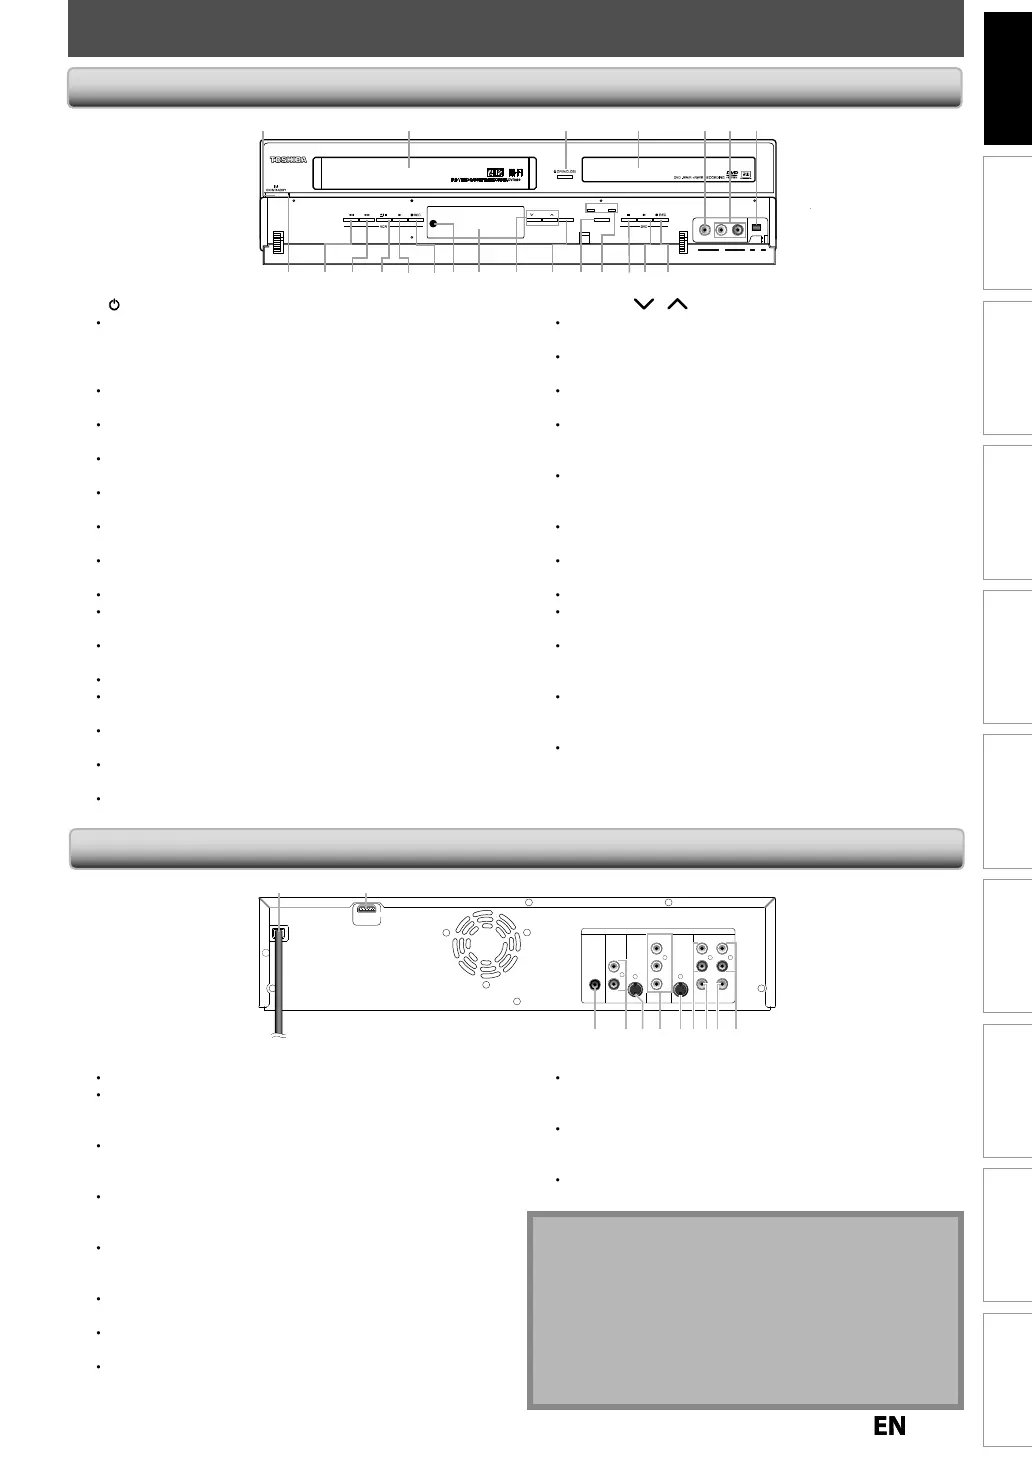
FUNCTIONAL OVERVIEW
TRACKING
DUBBING SELECT
VCR DVD
VIDEO L R DV IN
L2 L3
19 16 15 142021 1718 13 12 9*10 8
1 2 43* 5 7
11
6
22
DIGITAL
AUDIO OUT
AUDI O
OUT
S-VIDEO
OUT IN
COAXIAL
L
R
L
Y
P
B
/CB
PR
/CR
R
L
R
S-VIDEO IN --- AU DI O --- OUT
IN --- VI DE O --- OUT
COMPONENT
VIDEO OUT
DVD/VCR
HDMI OUT
(L1)
1 2
37910 8 6 453
turned on b
pressing
these buttons or b
insertin
a cassette tape
1. I
ON/STANDBY button
DVD/VCR
Press to turn on the unit
or to turn the unit into the
standb
mode. (To completel
shut down the unit,
ou
must unplug the AC power cord.
2. Cassette com
artment
VCR
Insert a cassette ta
e here
OPEN/CLOSE button
DVD
Press to open or c
ose t
e
isc tra
4. Disc tray (DVD)
P
ace a
isc w
en it is o
en
5. VIDEO input
ac
(L2) (DVD/VCR
nn
x
rn
vi
wi
n R
A vi
6. AUDIO input
ac
s (L2) (DVD/VCR
nn
x
rn
l
vi
wi
h
n R
A
i
l
7
DV
ack (L3) (DVD/VCR
se to connect the DV out
ut of external device with a DV cable
REC button
DVD
Press once to start a recording
Press repeatedl
to start the one-touch timer recording
9
LAY
button
DVD
Press to start or resume p
a
ac
1
T
P
utton (DVD
Press to stop p
a
ac
or recor
ing
Press to stop t
e procee
in
timer recor
in
in DVD
11. VCR
DVD in
icator
Li
hts up when the VCR/DVD output mode is selected
12. VCR/DVD
utton
DVD/VCR
Press to select the component
ou wish to operate
13. DUBBING button
DVD/VCR
Press to start VCR to DVD (DVD to VCR) du
lication which
ou set in the main menu
14. TRA
KING
uttons (VCR)
Press to a
just t
e trac
ing
uring p
ay
ac
or in s
ow
motion o
the cassette tape.
W
i
e p
ay
ac
is in sti
mo
e, you can sta
i
ize t
e picture
15. Display (“O
” in standby
Re
er to “FRONT PANEL DISPLAY GUIDE” on page 18
16. In
rared sensor window (DVD/VCR)
Receive signals
rom your remote control so that you can
control the unit
rom a distance
.
REC
utton (VCR)
Press once to start a recor
ing. Press repeate
y to start t
e
one-touc
timer recor
ing.
18.
LAY
utton (VCR
Press to start p
ay
ac
19. EJE
T
T
P
utton (VCR
W
en t
e unit is in stop mo
e, press to remove t
e
cassette tape
rom the cassette compartment.
Press to stop cassette tape p
ay
ac
or recor
ing
Press to stop t
e procee
ing timer recor
ing in VCR
20. FW
utton (VCR
Press to rapi
y a
vance t
e cassette tape, or view t
e
picture rapidly in
orward during playback (
orward search).
21.
EV
utton (VCR
Press to rewin
t
e cassette tape, or to view t
e picture
rapi
y in reverse
uring p
ay
ac
(rewin
searc
)
22. Power in
icator
T
is in
icator
ig
ts up in green w
en t
e unit is active an
turns o
when the unit is in standby mode
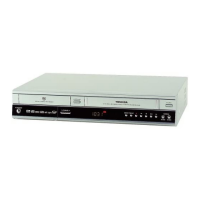
1. AC Power Cor
Connect to a stan
ar
AC out
et to supp
y power to t
is unit.
nplug this cord
rom the AC outlet to completely shut
own t
e unit.
2. HDMI OUT jac
se an HDMI ca
e to connect to a
isp
ay wit
an HDMI
compati
e port
3. AUDIO OUT jac
s
se to connect a TV monitor, AV receiver or ot
er
evice
wi
n R
A
i
4. VIDEO OUT jac
se to connect a TV monitor, AV receiver or ot
er
evice
wi
n R
A vi
5. VIDEO IN jac
(L1
se to connect externa
evice wit
an RCA vi
eo ca
e
6. AUDIO IN jac
s (L1)
se to connect externa
evice wit
an RCA au
io ca
e.
7. S-VIDEO IN jac
(L1
se to connect the S-video output o
external device with
an S-vi
eo ca
e
8. COMPONENT VIDEO OUT jac
Use to connect a TV monitor wit
component vi
eo inputs
wit
a component vi
eo ca
e
9. S-VIDEO OUT jac
Use to connect the S-video input o
a TV monitor, A
receiver or ot
er
evice wit
an S-vi
eo ca
e
10. COAXIAL DIGITAL AUDIO OUT jac
Use to connect an AV receiver, Do
y Digita
eco
er or ot
er
evice wit
a coaxia
igita
input jac
wit
a
igita
coaxia
ca
e
N
• Do not touch the inner pins o
the
acks on the rear
panel. Electrostatic discharge ma
cause permanent
ama
e to t
e unit
i
ni
n
v
RF m
r
Caution on usin
S-video, component, or HDMI
nn
i
n f
r V
R
•
nl
the pla
back audio / video is available with
h
nn
i
n
r
n
P
n
Rear Pane
E9PKCCDDVR620KCENbook.indb11E9PKCCDDVR620KCENbook.indb11 2011/09/019:28:212011/09/019:28:21
 Loading...