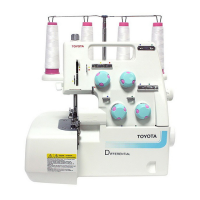
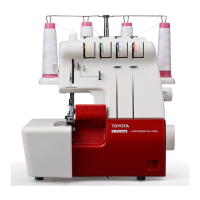
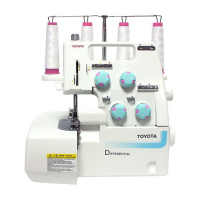
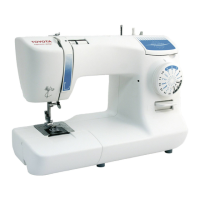
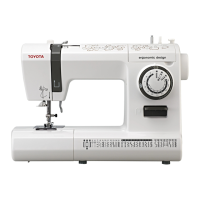
Do you have a question about the Toyota SL1T Series and is the answer not in the manual?
Instructions to reduce the risk of electric shock.
Precautions to reduce risks of burns, fire, electric shock, or injury.
Precautions related to water hazards.
Connects the foot controller and power cord, checking voltage compatibility.
Extend and lock the telescopic thread stand into its position.
Covers opening/closing front/side panels, and setting tweezers.
Adjust pressure for material thickness.
Set balance of tension as weak as possible.
Push front cover, guide thread through stand, guides, and tension dial.
Bring upper looper low, thread from spool through stand and guides.
Turn handwheel, pass thread through guides, then through needle eye.
Pass thread through guides, then through needle eye.
Open panel, guide thread through stand, guides, and tension dial.
Bring upper looper low, thread from spool through stand and guides.
Adjust bight size from 4.2mm to 6.0mm according to material.
Adjust bight size from 5mm to 6.5mm according to material.
Machine is pre-set to 2.5mm; adjustable from 1mm to 5mm.
Guide for achieving neat finish on curved seams.
Perform 3-thread overedging stitch using only the left needle.
Perform 3-thread overedging stitch using only the right needle.
Achieve roll hemming by rolling fabric and overlocking.
Achieve roll hemming by rolling fabric and overlocking.
Loosen clamp screw, change knife, align with needle plate.
Move upper knife low, loosen screw, change knife, check position.
Machine is self-lubricating; add oil for durability.
Open covers, use brush to remove dust and lint.
Unplug, cover with vinyl, store away from humidity.
Contact store for questions on maintenance or usage.
| Brand | Toyota |
|---|---|
| Model | SL1T Series |
| Category | Sewing Machine |
| Language | English |
