1
Before you start, you should prepare the following items
¾ Windows 2000/XP/Vista/7 computer with print server setup CD
¾ One USB device with USB port
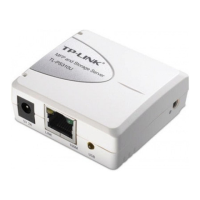
Hardware Installation
1. Turn off the USB device’s power.
2. Connect your USB device to the TL-PS310U.
3. Connect the TL-PS310U to the router or switch/HUB with the Ethernet cable.
4. Connect the power adapter to the TL-PS310U. When the Link LED lights up,
the TL-PS310U is correctly connected to the network.
Factory Default Settings
¾ IP address: 192.168.0.10/255.255.255.0
¾ Password: the TL-PS310U does not come with a default password.