1
English
» Package contents
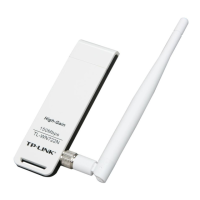
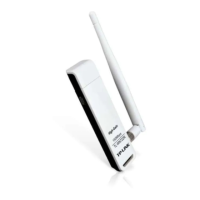
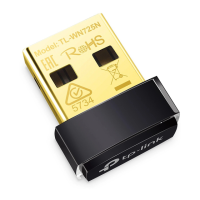
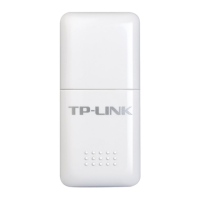
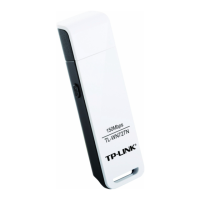
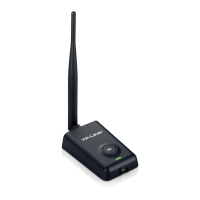
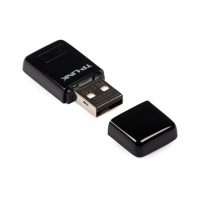
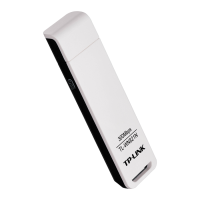
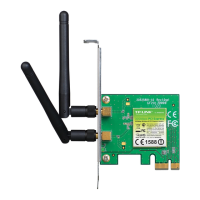
z Wireless Client Adapter
z Quick Installation Guide
z Resource CD
» Support systems
z Windows 7
z Windows Vista
z Windows XP
» Install Wireless Adapter hardware & software
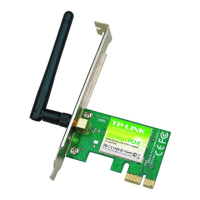
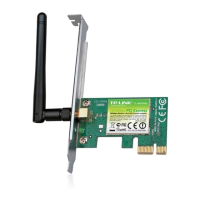
1. Hardware Connection
1) Turn off your computer and unplug the power cord from the
computer.
2) Open the case. Locate an available PCI slot and remove its slot
cover. Keep the screw.
3) Insert the adapter into the PCI slot as shown above.
4) Secure the adapter with the screw removed in Step 2.
5) Close the case and insert the power cable back into the
computer.
6) Turn on your computer.
Note: You may see the Found New Hardware Wizard when the
adapter is plugged. Please click 'Cancel' to close the pop-up page .
2. Software Installation
1) Insert the TP-LINK resource CD into the CD-ROM drive. The
TP-LINK Setup Wizard will launch automatically.
2) Find your wireless adapter model and click 'Install Driver & Utility'
to finish the installation process step by step.
Note: If the TP-LINK Setup Wizard doesn’t launch, double click [My
Computer] > [CD-ROM drive icon] > [Autorun.exe] to launch manually.