8
Instructions for use
EN
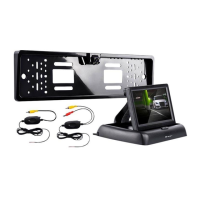
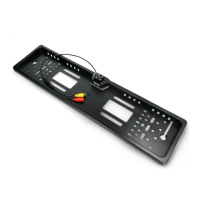
Tracer RVIEW S1
Wireless
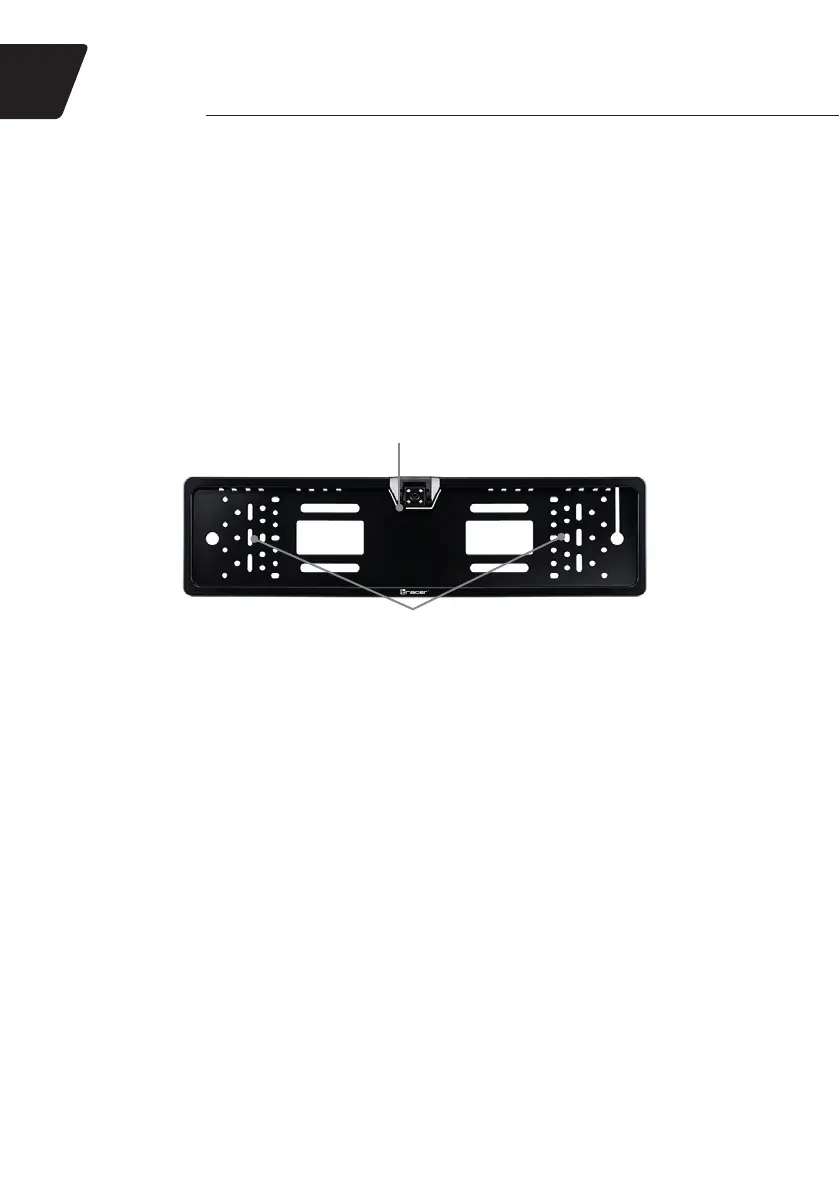
MOUNTING THE CAMERA FRAME ON THE CAR
1. Remove the original plate along with the frame.
2. Locate the point (trunk handle, any other technical opening) where you can insert the cable (50 cm
length) into the trunk.
3. If there is no factory-made inlet available, it is necessary to drill a hole with diameter allowing to insert
rst the yellow, and second – the red cinch cable tted at the end of the frame wiring.
4. Before installing the frame, you have to decide how to x the plate frame (see sec. 5)!
5. The plate is xed at the top by the UPPER PLATE CLIP; however, at the bottom, it should be xed
individually by the user:
a. You may x it using screws used to x the frame to the body of the car.
b. You may fasten the plate to the frame using additional screws (not supplied), using MULTI-
PURPOSE MOUNTING HOLES in the frame.
c. You may x the plate to the frame using zip ties (not supplied), using MULTI-PURPOSE
MOUNTING HOLES in the frame.
MULTI-PURPOSE MOUNTING HOLES:
• Fixing the registration plate
• Fastening the frame to the body of the car
UPPER PLATE CLIP
6. Fasten the frame using original xing of the factory-made plate frame; but rst remember to insert the
cables through the specially made hole in the car body.
CONNECTING TO THE TAILLIGHT
1. Find the power cable connected to the taillight using the wiring diagram of the vehicle or using the 12V
electric meter (not supplied).
2. Using the supplied QUICK CONNECTOR/CONNECTOR, x the red wire of the 2.4 GHz
TRANSMITTER CABLE to the taillight power cable (you can use the supplied (QUICK) CONNECTOR.
3. The black wire from the 2.4 GHz TRANSMITTER CABLE should be connected to the car ground.
4. Connect the red end of the FRAME WIRE to the red connector of the 2.4 GHz TRANSMITTER.
5. Connect the yellow end of the FRAME WIRE to the yellow connector of the 2.4 GHz TRANSMITTER.
CONNECTING THE SCREEN
1. Place the screen in the desired location on the dashboard.
2. Connect the red bundle from the 2.4 GHz RECEIVER and the red bundle of the MONITOR POWER
CABLE to the reversing lamp circuit. To do that, you may use the CONNECTOR included in the set.
3. Connect the black wire from the 2.4 GHz RECEIVER and the black wire of the SCREEN POWER
SUPPLY CABLE to the ground (car electrical system, radio, car cigarette lighter).
4. Connect the red wire of the SCREEN CABLE to the black plug of the SCREEN POWER SUPPLY
CABLE.
5. Connect the yellow plug of the SCREEN CABLE to the yellow plug of the 2.4 GHz RECEIVER.