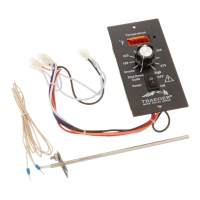
6) Connect the Molex Connectors according to the color coding shown on the Digital
Control Wiring Diagram. You may have some excess length for the RTD Wires. This
additional wiring can be coiled and secured to the Digital Control Wiring with a cable
tie or a twist tie. Make sure that none of the wires interfere with the fan blades on the
Draft Inducer Fan or the Auger Drive Motor.
Replace the Grease Drain Pan and the Porcelain Grill, connect the Power Cord to an
appropriate, grounded electrical outlet and you are ready to go.
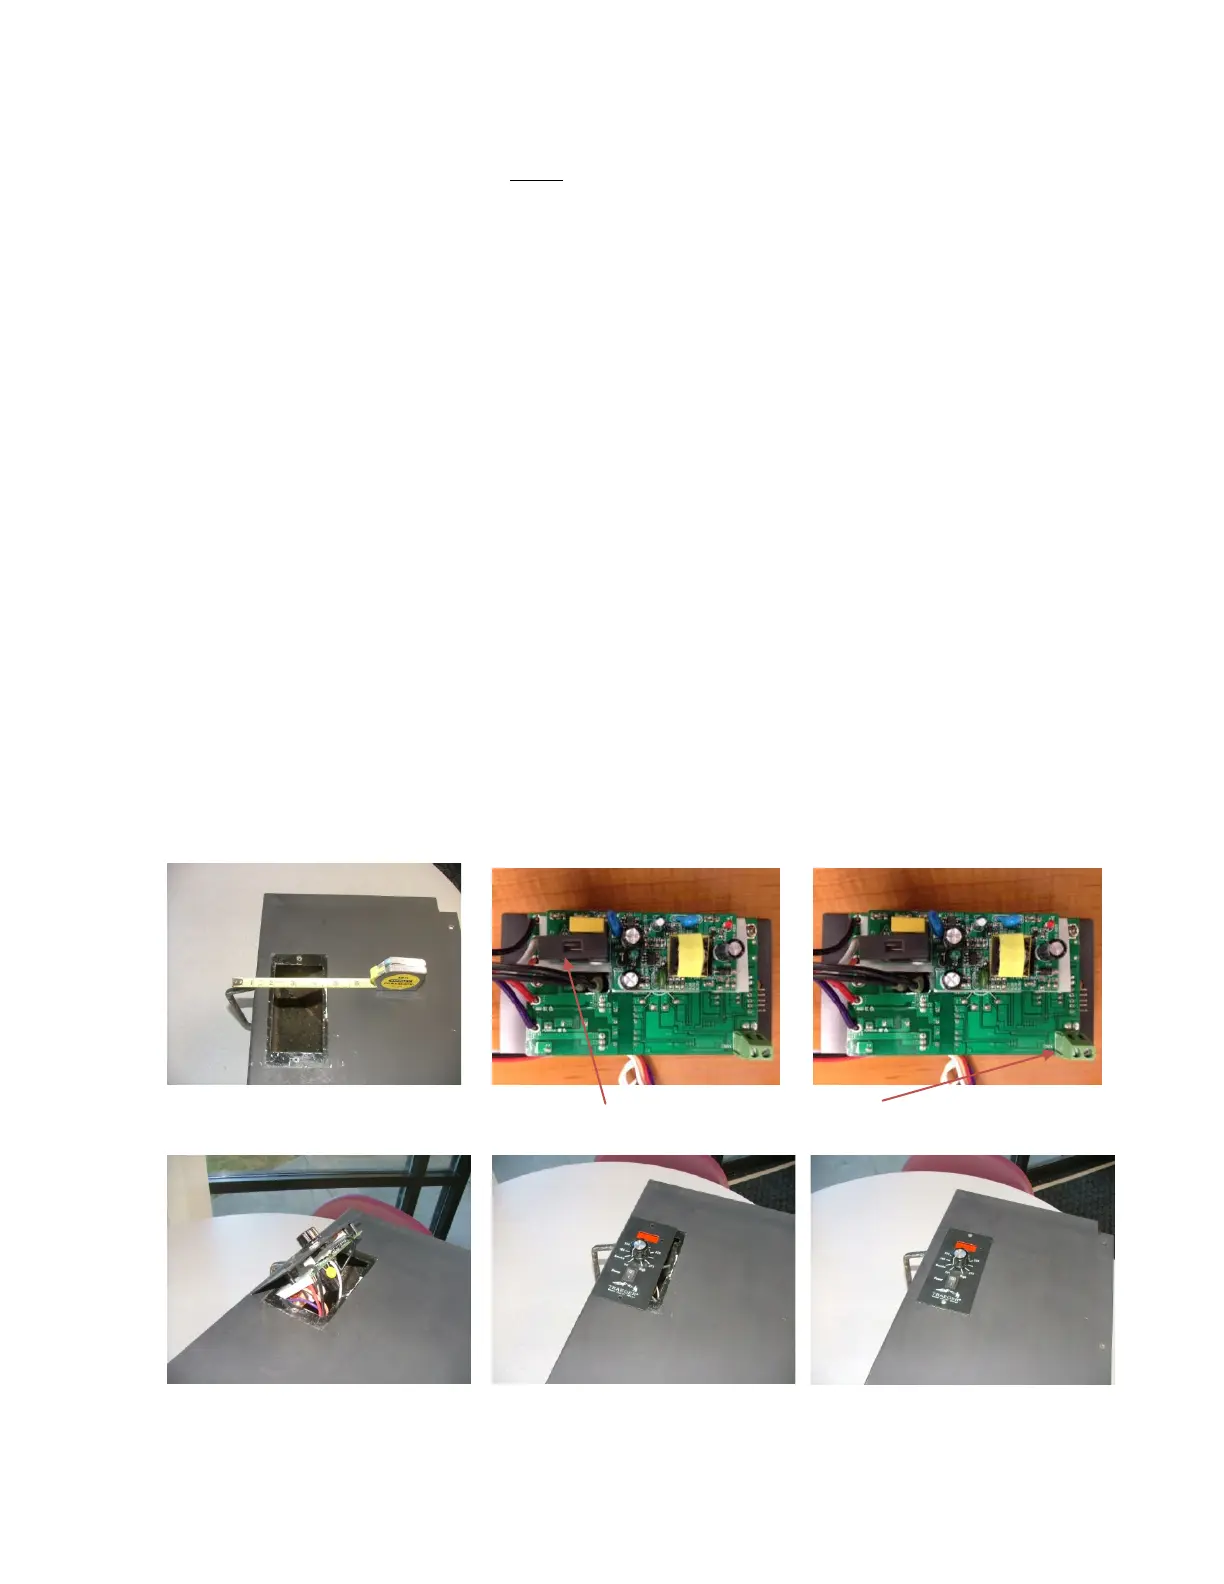
REPLACEMENT ON OLDER MODEL GRILLS
Some of the later model grills had a smaller cutout originally used for our controls.
These are the instruction for replacement for those models. After the original control has
been removed by following instructions and the RTD has been installed per instruction
above before you can begin.
1) Loosen the two screws on the green terminal block connector located on the
back upper right corner of the controller using a small screwdriver.
2) Insert the RTD wire out through the cutout for the control and connect to the
green connector located on the back of the new control into the green terminal
block and tighten down the screws.
3) Insert the wires for the control into the cutout. Then when inserting the control
into the cutout angle the control from the side away from the fuse and insert this
side first. You will need to slide the control all the way to the left at an angle until
the fuse holder clears the cutout.
4) Insert the two retaining screws into the holes provided on the face plate of the
control and tighten with a screw driver.
5) Connect the Molex connectors to the correct components per the wiring diagram
and then the grill is ready for use.
The small cutout is 2.25” remove fuse cap and fuse Install RTD wires to connector.
Insert wires and tilt controller Set controller flat and insert fuse from behind. Replace screws and connect wires.