Do you have a question about the TRAILMATE Meteor and is the answer not in the manual?
Carefully unwrap all parts from the box, leaving tape on axles to secure keys.
Loosen frame bolts, slide rear frame, align holes, install locknuts without tightening.
Attach front fender to fork, align wheels on axle, ensuring brake shoe contact.
Install pedals into crank using a 9/16" wrench, noting left and right hand threads.
Install drive sprocket and chain, join with connecting link, adjust tension, and tighten bolts.
Install stem into fork, align handlebar, tighten stem bolt, attach brake handles and reflector.
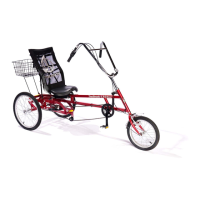
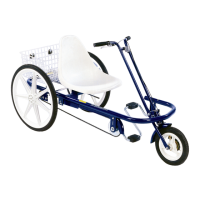
Mount seat onto sliding plate, ensuring spacers are in place, then tighten nuts.
Attach back rest, seat cover, inspect fasteners, pump tires, adjust seat/handlebar.
| Type | Mountain Bike |
|---|---|
| Brake Type | Disc Brakes |
| Brakes | Mechanical Disc Brakes |
| Suspension | Front |
| Gears | 21 Speed |
| Color | Black/Red |