TRICKSTUFF® GMBH
SCHWABENMATTEN 17A
79292 PFAFFENWEILER
GERMANY
TECH-SUPPORT@TRICKSTUFF.DE SERVICE MANUAL – DIRETTISSIMA/MAXIMA PUMP V2024_02. PAGE 18 OF 27
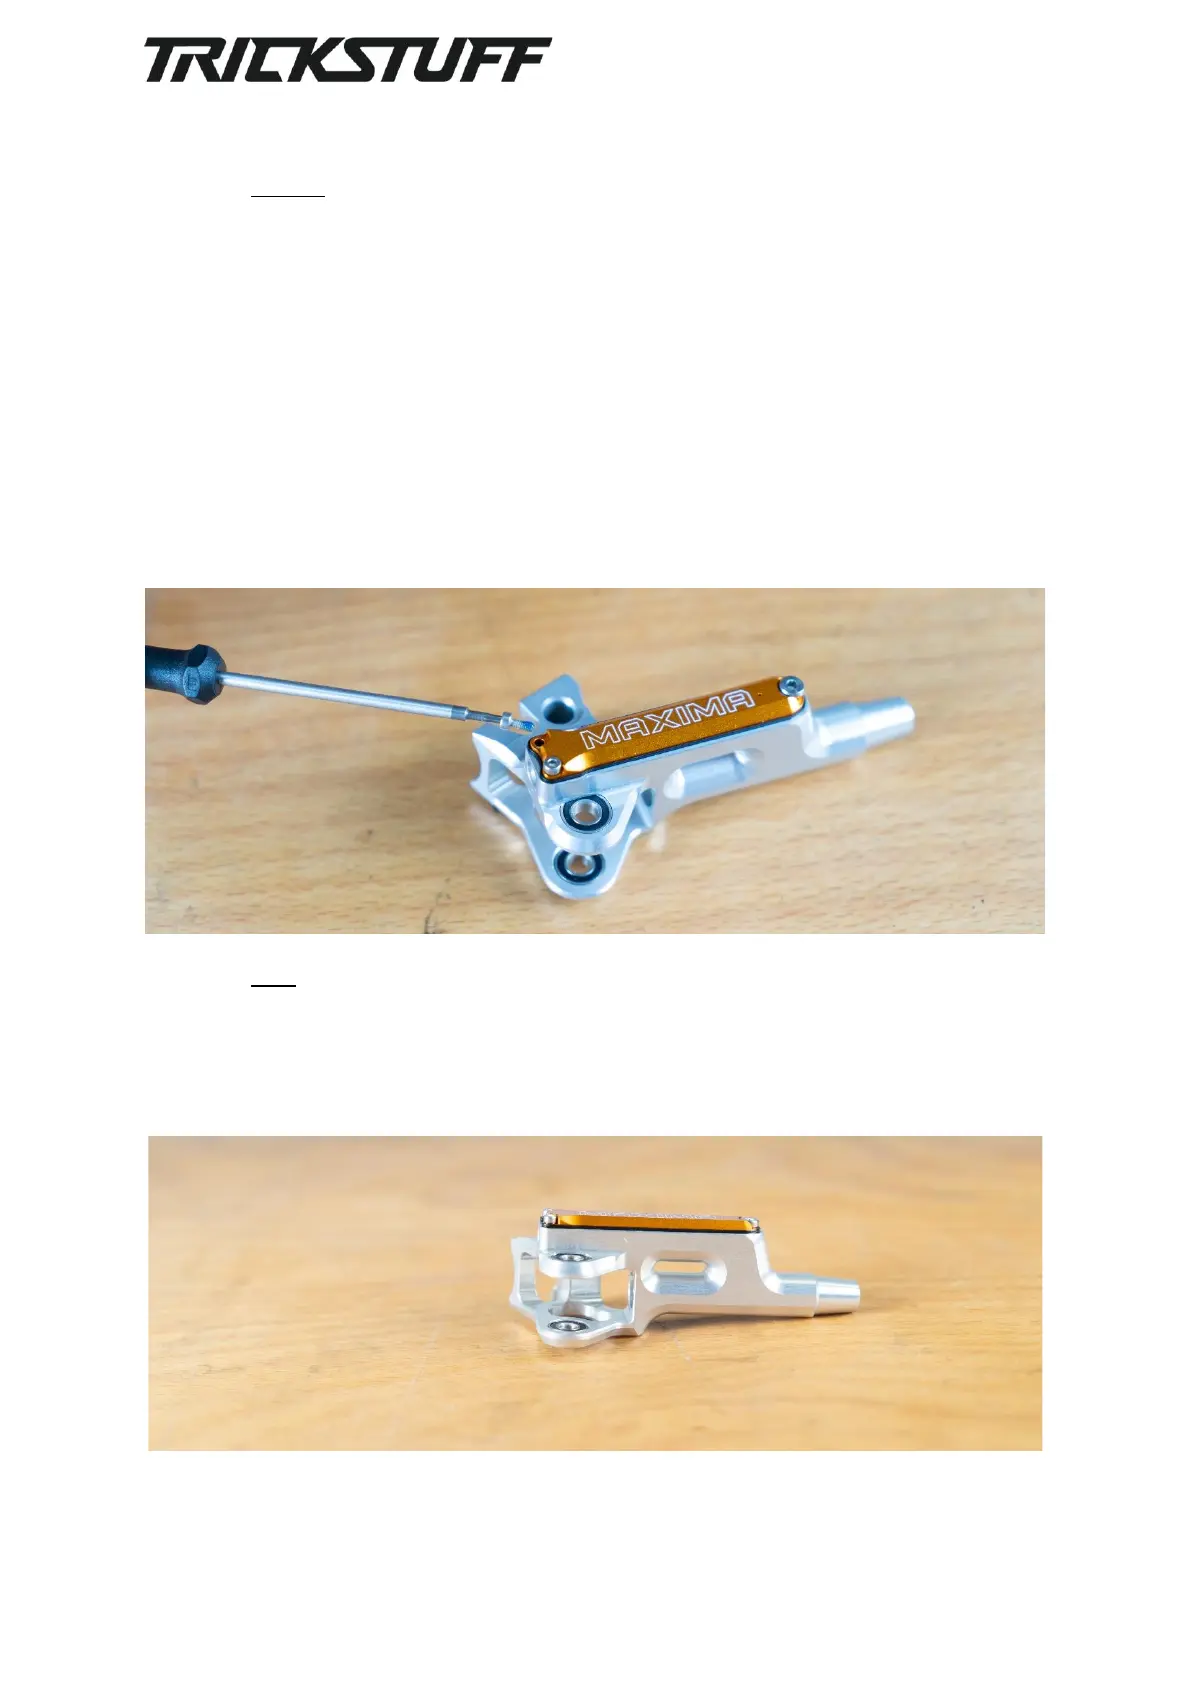
2. In the next step the reservoir cap bolts will be mounted.
Warning: If not carefully mounted according to this process, you can damage the membrane.
Please follow these steps:
1. Apply medium strength thread locker (e.g. Loctite 243) to the M3 bolt and apply 3-4
clockwise turns with a HEX2mm key. Torquing down happens a little later.
2. Apply medium strength thread locker (e.g. Loctite 243) to the M2 bolt and apply 3-4
clockwise turns with a HEX1.5mm key. Torquing down happens a little later.
3. Check correct seating of membrane sealing lip around the cap. It should not show gaps or
be folded under the cap.
4. Apply torque to the M3 bolt, until you can feel that you are just starting to compress the
rubber membrane. From this point, add ¼ turn more. Adding more torque to the screw
can damage the seal.
5. Apply torque to both M2 bolts in the same way, one after the other. Screw in until you feel
an increase in torque resistance (=compression of the seal), then add ¼ turn to that. The
membrane and its sealing lip should be equally compressed all around now.
Note: To check whether the assembly of the membrane was successful, you can apply
negative and positive pressure (alternating) to the syringe during bleeding after the service. If
the seal is damaged, drawing a vacuum at the brake pump with the bleeding syringe will result
in air intake, or positive pressure can result in oil exit. In this case, take off the membrane
again and check it for damages optically, then give the assembly another try.
 Loading...