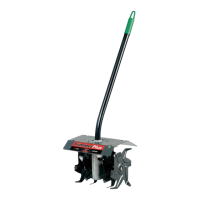
TINE REMOVAL AND REPLACEMENT
All 4 tines should be replaced at the same time because
they will wear evenly through normal use. Work on one
side at a time.
[_lb ARNING: To prevent serious personal
injury, always wear heavy gloves when
handling the tines.
1. Stop engine/motor before installing or removing
tines. Disconnect unit from the powerhead.
2. Remove the clevis pin clips and clevis pins (Fig. 6).
3. Remove the tines and felt cushions from the shaft.
4. Clean and oil the shaft.
5. The tines are stamped with the letter "R" or "L" to
identified their position on each side of the gearbox
when facing the front of the unit.
6. Replace the tines and felt cushions onto the shaft
with the hubs on the tines facing each other.
7. Ensure the tips on tines are aligned in the same
direction with each other before reinstalling the clevis
pins and pin clips (Fig. 7).
8. Repeat this procedure on the opposite side.
NOTE: When installed correctly, there will be an "R" and
"L" tine on each side of the gearbox and the tips
on the tines line up in the same direction. It is
important that the tines are installed correctly.
Clevis Pin
Felt Cushion
Felt
Cushion
L
_ Clevis Pin Clip
Fig. 6
Align Tips
Sha_
Fig. 7
9